Configure Advanced Features
115
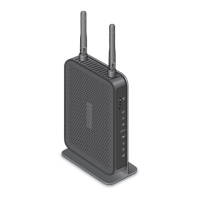
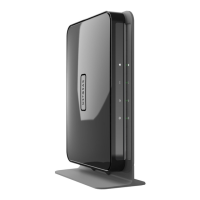
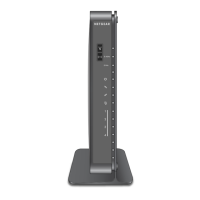
AC1900, N900, and N450 WiFi Cable Data Gateways
9. In the Device Name field, type a name for the WiFi device.
10. In the MAC Address field, type the MAC address of the WiFi device.
Tip: You can also select a device from the Available Wireless Cards table
by selecting the corresponding radio button. If the device that you
want to add is not listed, click the Refresh button to update the
Available Wireless Cards table.
11. Click the Add button.
The WiFi device is added to the table on the Wireless Card Access List screen.
12. To add another WiFi device, repeat Step 8 through Step 11.
Note: If you are connected to the cable data gateway over WiFi, make sure that
you add your own device to an access list that allows access. If you do
not, your device is denied access when you enable the access list and
you must reconnect to the cable data gateway over an Ethernet cable.
13. Select the Turn Access Control On check box.
14. Select whether access is allowed or denied for this access list:
• Allows List. All devices on the access list are allowed access to the network (either
the main or the guest WiFi network).
• Deny List. All devices on the access list are denied access to the network (either the
main or the guest WiFi network).
15. Click the Apply button.
Your settings are saved. Now only WiFi devices that are in the table on the Wireless Card
Access List screen are allowed or denied access to the cable data gateway.
Change the Settings for a Device on the WiFi Access List
You can change the name or MAC address for a device on a WiFi access list.
To change the settings for a device on a WiFi access list:
1. On your computer, launch an Internet browser such as Mozilla Firefox or Microsoft
Internet Explorer.
2. In the address field of your browser, enter http://routerlogin.net.
You are prompted to enter a user name and password.
3. Type admin for the user name and type your password.
If you did not yet personalize your password, type password for the password.
4. Click the OK button.
The BASIC Home screen displays.
5. Select ADVANCED > Advanced Setup > Wireless Settings.
 Loading...