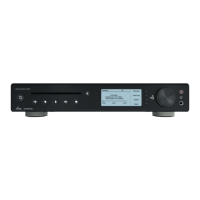
If “Auto dividing” is switched off, function key 2 “Divide” is enabled. Pressing
this function key during the recording process separates individual tracks.
The recording is stopped automatically when the maximum recording time is
expired. You may end it manually by pressing the Stop button (4).
3.4.5 Editing the recorded fi le
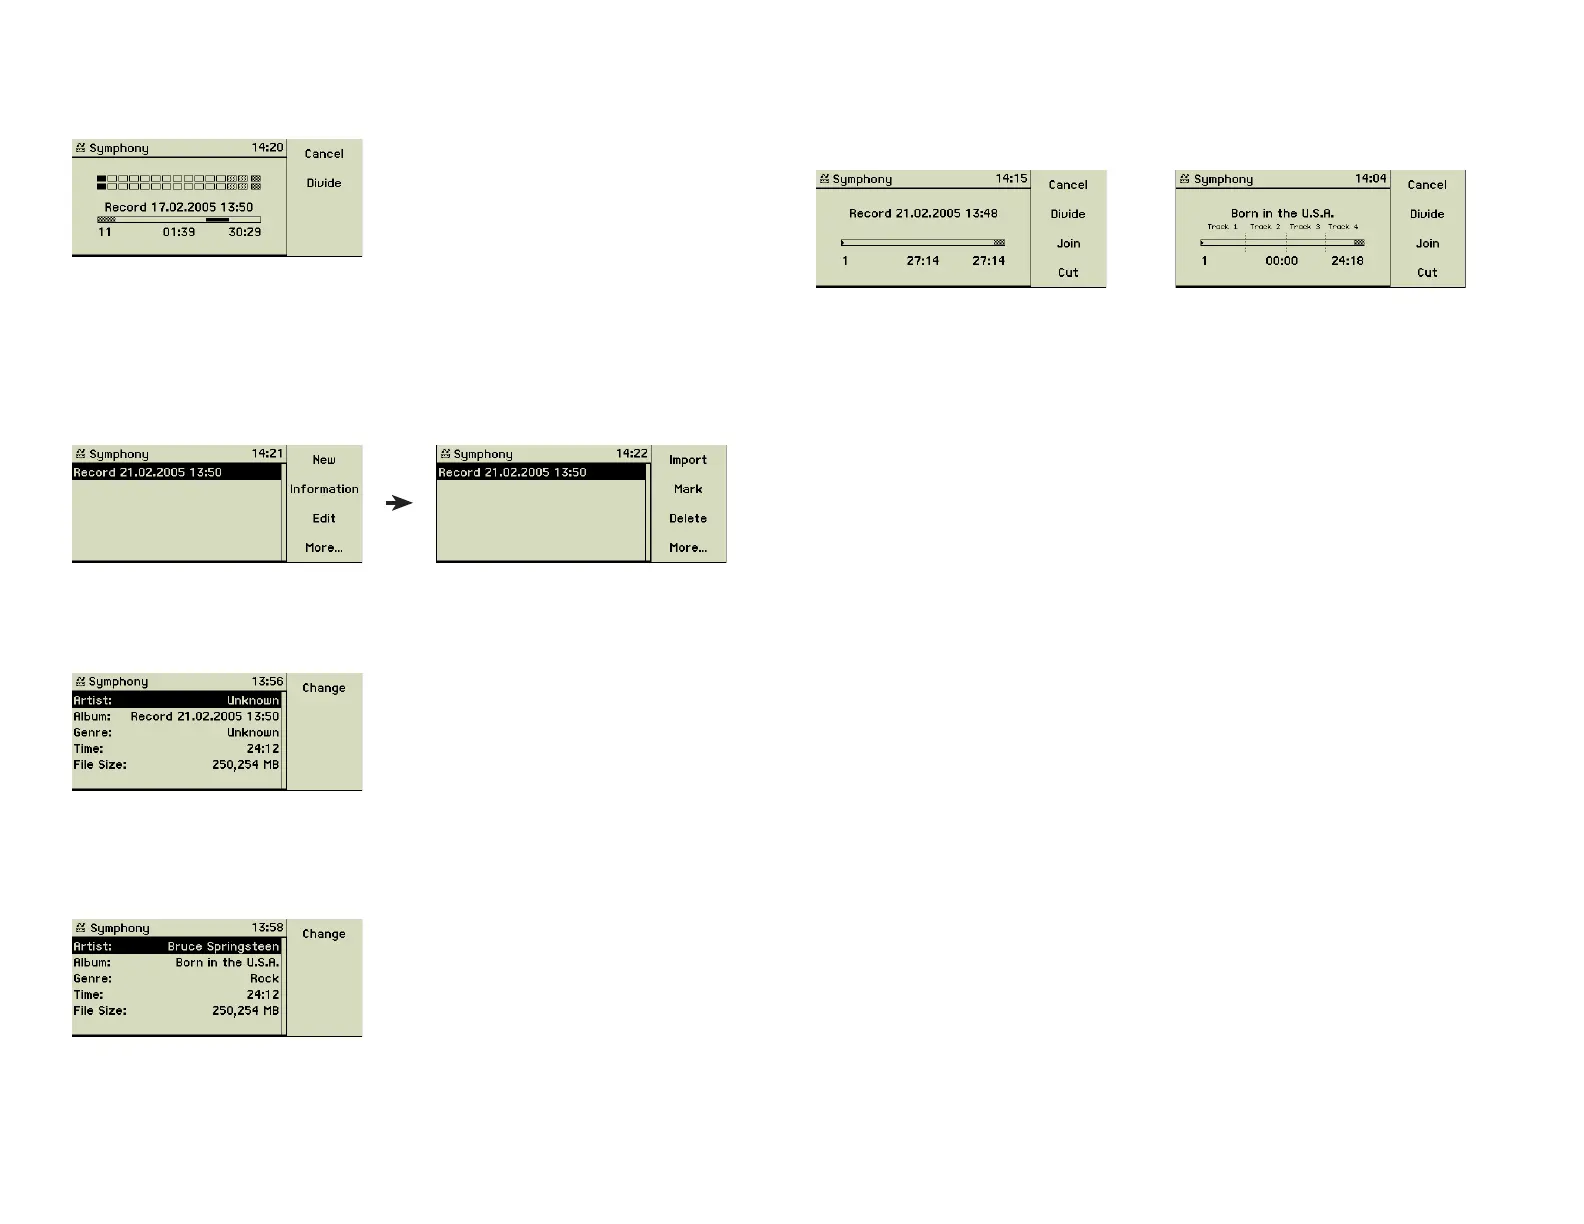
The main menu option Analogue Recording now shows your recording. Now
you may add meta data, edit, delete, or import it.
Editing meta data
Press function key 2 “Info” to display the meta data of the recorded fi le.
You may edit Artist, Album, or Genre. These meta data are inherited by the
single tracks after dividing this fi le. Time and File Size can not be modifi ed.
General information on editing meta data can be found in section 3.3.1 «Edit-
ing meta data» on page 15.
Editing gaps
Press function key 2 “Edit” to prepare your recorded fi le for the import. The
display shows a representation of the fi le:
resp.
The bar shows a section of about 15 minutes of the recording. Depending on
the position of the cursor the remaining parts are displayed as grey-hatched
elements at the left resp. right end of the bar.
Setting gaps
If you did not set gaps during the recording, the track counter still shows “1”.
Press the Play button (5) on the front of the music center to start the playback
of the recording. Listen to the music to fi nd the end of the current track. You
may turn the inner wheel of the Turn&Select wheel (11) to move faster for-
ward. Watch the time information and compare it to the data on the record
cover or the cassette inlay. When you reached the right place in time, press
the function key 2 “Divide” to set a gap. This gap is displayed immediately as
a vertical bar and the duration of the next track is reset to zero. Proceed until
you reach the end of the recording.
Tip: If you defi ne a long time of silence as a separate track, you can delete
this afterwards very easily.
Navigate in the recorded fi le
A short turn of the outer wheel of the Turn&Select wheel (11) or pressing the
Previous Track (3) / Next Track (6) buttons shortly, moves the cursor to the
next resp. previous gap.
Turning the inner wheel of the Turn&Select wheel (11) or pressing the Previous
Track (3) / Next Track (6) buttons for a longer period, moves the cursor inside
the track forth resp. back.
Delete a gap
If you set a gap at the wrong place, you can delete it by joining the two ad-
jacent tracks.
If the cursor is exactly on a gap, pressing the function key 3 “Join” joins the
tracks to the left and right of this gap.
18