36
EN
2
Recording
Recording
5
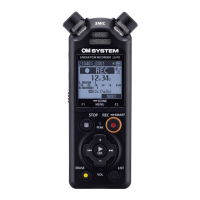
Press the REC ( s) button to
start recording.
aa
bb
a Elapsed recording time
b Remaining possible recording time
• The recording indicator light lights.
• If you record simple recording
content at the beginning, it will be
convenient for searching later using
the [Intro Play] function (☞ P. 99).
• To adjust the recording level, press
the 9 or 0 button.
NOTE
• Adjust the recording level so that
it does not exceed the peak of
the level meter while checking
the meter. If the peak of the
level meter is exceeded, the
PEAK indicator light will light
and the recorded audio may be
distorted.
• If you wish to adjust the
recording level, you must first
select [Manual] for [Rec Level]
(☞ P. 84).
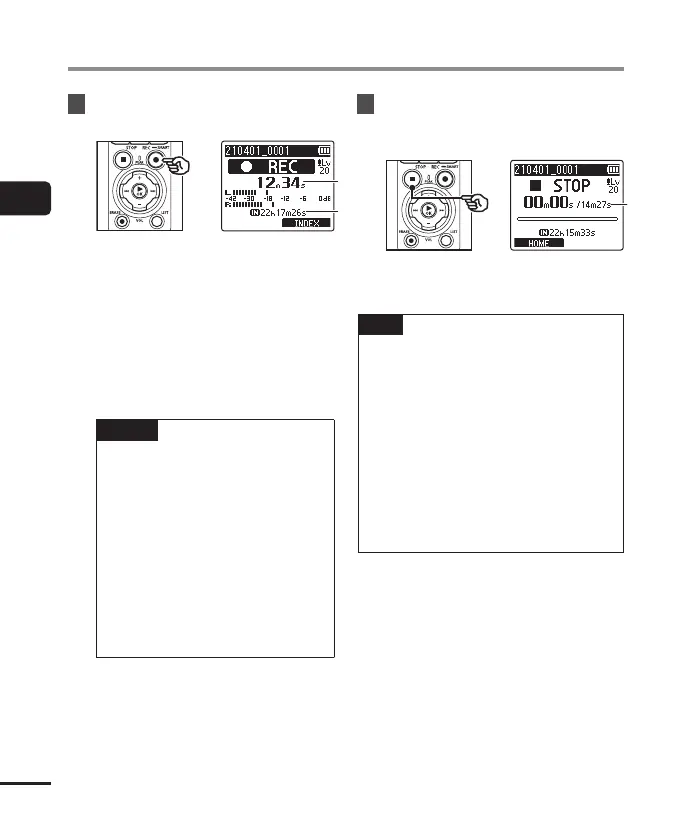
6
Press the STOP ( 4) button
when you want to stop
recording.
cc
c File length
TIP
• [Rec Mode] can be used to adjust
recording quality or choose the file
type while the recorder is stopped
(☞ P. 85).
• Pressing the REC( s) button starts
recording even when [Recorder]
mode is not selected, letting you
record audio at a moment’s notice.
The resulting recordings are stored
in the first sub-folder (the top
sub-folder in the folder list) under the
[Recorder] folder.