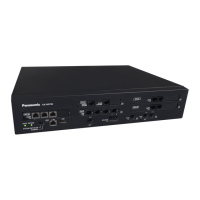
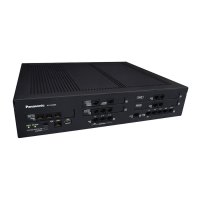
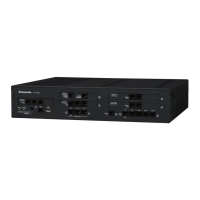
4.2.8 19-inch Rack Mounting
WARNING
• Be
careful not to drop any components. Dropping components may damage them or cause an
injury.
• When mounting the PBX on a 19-inch rack, only use the 19-inch rack mounting equipment
(attachment bracket, screws) included with the PBX.
CAUTION
• When
the PBX is mounted on a 19-inch rack, make sure that the installation of the unit does not cause
the temperature of the rack to exceed its limit.
• When the PBX is mounted on a 19-inch rack, do not block the openings of the PBX. Allow space of at
least 10 cm (4 in) around the PBX’s fan.
• If the PBX is not installed properly using the securing correct methods, the PBX may fall causing serious
damage.
• When this product is no longer in use, make sure to detach it from the rack.
Notice
When mounting the PBX on a 19-inch rack, confirm that the rated current listed on the PBX
’s name plate
does not exceed the threshold current for the breaker.
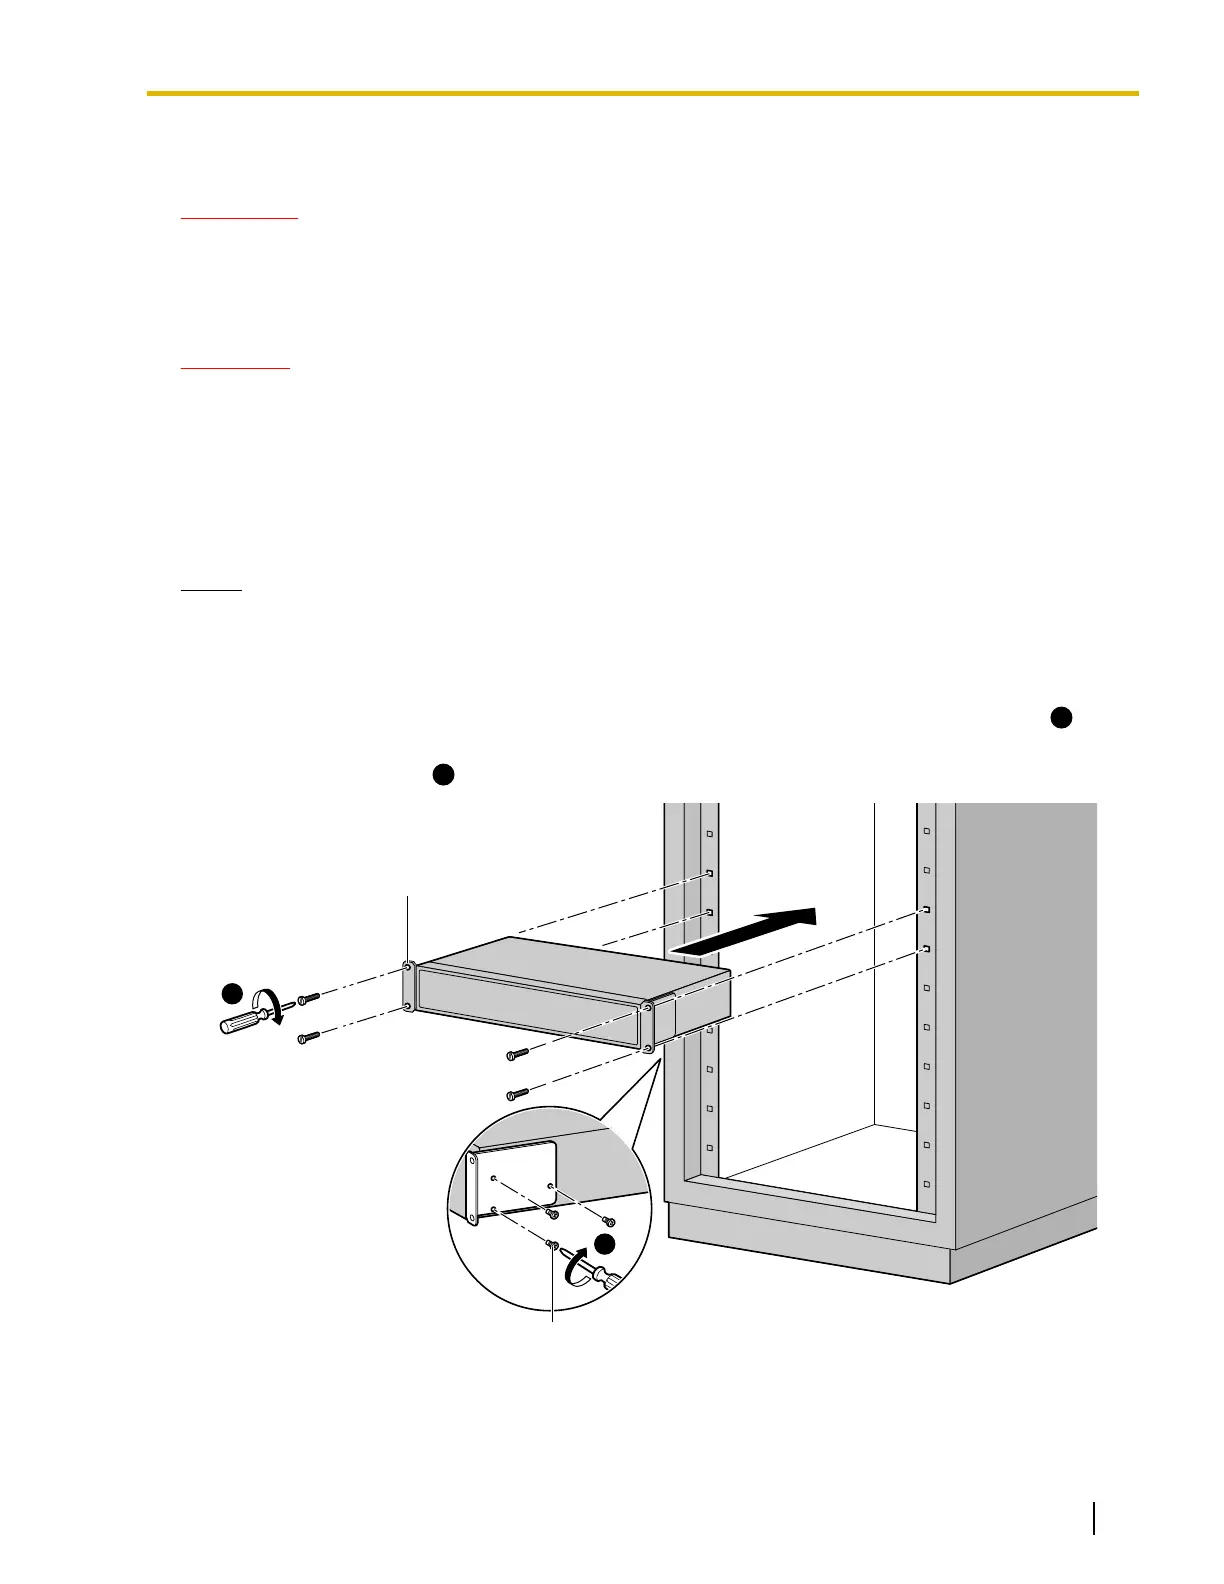
1. Fix the attachment brackets to the left and right sides of the PBX with 3 screws on each side.
(Recommended torque: 0.8 N·m [8.2 kgf·cm/7.12 lbf·in] to 1.0 N·m [10.2 kgf·cm/8.85 lbf·in])®
2. Place the PBX in the 19
-inch rack and fix both attachment brackets to the rack with the rack’s proprietary
mounting equipment. ®
1
2
Screw
Attachment Bracket
Document Version 2016-03 Installation Manual 101
4.2.8 19-inch Rack Mounting
 Loading...