46
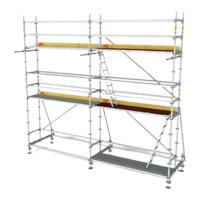
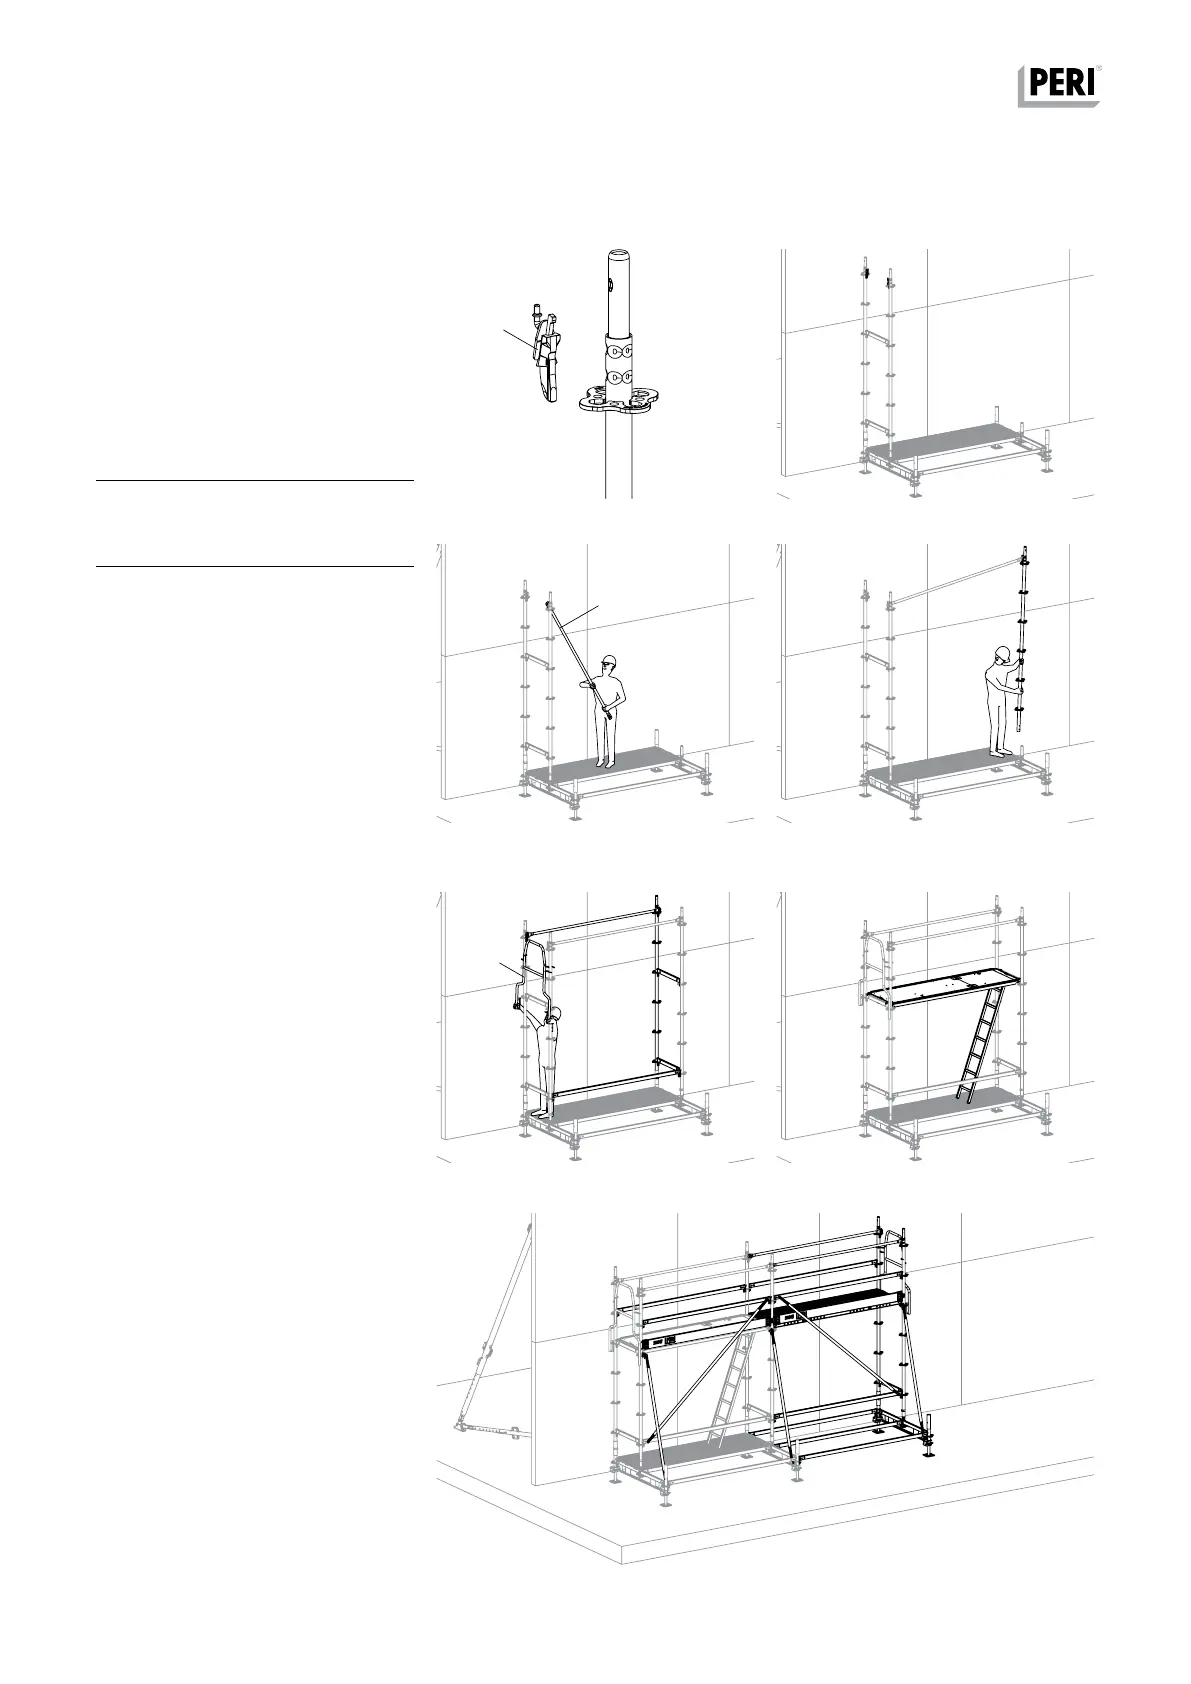
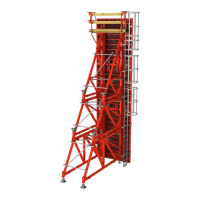
D3 Assembly with guardrail in advance
Assembly of the reinforcement scaf-
fold with Ledger UH as guardrail is
shown in Sections A and B.
If the top Ledger is replaced by a
guardrail, assembly with the guardrail
in advance can then take place.
The following components are
required:
20 Guardrail Holder EPW
21 Guardrail EPG
22 End Guardrail UPA in advance
Assembly
1. Insert Guardrail Holder EPW (20)
into the top rosette of the Standard
UVR and wedge securely.
2. Insert the first two Standards UVR.
(Fig. D3.01)
3. Mount Guardrail EPG (21) on the
Guardrail Holder EPW of the outer
Standard. (Fig. D3.02)
4. Connect the next Standard UVR
with the Guardrail UPG.
5. Insert Standard UVR complete with
Guardrail EPG. (Fig. D3.03)
6. On the inner side of the next guard-
rail, mount Standards in advance.
7. Install Ledger UH.
8. Install End Guardrail in advance
UPA (22). (Fig. D3.04)
9. Install decking or decking with lad-
der. (Fig. D3.05)
10. Repeat steps 3 to 8 for the next
bays and mount components to en-
sure stability. (Fig. D3.06)
Ensure that the side protection is com-
plete with Ledgers and Toeboards
when accessing the top level.
Fig. D3.01
Fig. D3.03
Fig. D3.02
Fig. D3.04 Fig. D3.05
Fig. D3.06
PERI UP Flex Reinforcement Scaffold 75 and 100
Instructions for Assembly and Use – Standard Configuration
20
21
22