Advanced settings
30
7.1.4 Erasing
Current window Display the "Graph" screen (Fig. 10) (see 7.1.1).
Press [Clear] (ref. 1) and validate the message.
Clearing the current window does not delete the current recording or recordings already
made.
Recording Display the "Graph" screen (Fig. 10).
Press [View Rec.] (ref. 1).
Press [Clear] (ref. 1) and validate the message.
If the detector is carrying out a test while the previous recording is being deleted, the test
is stopped.
7.1.5 Viewing a recording
Press [View Rec.] to view the recording made since the last recording was deleted
(ref. 1 Fig.10).
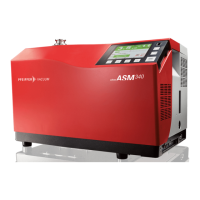
Fig. 12: Viewing a recording
If no plots have been made, the message "Memory empty" is displayed.
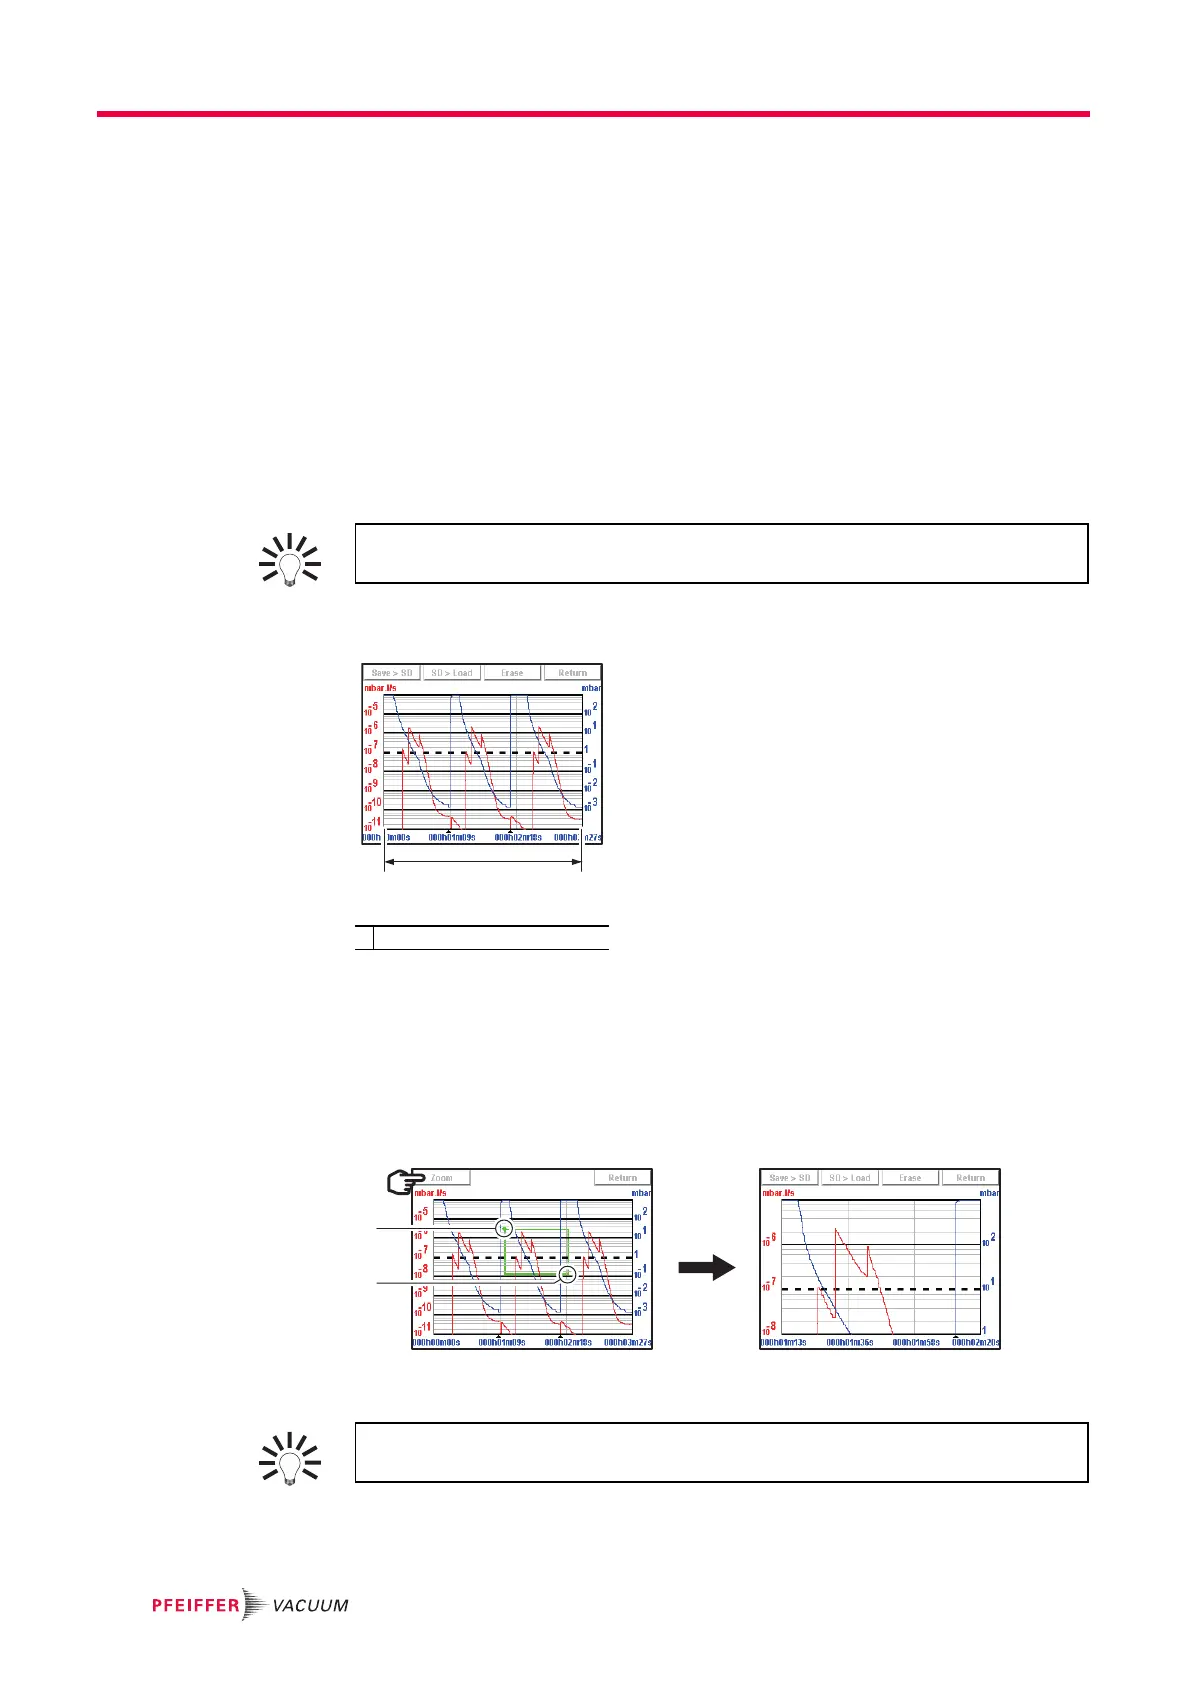
Zoom in Zoom in available only for a recording.
Press [View Rec.] (ref.1 Fig. 10)
Set the area to be enlarged (ref. 1 then ref. 2 Fig. 13).
Press [Zoom] (ref. 3): the enlarged area is displayed.
Fig. 13: Selection and viewing the area to be enlarged
Several successive zooms are possible (except in the same decade).
Zoom out Zoom out available only for a recording.
At any time, the operator can view the recording already made or zoom in on a
recording, without stopping the current recording.
1 Total recording time
If necessary, adjust the area to be enlarged by dragging the corners or sides with
your finger.