Directions For Use
EN 14 DVDR70 & DVDR75/0x13.
18
C
Connecting additional devices
Connecting additional devices to the
second scart socket
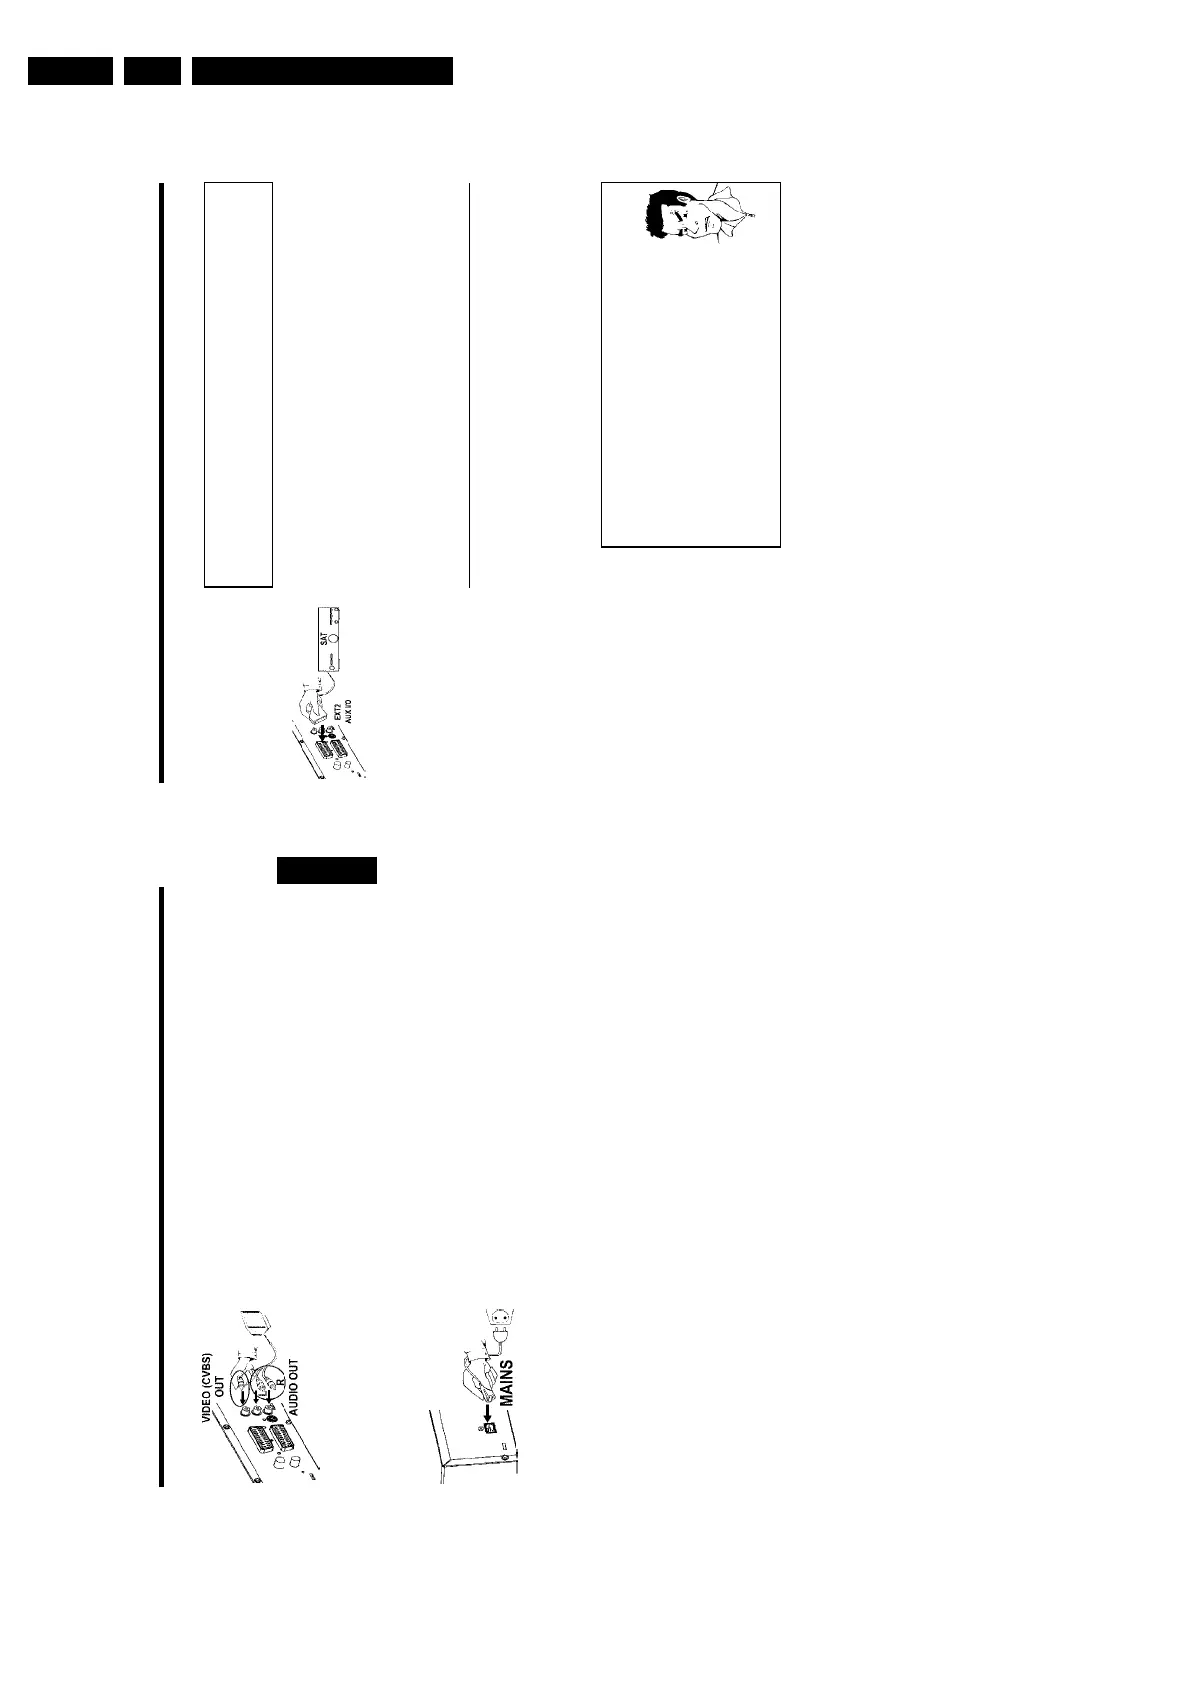
You can connect additional devices such as decoders, satellite receivers, camcorders, etc. to the
EXT 2 AUX-I/O socket. When playback is started on this additional device the DVD recorder
automatically connects the EXT 2 AUX-I/O scart socket with the EXT 1 TO TV-I/O scart
socket. You will then see the picture from the additional device on your TV set, even if the
DVD recorder is switched off.
The TV/DVD button on the remote control allows you to switch between playback through the
EXT 2 AUX-I/O scart socket and playback from the DVD recorder.
Connecting additional video recorders
You can connect a video recorder to the EXT 2 AUX-I/O socket.
If you have an SVHS video recorder you can also use the OUT S-VIDEO (Y/C) socket and the
OUT L AUDIO R sockets.
Please note:
Most prerecorded video cassettes and DVDs are copy-protected. If you try to copy them you
will see the message 'COPY PROT' on the DVD recorder's display.
a When copying video cassettes the display on the DVD recorder
shows 'NO SIGNAL'
b Check that the cable is plugged in firmly.
b If a recording is made from a video recorder, change the tracking on the
video recorder.
b The DVD recorder may not be able to recognise the video input signal if
this signal is poor or does not comply with relevant standards.
a
When I copy DVD video discs or prerecorded video cassettes the
picture is fuzzy and the brightness varies
b This happens if you try to copy DVDs or video cassettes that have been
copy-protected. Even though the picture on the TV is fine the recording on
a DVD+R(W) is faulty. This interference is unavoidable with copy-protected
DVDs or video cassettes.
Problem
Connecting additional devices
17
3 Insert one end of the supplied video (CVBS) cable into the yellow
Cinch socket OUT VIDEO (CVBS) at the back of the DVD
recorder and the other end into the video input socket (usually
yellow) on the TV set (usually labelled 'Video in' or 'AV in'. See TV
operating instructions).
4 Insert one end of the supplied audio (Cinch) cable into the red/white
Cinch socket OUT L AUDIO R at the back of the DVD recorder
and the other end into the audio input socket (usually red/white) on
the TV set (usually labelled 'Audio in' or 'AV in'. See TV operating
instructions).
5 Switch on the TV set. Switch the TV set over to the Video/Audio
input socket or select the relevant programme number. Please see
your TV's operating instructions for the programme number you need.
6 Insert one end of the supplied mains cable into the mains socket
4MAINS at the back of the DVD recorder and the other end into
the wall socket.
The most important features of the DVD recorder will appear in
scrolling text on the display. After the first installation is completed
this function will be switched off. How you switch on this function
again, read in the chapter 'User preferences' in the section 'standby'.
7 Switch on the DVD recorder using STANDBY/ON m .'IS TV ON?'
will appear on the display.
Then, read the paragraph on 'Initial installation' in 'Installing your DVD recorder'.
ENGLISH
Connecting the DVD recorder