Helmet bay
- Remove all electric devices;
- Remove the 4 fuse carrier enclosures;
- Free the cables fixed to the frame with the relative
support clamps;
- Remove the battery;
- Unscrew the fixing screws on the rear frame;
- Remove the rear frame by lifting it from the front
and extracting it from behind.
- Remove the saddle closing coupling;
- Unscrew the remaining fixing screws on the
frame;
- Extract the helmet compartment.
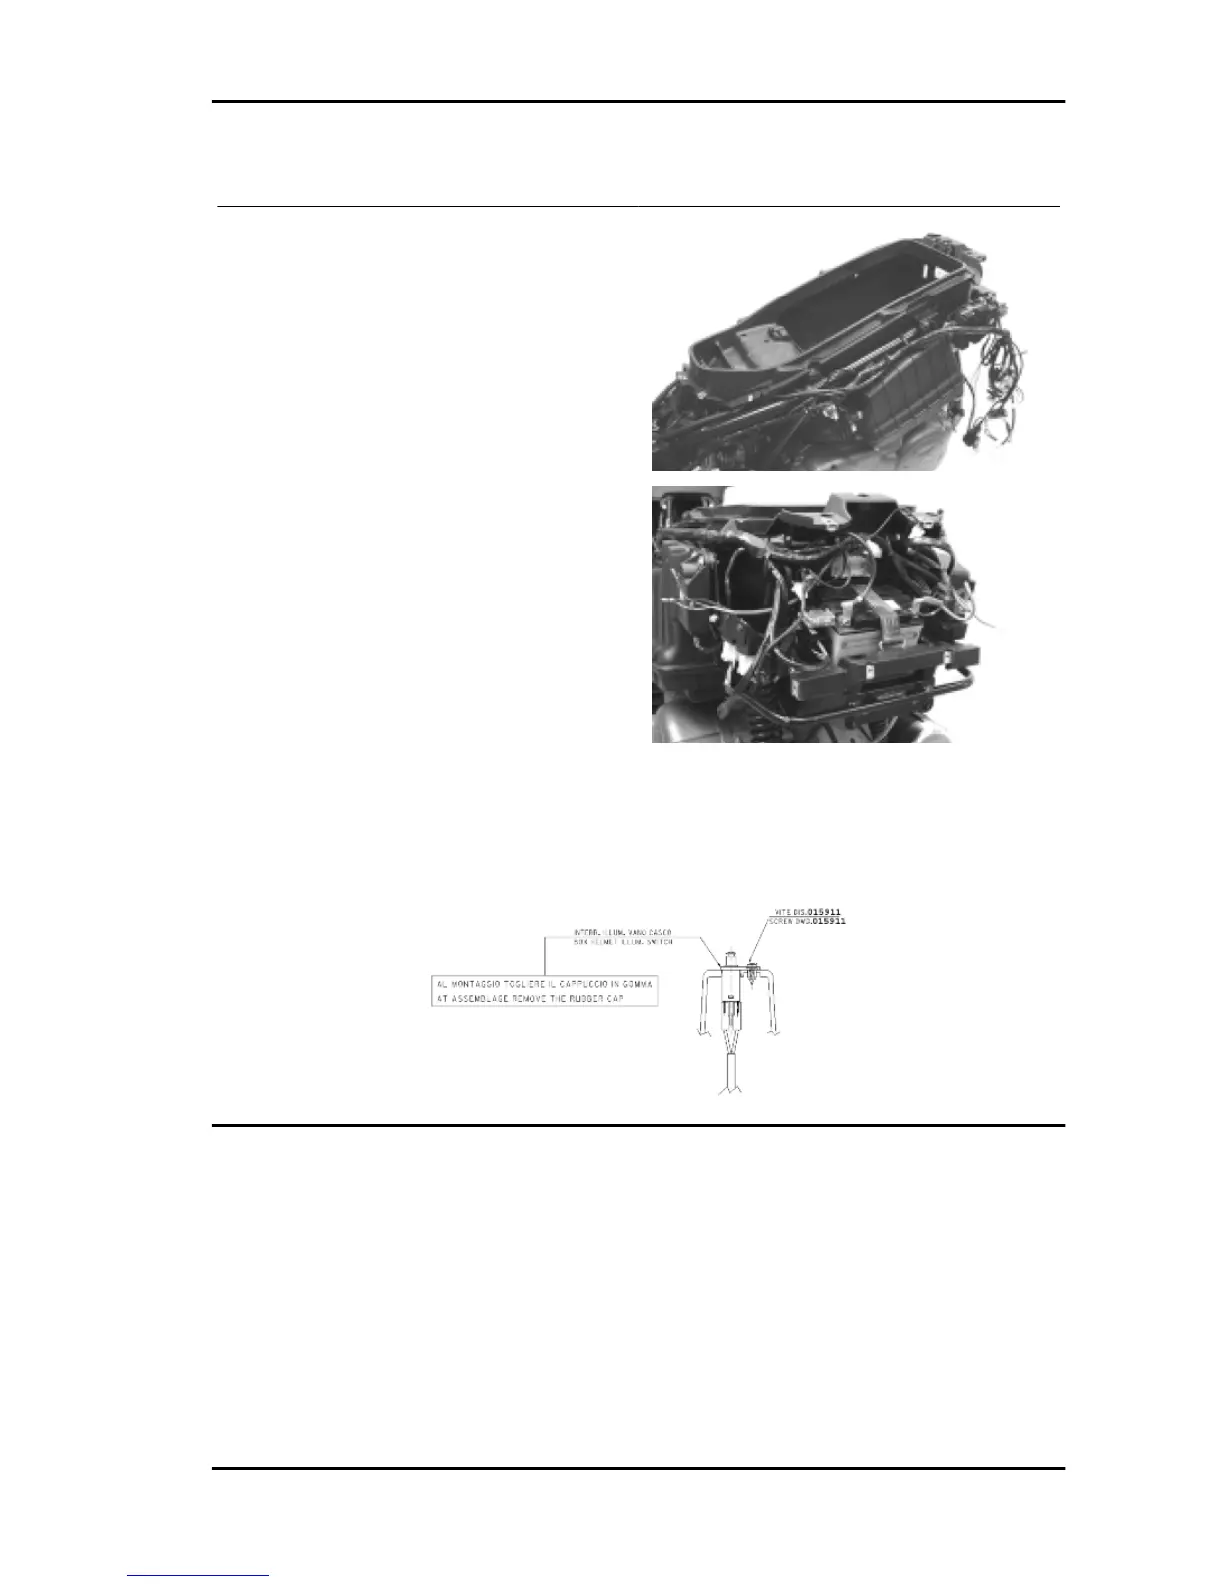
Please take note that, starting from chassis serial number ZAPM2300004505518, the helmet bay light-
ing drive switch fixing screw has been replaced. The new screw drawing 015911 differs from the
previous one for a bigger lenght of 3mm
Fuel tank
- Remove both footrests, the central cover and the tunnel cover as described before;
- Separate the electrical connections of the fuel gauge and disconnect the fuel supply line and tank
breather;
- Remove the horn after unscrewing its fixing screws indicated in the figure and after disconnecting the
electrical connections.
- Unscrew the four fixing screws of the holding bracket indicated in the figure and remove it;
- Unscrew the two fuel tank fixing screws, located on the upper part;
- Slide off the tank downward after tilting it slightly.
MSS X9 Evolution 250 Chassis
CHAS - 209