CO check
Preparing the vehicle
- Remove the 2 bottom sides as explained in the
Body chapter.
- Remove the 3 fastening screws of the filter box.
- Remove the filter box to access the 6 screws M6
closing the crankcase and the heat guard plate at-
tachments.
- Remove the plate to access the flow adjustment
screw on the carburettor.
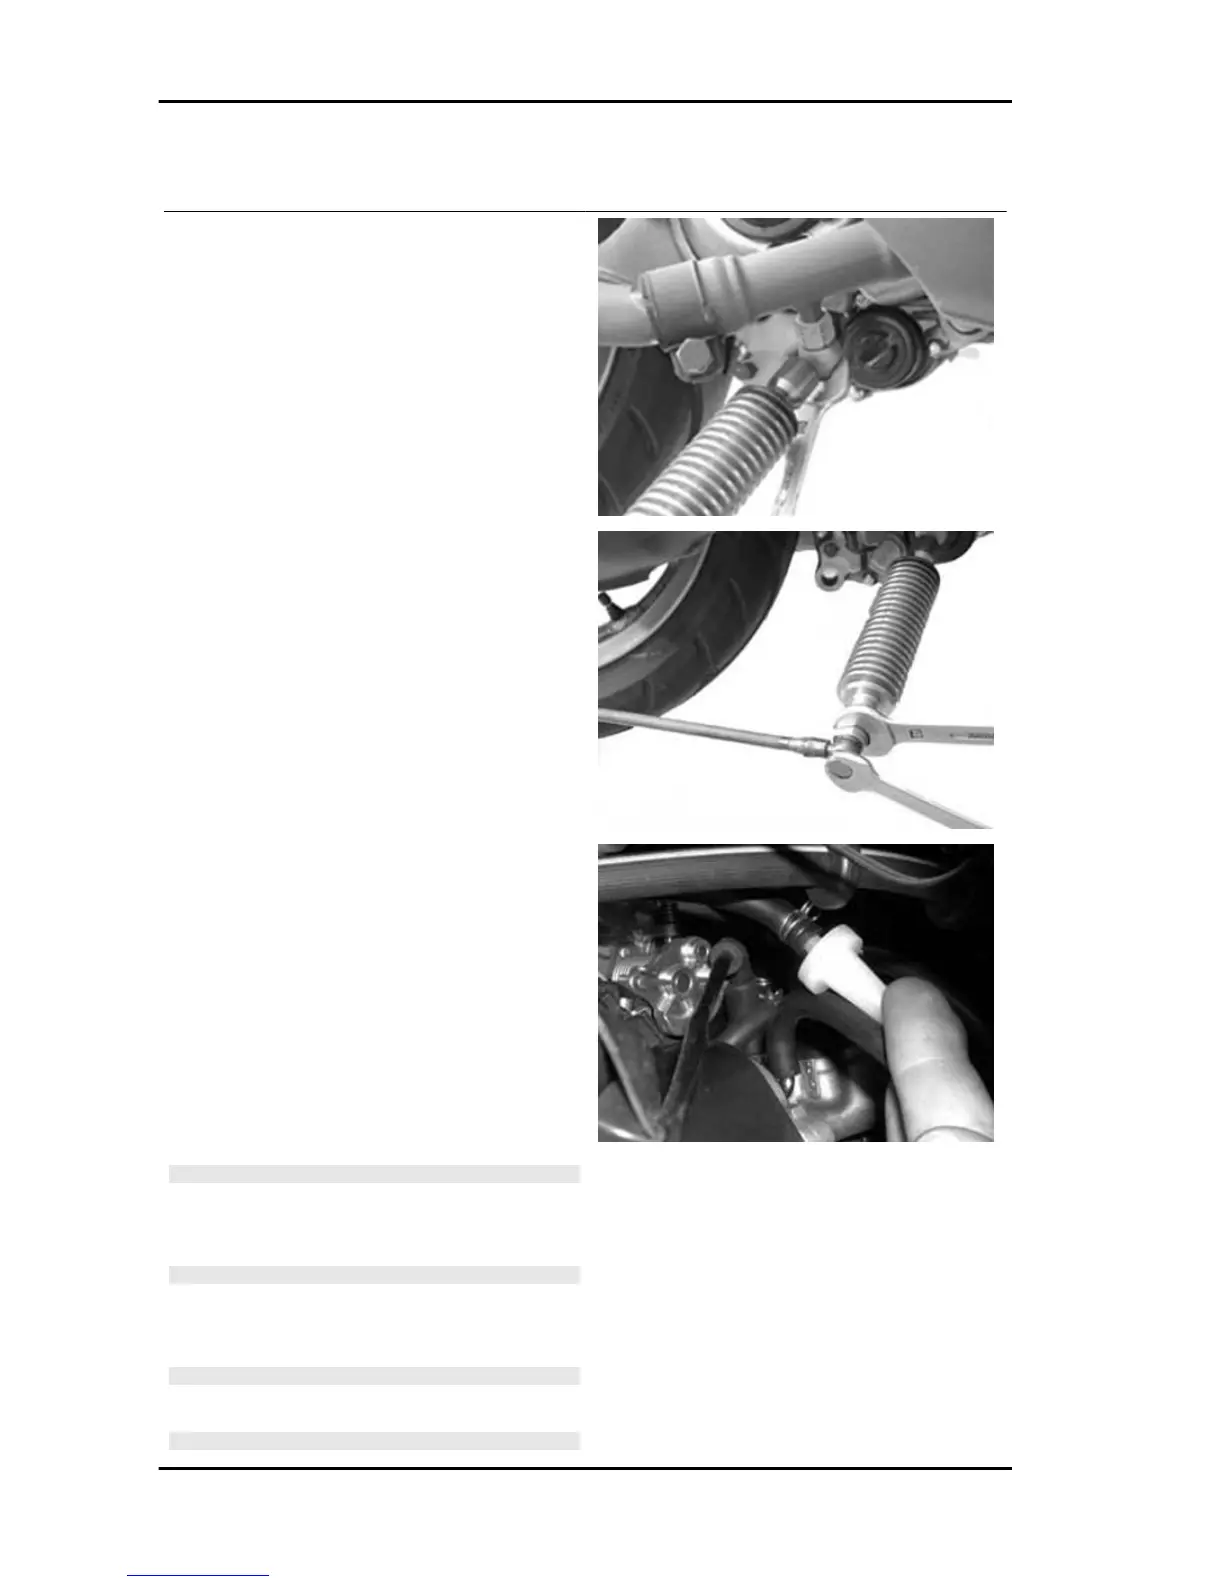
- Remove the gas cap on the exhaust pipe.
- Using the original washer, install the exhaust gas
collection Kit union.
- Suitably orientate the components (Figure 2).
- Close the gas outlet terminal of the tool. - Start
the engine and let it warn until the electric fan
starts.
- Stop the engine.
- Disconnect the vacuum feeding pipe from the
SAS control valve.
- Insert a conical plug into the vacuum feeding
pump.
- Connect the MITIVAC vacuum pump to the SAS
control valve using a suitable pipe having the same
size as the original fitted on the vehicle.
- Start the vacuum up to -0.6 -0.8 Bar so as to close
the valve and cut off the SAS system.
- Remove the exhaust gas collection Kit closing
cap and connect the analyser properly pre-heated.
N.B.
IN CASE OF 1000 PPM UNBURNED HYDROCARBONS
(HC) >, CHECK THE IGNITION SYSTEM, THE TIMING SYS-
TEM, THE VALVE CLEARANCE AND THE EXHAUST
VALVE TIGHTNESS.
N.B.
IN CASE OF UNSTABLE CO, CHECK THAT THE CARBU-
RETTOR IS CLEAN AND THAT THE FUEL SUPPLY SYS-
TEM AND THE DEPRESSION SEALS WORK ADEQUATE-
LY
N.B.
OTHERWISE, CHECK THE FUEL LEVEL ADJUSTMENT IN
THE TANK AND THE FUEL CIRCUIT.
N.B.
Maintenance MSS X9 Evolution 250
MAIN - 44