5
2 Getting Started
2.1 Level Setting Procedure
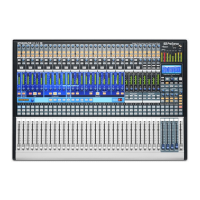
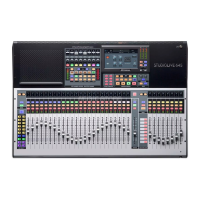
StudioLive™ Series III
Owner’s Manual
2 Getting Started
Before you begin, here are a few rules to get you started:
• Always turn down the Main fader and both the Monitor and Phones knobs in the
Monitor section before making connections.
• Before plugging or unplugging a microphone while other channels are active,
mute the channel to which you are connecting.
• Your faders should be set on or near the “U” mark whenever possible. The “U”
indicates unity gain, meaning the signal is neither boosted nor attenuated.
• Do not allow your inputs to clip. Watch the level meters; when signal nears
Clipping, the top LED illuminates, indicating that the analog-to-digital converters
are in danger of being overdriven. Overdriving the converters will cause digital
distortion, which has a negative effect on sound quality.
Your P.A. and studio equipment should be powered on in the following order:
• Sound sources (keyboards, direct boxes, microphones, etc.) connected to the
StudioLive inputs
• StudioLive Series III mixer
• Computer (if applicable)
• Power amplifiers or powered loudspeakers
When it is time to power down, your system should be turned off in the reverse order.
Now that you know what not to do, let’s get started!
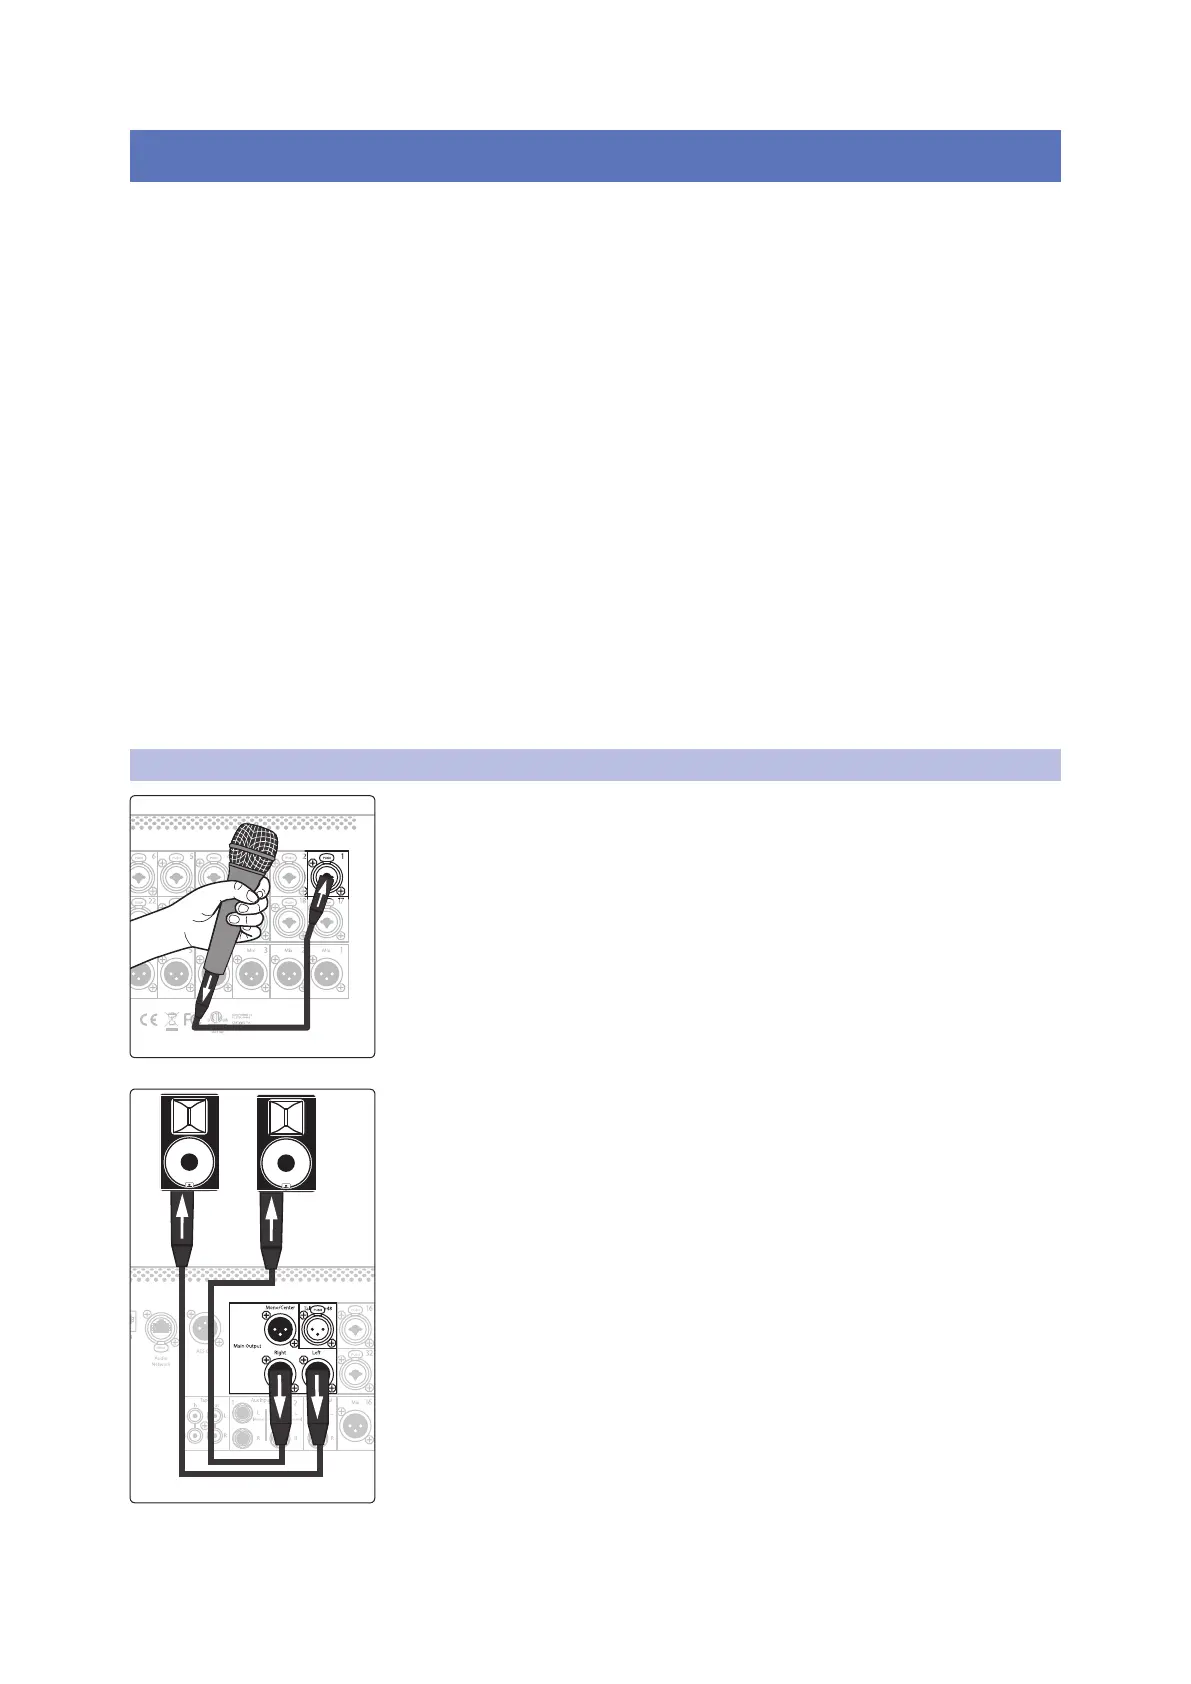
2.1 Level Setting Procedure
1. Plug a microphone into the Channel 1 input on your StudioLive Series III
with a standard XLR cable.
2. Connect the main outputs of your StudioLive to your powered monitors (or
power amp if using passive speakers).