31
5 Buses and Routing
5.2 Aux Mixes
StudioLive™ Series III
Owner’s Manual
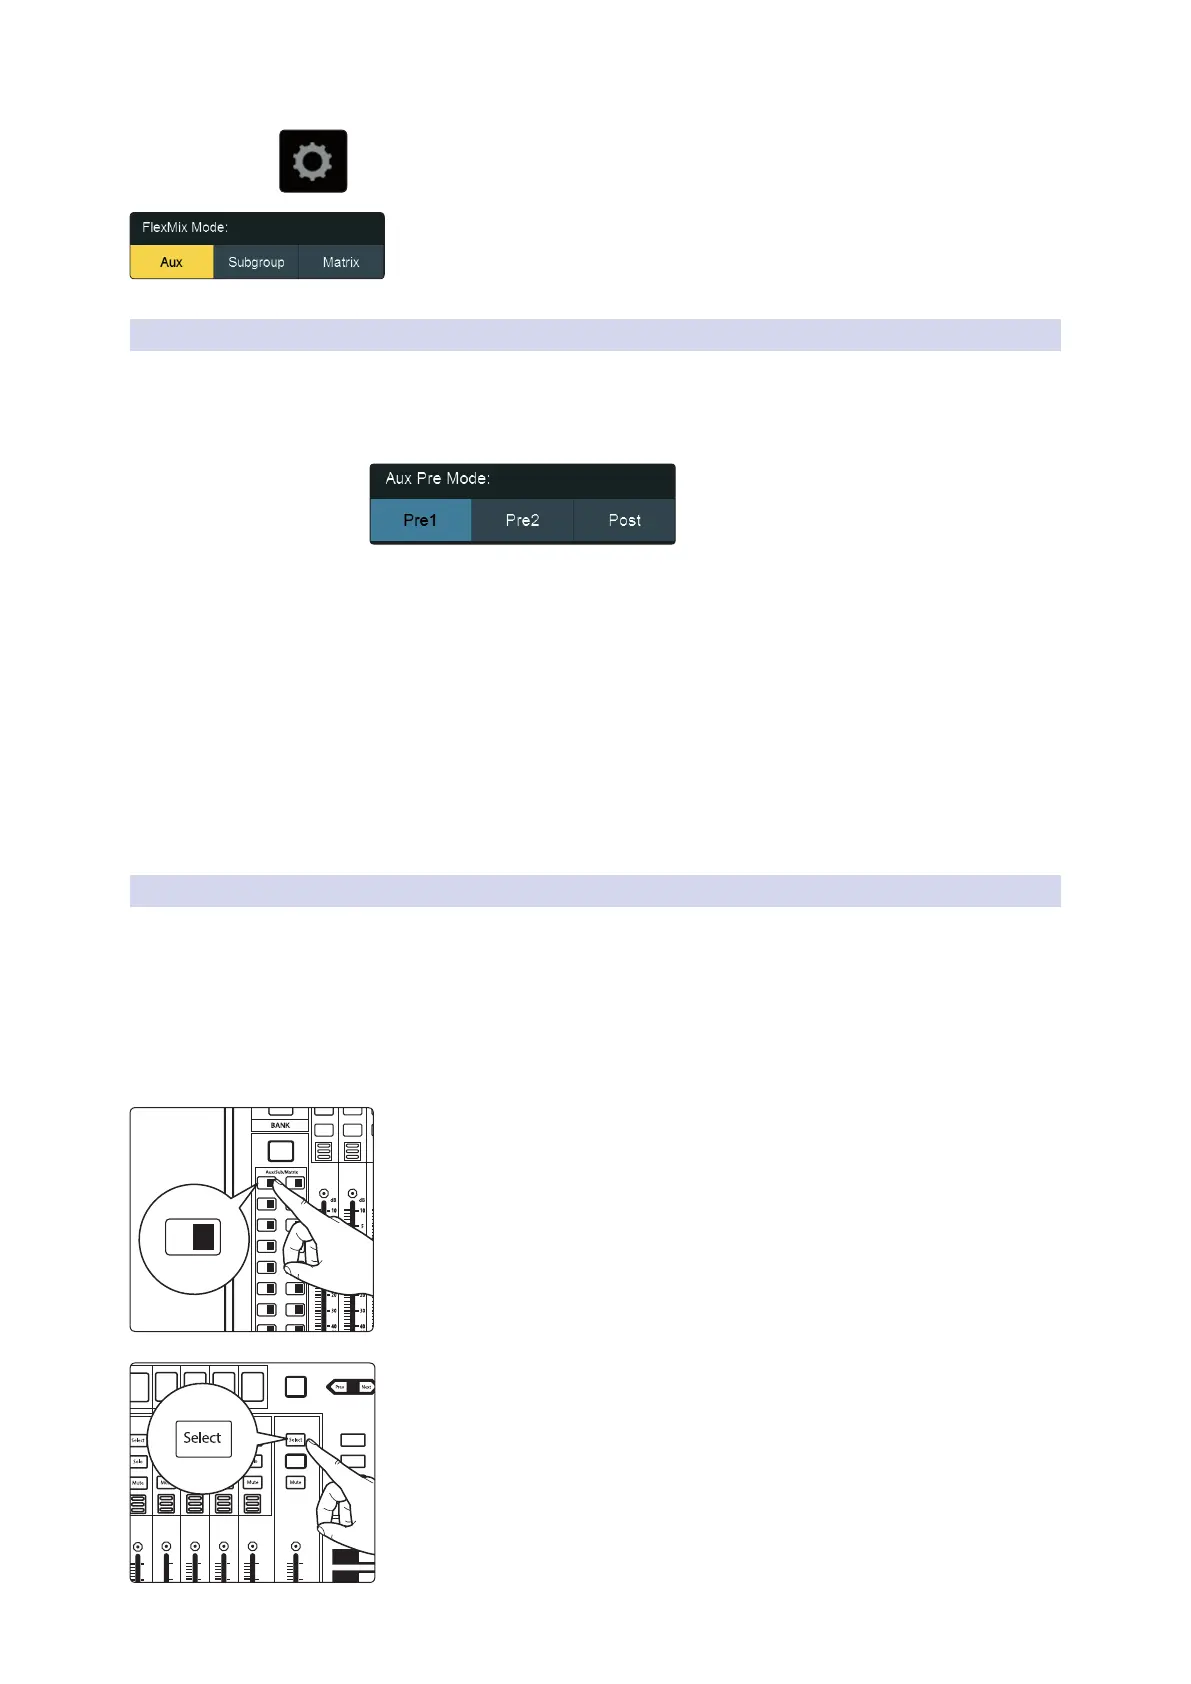
3. Press the Settings button on the Master Control Touch Display.
4. Press the Aux button under FlexMix Mode.
5.2.1 Pre/Post Channel Sends
You can select the send positions for the channels routed to each Aux mix. By default,
all aux buses are set to Pre 1. This places the send of every input channel to each aux
bus before the fader, limiter, EQ, and compressor, but after the Polarity Invert switch,
high-pass filter, and gate.
From the FlexMix settings menu, you can choose between three send positions for
your mix:
Pre 1: Sends each channel to the Aux bus after the polarity invert, high-pass filter,
and gate.
Pre 2: Sends each channel to the aux bus after all Fat Channel processing (polarity
invert, high-pass filter, gate, compressor, EQ, and limiter) but before the fader.
Post: Sends each channel to the Aux bus after all Fat Channel processing (polarity
invert, high-pass filter, gate, compressor, EQ, and limiter), and after the fader.
Power User Tip: Use the Pre 2 position for headphone and in-ear mixes to give your
performers a polished “studio” sound. This setting should be avoided for floor wedges, as
compression can cause feedback problems.
5.2.2 Creating Aux Mixes
Creating custom monitor mixes is critical. If musicians can’t hear themselves or their
bandmates, their performance will suffer. A monitor mix can be mono or stereo. Most
often, an individual live monitor mix is mono and is sent to a floor-wedge or sidefill
monitor (the obvious exception being in-ear monitor systems). A studio monitor mix
is usually stereo because it is sent to a headphone amplifier that requires both a left
and a right-channel input. In both cases, the function of the aux bus is the same.
As an example, let’s create a mono monitor mix on FlexMix 1.
1. Press the Mix 1 button in the Mix Select section to access settings for Aux
Mix 1. The faders move to show send levels to Aux 1 for each channel in
your mix.
2. Ask the musician(s) what signals they would like to hear in their monitors,
and use their requests as a starting point, adjusting the faders for the
relevant channels to create a monitor mix.
3. Press the Flex Fader Select button to access the Fat Channel processing for
the monitor mix output. This can be useful for eliminating feedback in a
monitor. EQ can also be used to increase the presence of an instrument by
boosting that particular frequency range without necessarily boosting the
send level in the mix. This is great for getting the lead guitar to cut through
in the guitarist’s monitor mix and to provide that extra rumble in the
bassist’s mix.
User
Main
Mix
Solo
Mute
Solo
Mute
11 27
13 29
15 31
12 28
14 30
16 32
A E
C G
B F
D H
1 17 18
19 20
21 22
3
5
2
4
6
23 247 8
25 269 10
1 17
AUX
Inputs
DCA
Groups
Mix/FX
Master
GEQ
Talk
1
2
3
4
BANK
10
U
10
5
5
dB
U
10
U
10
5
5
dB
U
10
U
10
5
5
dB
U
10
U
10
5
5
dB
U
10
U
10
5
5
dB
U
Hold to
Lock Main
( )
10
U
10
5
5
dB
U