19
3 Hookup
3.3 Top Panel Connections
StudioLive™ Series III
Owner’s Manual
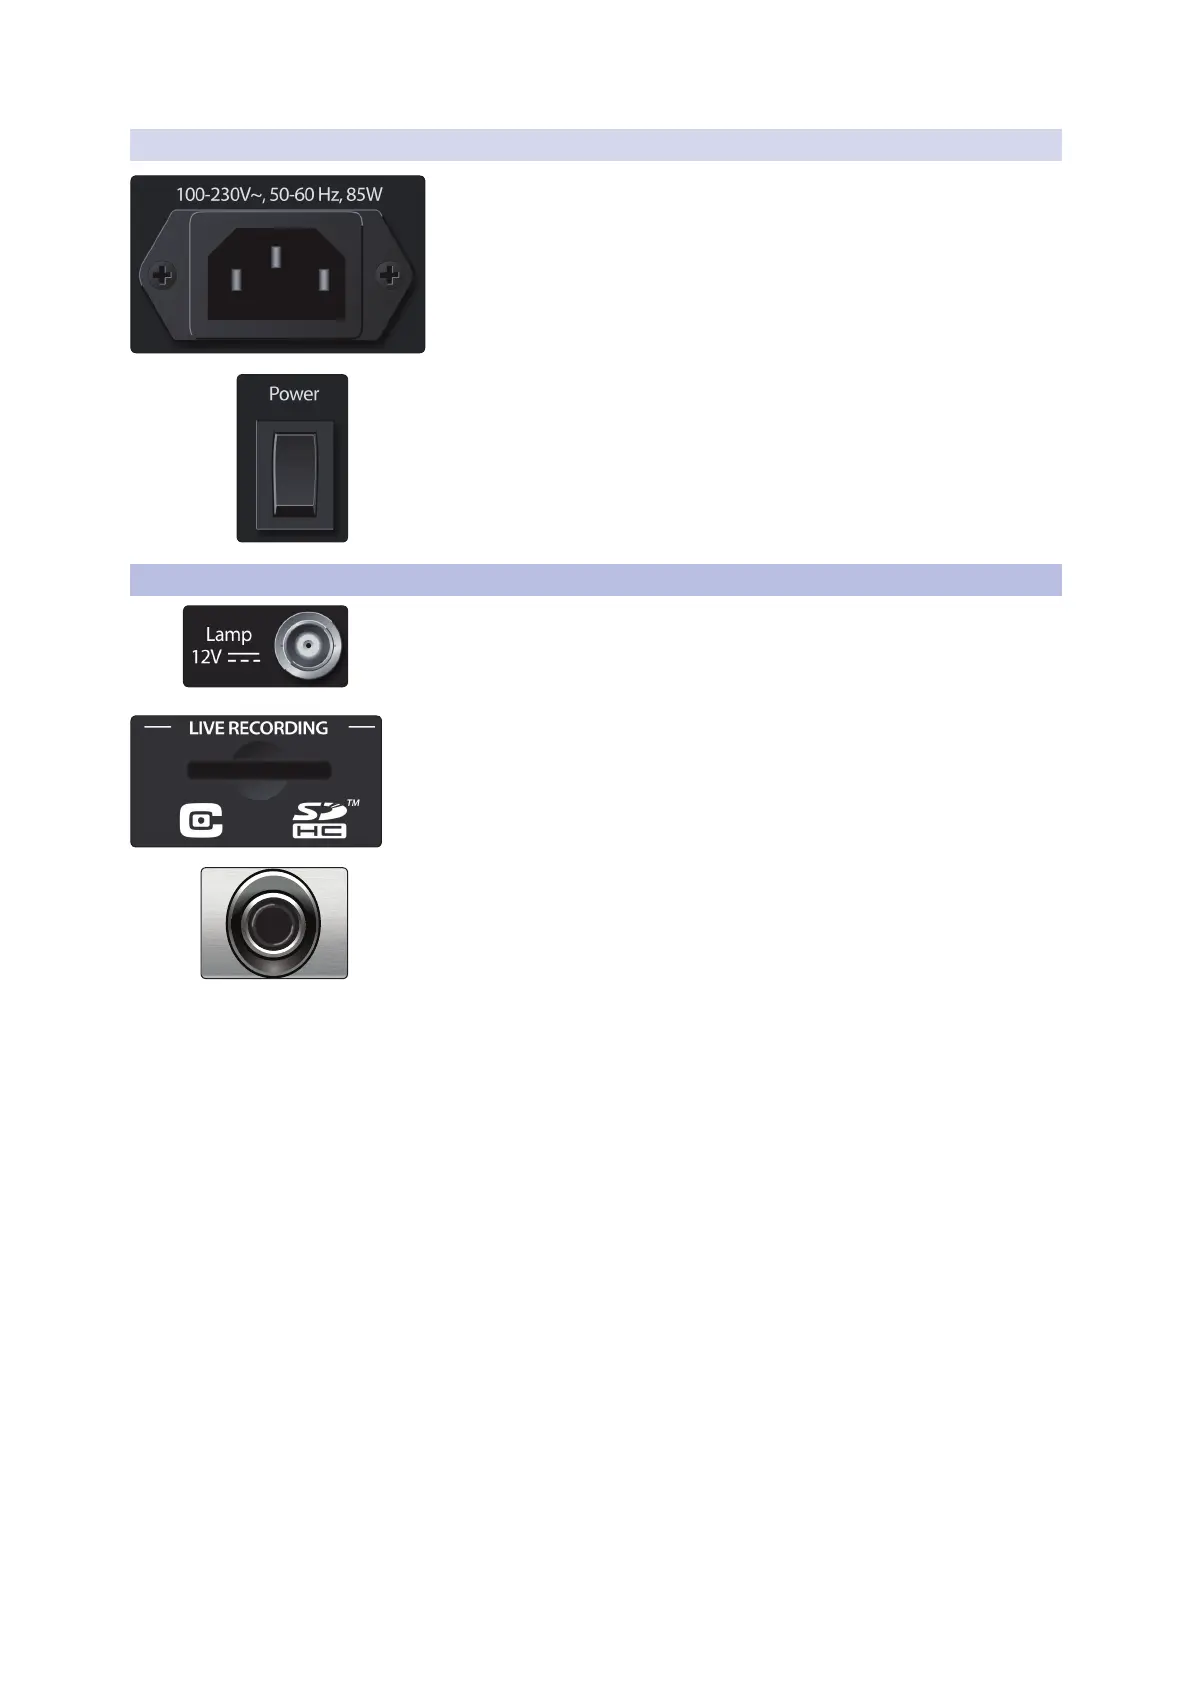
3.2.4 Power
Power Input. Connect the provided IEC power cable to this input.
Power Switch. Push the top part of this switch to power your StudioLive on, and the
bottom to switch power off.
Power User Tip: StudioLive Series III mixers provide a Soft Power Down option from the
Home menu. Selecting this option first will store your StudioLive’s current mix state,
allowing you to power it off without losing any settings. You will also be given the option
to log out of the current User Profile.
3.3 Top Panel Connections
Lamp Connector. This 12V BNC connection is provided to connect a third-party
console lamp. Do not use a bulb that is larger than 12V, 380 mA.
SD Card Slot. This slot accepts standard-sized SD cards at capacities up to 32 GB
(SDHC supported). SD cards can be used for audio recording and playback,
transferring Capture 3 session from your computer to your mixer, and firmware
updates.
Headphone Output. On the front of the StudioLive, a 1/4-inch TRS jack is available
for connecting a pair of headphones. Headphone output level is set by turning the
Phones knob in the Monitors section of the mixer. By default, this output receives its
signal from the solo bus, but you can freely assign any mix bus (pre-or-post-fader) as
well as the Tape Input to the Headphone output. See Section 10 for more information.