51
6 The Fat Channel
6.5 Compressor Mode (Dynamic Fat Channel)
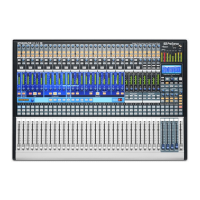
StudioLive™ Series III
Owner’s Manual
6. Key Filter. This encoder sets, and the scribble displays, the frequency at which
the gate will open. Setting a specific frequency, in addition to a specific decibel
level, provides more sonic shaping.
Power User Tip: A properly set key filter on a gate can greatly improve the overall sound
quality of a mix. For example, if you are inserting a gate on a snare-drum mic, you may
get enough bleed from the kick drum to open the gate. This is where a key filter can come
in handy. By setting the key filter to remove some of those low frequencies, the gate won’t
be as apt to open for the kick drum.
7. Expander Mode. Press the button or turn the encoder to switch between Gate
and Expander functions for this processor. See the next section of this manual
for information on available parameters when in Expander mode.
Press the Processor button to turn the Gate on or off.
6.5 Compressor Mode (Dynamic Fat Channel)
Pressing the Comp button in the Fat Channel gives you access to the Compressor
parameters for the selected channel or mix. A compressor is a dynamics processor
that reduces the dynamic range of a signal by attenuating it by a set ratio when it
exceeds a defined threshold.
StudioLive Series III mixers ship with three compressor models from which to choose
and the Fat Channel behaves differently, depending on which model is loaded.
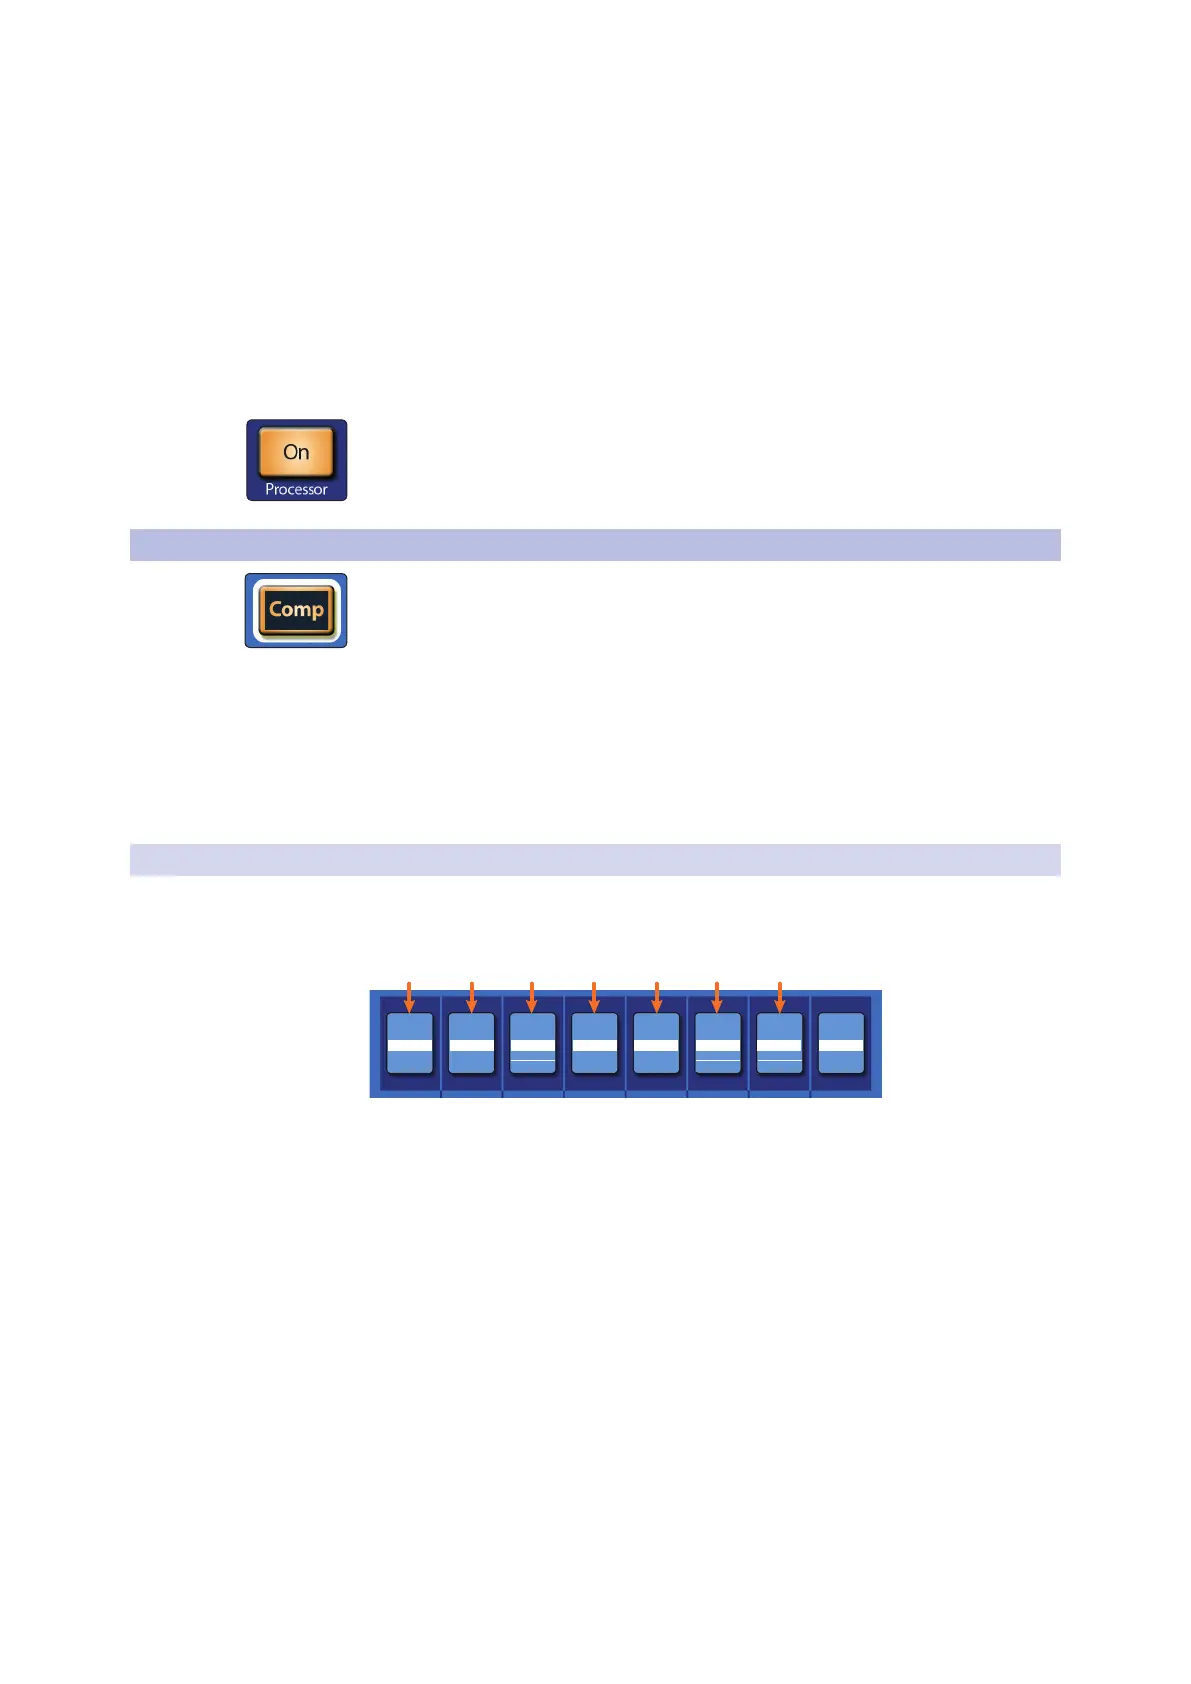
The eight Scribble strips in the Fat Channel show pertinent data about the current
settings of these controls. The controls differ, based on the model of compressor you
select.
For more information on available Fat Channel plug-in models, see Section 6.8.4.
6.5.1 Standard Compressor
The Standard Compressor is selected on every channel by default.
Dynamic Fat Channel Controls
COMP
COMPCOMPCOMPCOMPCOMP
Thresh Ratio Attack Release Gain
Soft Key Lstn
Key Fltr
COMP
OffOff0.00 dB150 ms20.00 ms2.0:1-0.00 dB
Auto
1. Threshold. Sets the level above which the compressor begins to attenuate the
signal.
2. Ratio. Sets the relationship between the amount a signal goes above the
threshold, and the amount it is attenuated. At a 1-to-1 ratio (often written as 1:1),
no compression occurs. At a 4:1 ratio, a signal that passes the threshold by 8 dB
is attenuated to within 2 dB of the threshold (dividing by four). The higher the
ratio you choose, the more pronounced the compressor effect becomes.
3. Attack. Sets the time it takes for the compressor to begin attenuating a signal,
once it passes the threshold. Press the button below to toggle Auto mode
on or off. When Auto mode is active, the Attack and Release controls become
inoperative, and a preprogrammed attack and release curve is used. In this
mode, the attack is set to 10 ms, and the release is set to 150 ms. All other
compressor parameters can still be adjusted manually.
4. Release. Sets the time it takes for the compressor to stop attenuating a signal
once it falls below the threshold.
Power User Tip: Very short compressor release times can produce a choppy or “jittery”
sound, especially when compressing instruments that have a lot of low-frequency
components, such as bass guitar. Very long release times can result in an over-