49
6 The Fat Channel
6.3 Input Mode
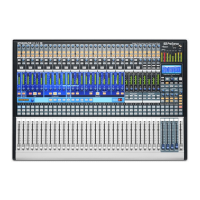
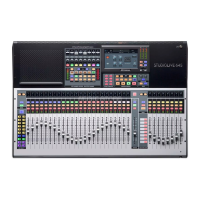
StudioLive™ Series III
Owner’s Manual
2. Pan. Use the encoder to set the currently selected channel or subgroup’s
pan position across the stereo field. The pan position will be displayed on the
Scribble Strip. Press the button below the encoder to reset the pan position to
Center.
3. Gate Threshold. The encoder sets, and the scribble strip displays, the gate
threshold for the selected channel. The gate threshold sets the level at which
the gate opens. Essentially, all signals above the threshold setting are passed
through unaffected, whereas signals below the threshold setting are reduced
in level by the amount set by the range control. If the threshold is set fully
counterclockwise, the gate is turned off (always open), allowing all signals to
pass through unaffected. You can set the threshold from 0 to -84 dB. See Section
6.4 for more information on the Noise Gate and its parameters.
4. Compressor Threshold. This encoder sets, and the scribble strip displays, the
compressor threshold for the selected channel or output bus. When the signal’s
amplitude (level) exceeds the threshold setting, the compressor engages.
Turning the knob counterclockwise lowers the threshold so that compression
begins at a lower amplitude. The threshold can be set from -56 to 0 dB. See
Section 6.5 for more information on the Compressor and its parameters.
5. High-Pass Filter. Use the encoder to set the High-Pass Filter Frequency
Threshold for the Selected Channel or Output Bus. The filter’s threshold can be
set from 24 Hz to 1 kHz. When the threshold is set to its lowest point, the filter is
off. The high-pass filter’s slope is -12 dB/8va. Press the button below to enable
the Low Band (B1) for control.
Power User Tip: A high-pass filter attenuates all frequencies below the set threshold. Use
the Fat Channel high-pass filter to remove unwanted low-frequencies from your source
signal, rather than trying to EQ them out.
6. EQ Gain. Sets the amount by which the selected frequency will be boosted or
cut. Press the button below to enable the Low Mid Band (B2) for control.
7. EQ Frequency. Sets the center frequency at which signals are boosted or cut for
the current EQ band. Press the button below to enable the High Mid Band (B3)
for control.
8. EQ Q. Sets the Q (or width) of the current EQ band. Larger Q values affect a
narrower range of frequencies. Lower Q values affect a wider range. Press the
button below to enable the High Band (B4) for control.
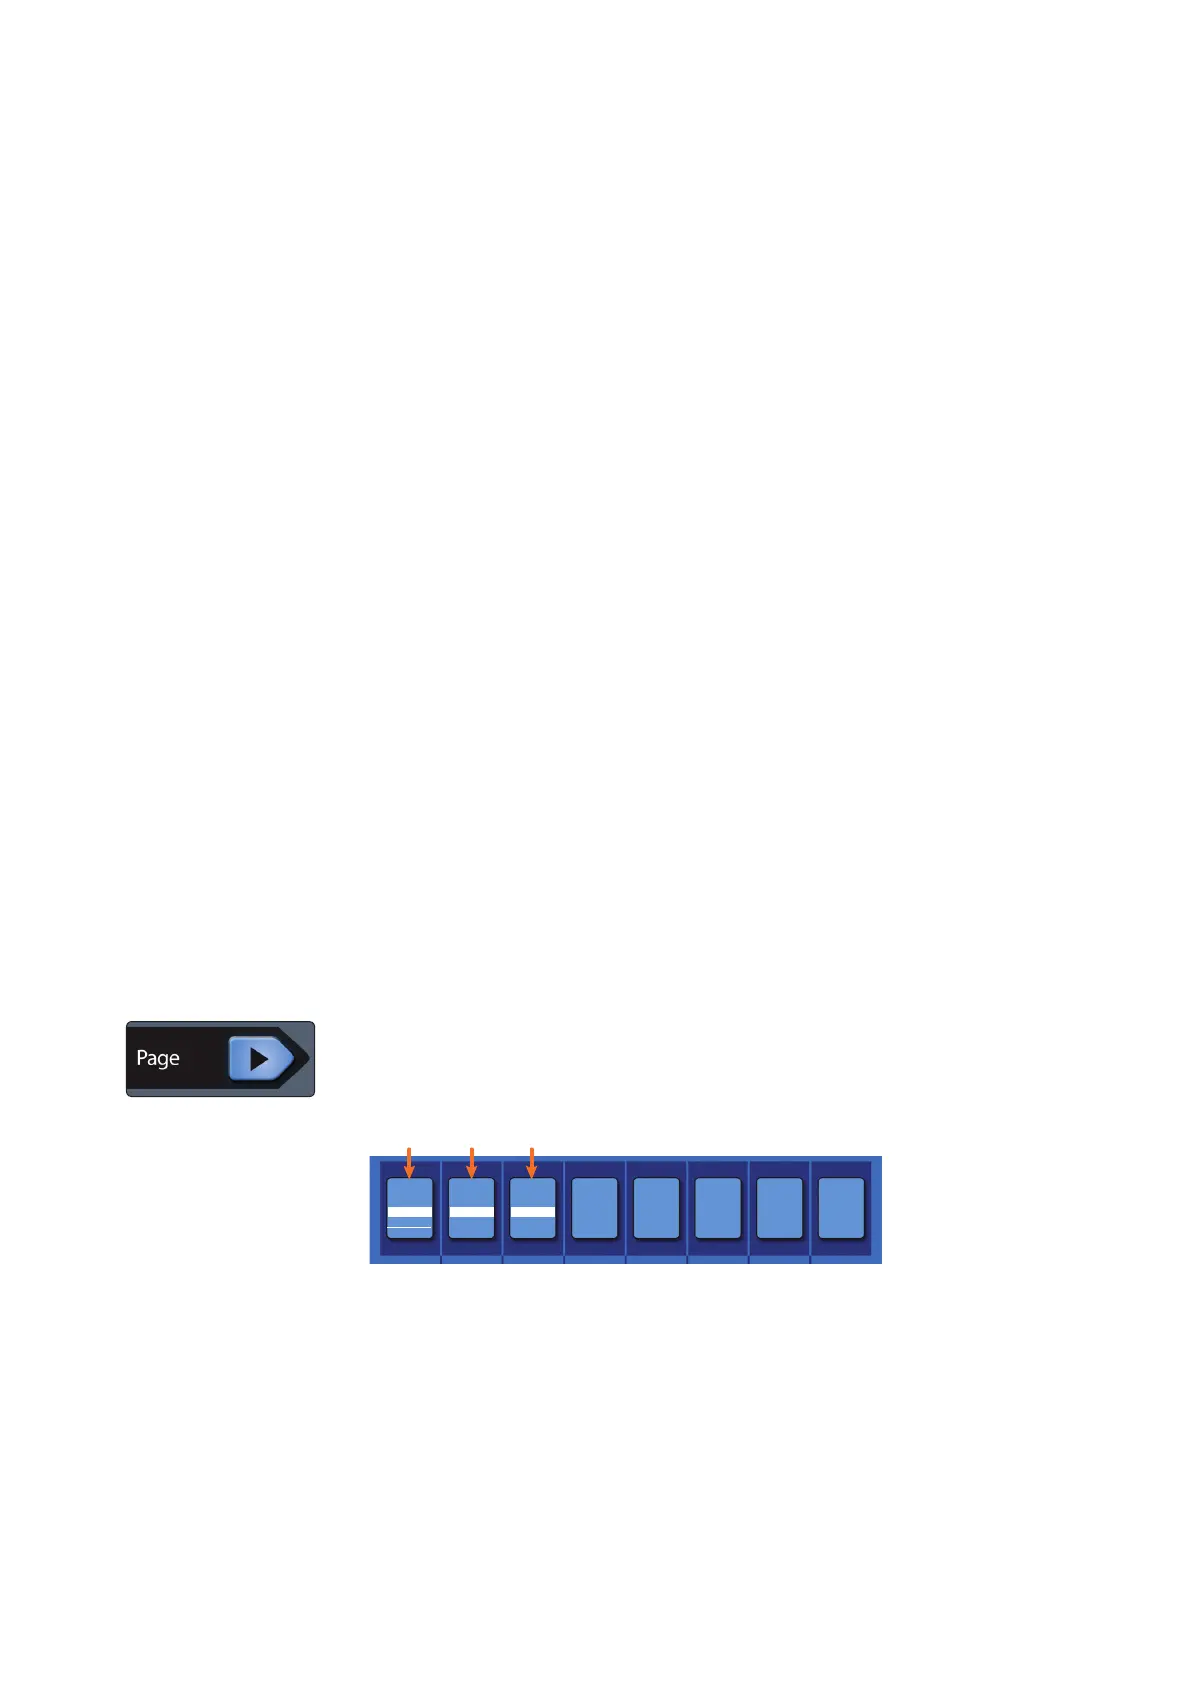
Pressing the Next Page button in the Fat Channel provides access to additional
parameters.
Note: These controls are not available from the Fat Channel on the
StudioLive 32SX and 32SC.
DELAYMONOLIMIT
Thresh Send
2.6 ms0.00 dB2.46 dB
Lim
1. Limiter Threshold. This encoder sets, and the scribble strip displays, the
threshold of the limiter for the selected channel or output bus. When the signal’s
amplitude (level) exceeds the threshold setting, the limiter is engaged. Turning
the knob counterclockwise lowers the threshold, so limiting begins at a lower
amplitude. The Limiter ratio is ∞:1.
2. Mono Send / Center Divergence (StudioLive 64S only). The encoder sets the
Mono Send level or the Center Divergence percentage depending on the Pan
Mode set in the System Menu. The button toggles between Pre- and Post-fader
send to the Mono Bus. For more information on the Mono Bus, see Section 5.6.
3. Delay. Sets the alignment delay for the currently selected input or bus. More
information about input and output delays and be found in Section 13.6 and
13.7.