102
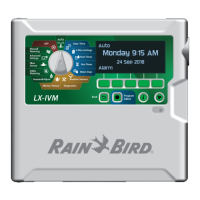
ESP-LXME Controller
Install Modules
Install BM-LXME Base Module
Install the BM-LXME Base Module in Slot 0.
NOTE: If your ESP-LXME controller included an FSM-LXME Flow
Smart Module, see Section E for installation procedures.
BM-LXME Base Module
CAUTION: Be careful not to bend the pins in the sockets when
installing the module.
NOTE: The Base and Flow Smart Module include a jumper wire
connecting the weather sensor (SEN) terminals. Do not remove
the jumper wire unless you install a weather sensor.
A
Orient the connector on the bottom of the module with the
connection socket in Slot 0 on the controller backplane.
1
B
Carefully fasten the module onto the controller backplane,
pressing rmly until it snaps into place. The red light on the module
will ash on and o once if the module is installed correctly. If the
light does not ash once, verify the module is seated correctly.
2
NOTE: To remove the module, press in on the (two) release
buttons on either side of the module.

 Loading...