EasyManuals Logo

Rain Bird ESP-LXME User Manual

Rain Bird ESP-LXME
116 pages
To Next Page IconTo Next Page
To Previous Page IconTo Previous Page
Page #114 background imageLoading...
Page #114 background image
108
ESP-LXME Controller
Complete Installation
Install Front Door
A
Line up the three door hinges with the plastic posts on the
controller.
B
Press the hinges onto the posts until the front door snaps into
place.
1 2
Verify Field Installation
Once some or all valves have been wired and programmed into the ESP-
LXME controller you can check the electrical portion of the installation
even if water is not available to test the valves.
If water is available and you would like to test some or all of your
stations, the easiest way to do so is by using the Test All Stations feature
of the controller. See Section C, Test All Stations for more details.
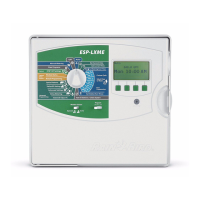
Table of Contents

Other manuals for Rain Bird ESP-LXME

Questions and Answers:

Question and Answer IconNeed help?

Do you have a question about the Rain Bird ESP-LXME and is the answer not in the manual?

Rain Bird ESP-LXME Specifications

General IconGeneral
Programs4 independent programs
Controller TypeModular
Station Run Time1 minute to 12 hours
Enclosure RatingNEMA 3R
EnclosureWall-mount
Power Source120 VAC
Water ManagementSeasonal Adjust
Sensor CompatibilityRain Sensor
CommunicationOptional
Battery BackupLithium
Watering ScheduleOdd/Even day, Cyclical

Related product manuals