Chapter 4
34 Viper Pro Installation & Operation Manual
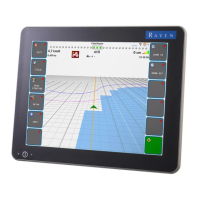
CAN Initialization Results
1. Power up the Viper Pro field computer.
2. The CAN Initialization Results screen displays. If the CAN system found all of the connected nodes, touch
Start Viper. If not, touch Retry CAN Init.
Note: If the product nodes are not found and this is a new installation, skip to the Re-Addressing Product
Nodes section on page 34 and follow the instructions for addressing the product nodes.
3. If product nodes which had been ‘Found’ during previous Viper Pro applications, but are still not displayed
after step 2, troubleshoot the CANbus system to determine why the node is not communicating with the
CAN system (i.e. No logic power, ground issues, faulty CAN connection, etc.).
CAN Node Off-line Errors
The most likely causes for losing CAN communication between the field computer and any one of the nodes
are:
1. Corroded and/or open connections in the circuit.
2. Field computer and/or CAN node logic power and grounds connected to a “dirty” power source (dirty power
is defined as any circuit with a variable load that exceeds 1 ampere). This is especially true of circuits
loaded by electrical coils.
3. Field computer and nodes connected to different power and/or ground sources (e.g. battery, alternator or
power bus). This can result in components operating at different voltage planes. Connect the field computer
and nodes to the same power source via separate leads to eliminate potential issues.
4. Supply voltage below required minimums due to weak alternator or battery outputs. Check the machine
battery and alternator and repair or replace as necessary.
Re-Addressing Product Nodes
If the Viper Pro cannot detect a CAN product control node (i.e. single product node, dual product node, motor
control node, etc.) during the start up sequence, troubleshoot the CANbus and the node, and then re-address
the CANbus:
Note: It is recommended to retry the CANbus initialization prior to readdressing the system if no new
nodes have been connected to the CANbus.
1. Touch Re-Addr Nodes from the CAN Initialization Results screen.
The Readdress screen will be displayed.