6
Intera 3.2
Quick Start
Quick Start
Performing a Pick and Place in Just a Few Minutes
Follow the steps in this section to get up and running with Baxter quickly. The bulk of this User
Guide explains Baxter in more detail its parts, terminology, how to perform various tasks, create
paths, etc., but to get a very basic idea of how to operate Baxter, start here.
NOTE: For Baxter to perform properly, it should be calibrated (see “Calibrating the Arms” on
page 138), and its grippers attached (per the instructions in the gripper kit) and configured (see
“Appendix A: Configuring Grippers” on page 143) before you train a Pick and Place task. Otherwise,
Baxter’s arm may pull or miss Picks when performing tasks.
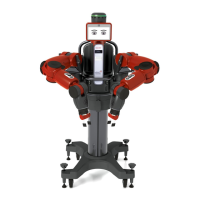
Power On Baxter
To turn Baxter on, press and release the white power button on the lower left back of the robot (See
“Back View” on page 14 for the location.)
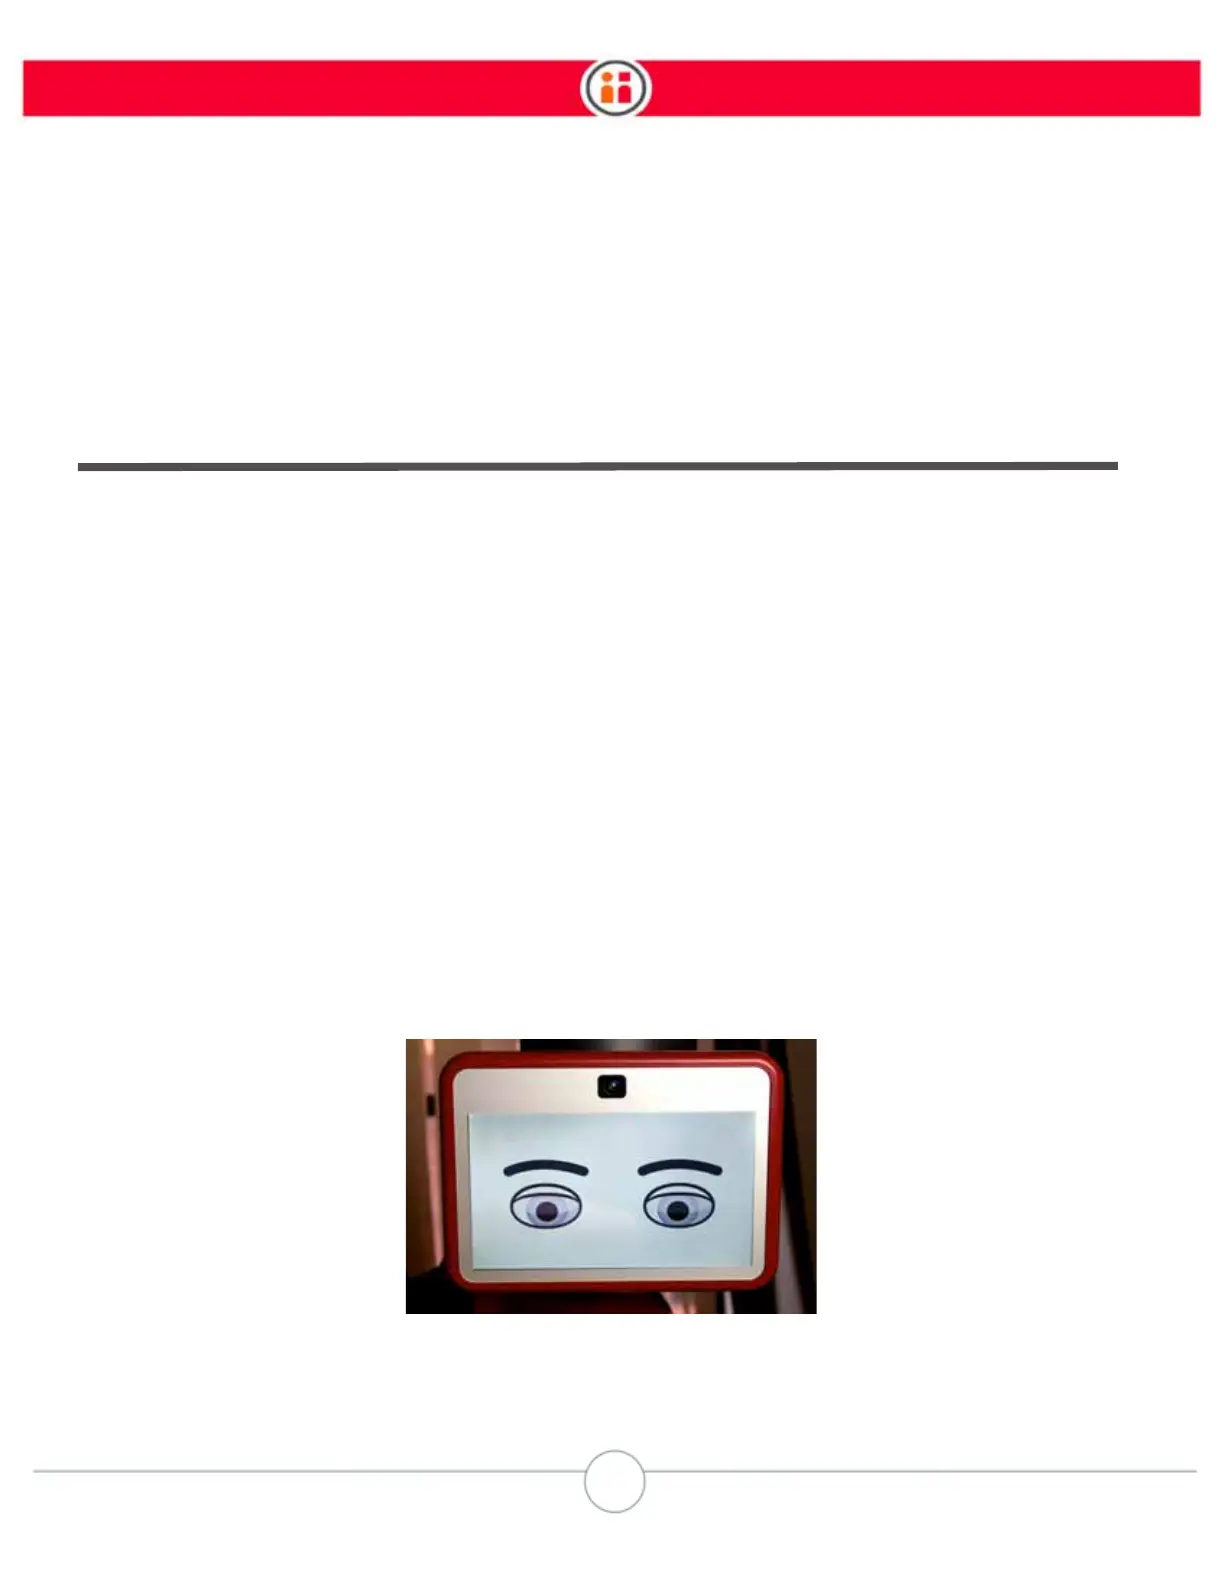
IMPORTANT: Do not
hold the power button down when powering on. It could damage the robot.
The lights on the head turn on, and the display shows a neutral face.