4. Press the [Start] key.
Transmission starts.
After transmission, the standby display appears.
• If the "Entered destination is not correct." message appears, press [Exit] and check the fax number
again, and then repeat the procedure from step 1.
• Please contact your service representative if specifying the number of times (1 to 15) that the fax
number must be re-entered. Step 3 must be repeated as many times as is set here.
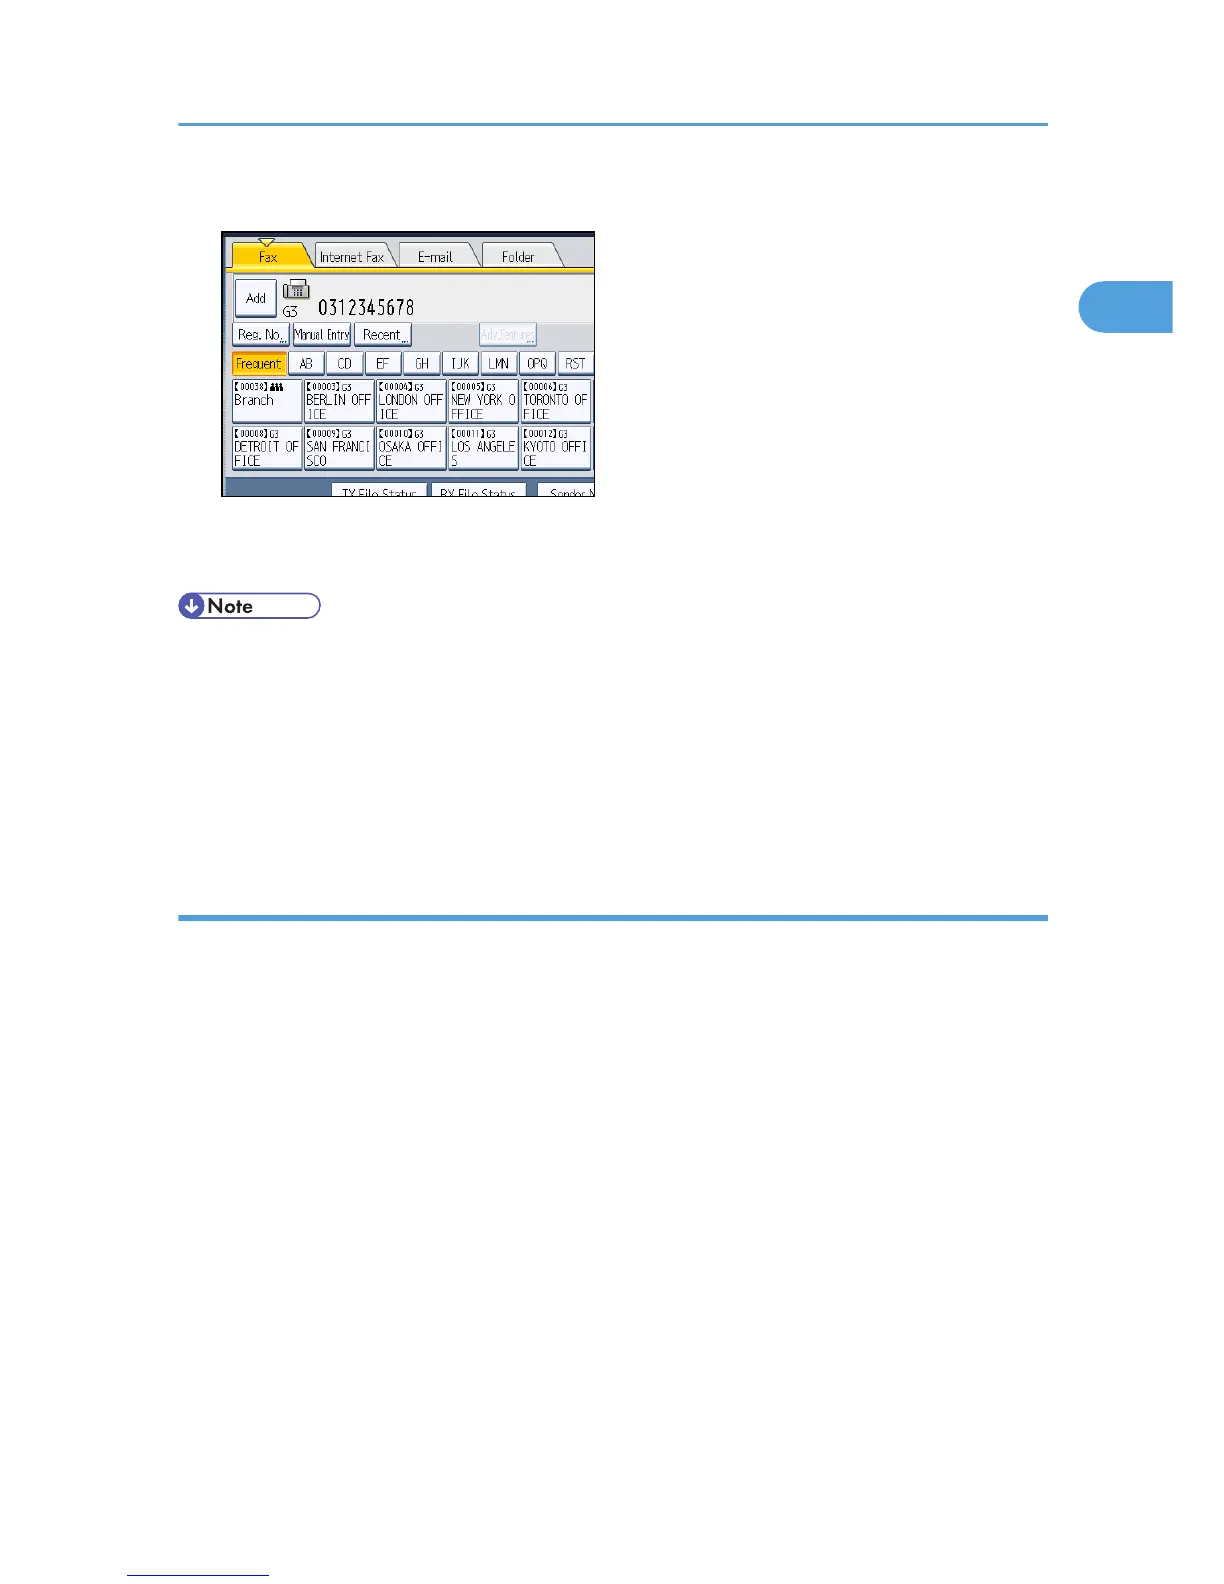
• You cannot edit the first fax number that is entered.
• You cannot use this function from the simplified display.
Displaying the destination prior to transmission
To prevent documents being sent to the wrong destination, you can configure the machine to display the
destination again after it has been entered and before the file is sent.
If you want to enable this function, contact your service representative.
Note that the entered destination will not be displayed again if you are sending the fax by any of the
following means:
• Scanning without entering a destination (storing documents, storing documents in Information
Boxes)
• On Hook Dial
• Manual Dial
• the simplified display
Specifying a Destination
107

 Loading...


