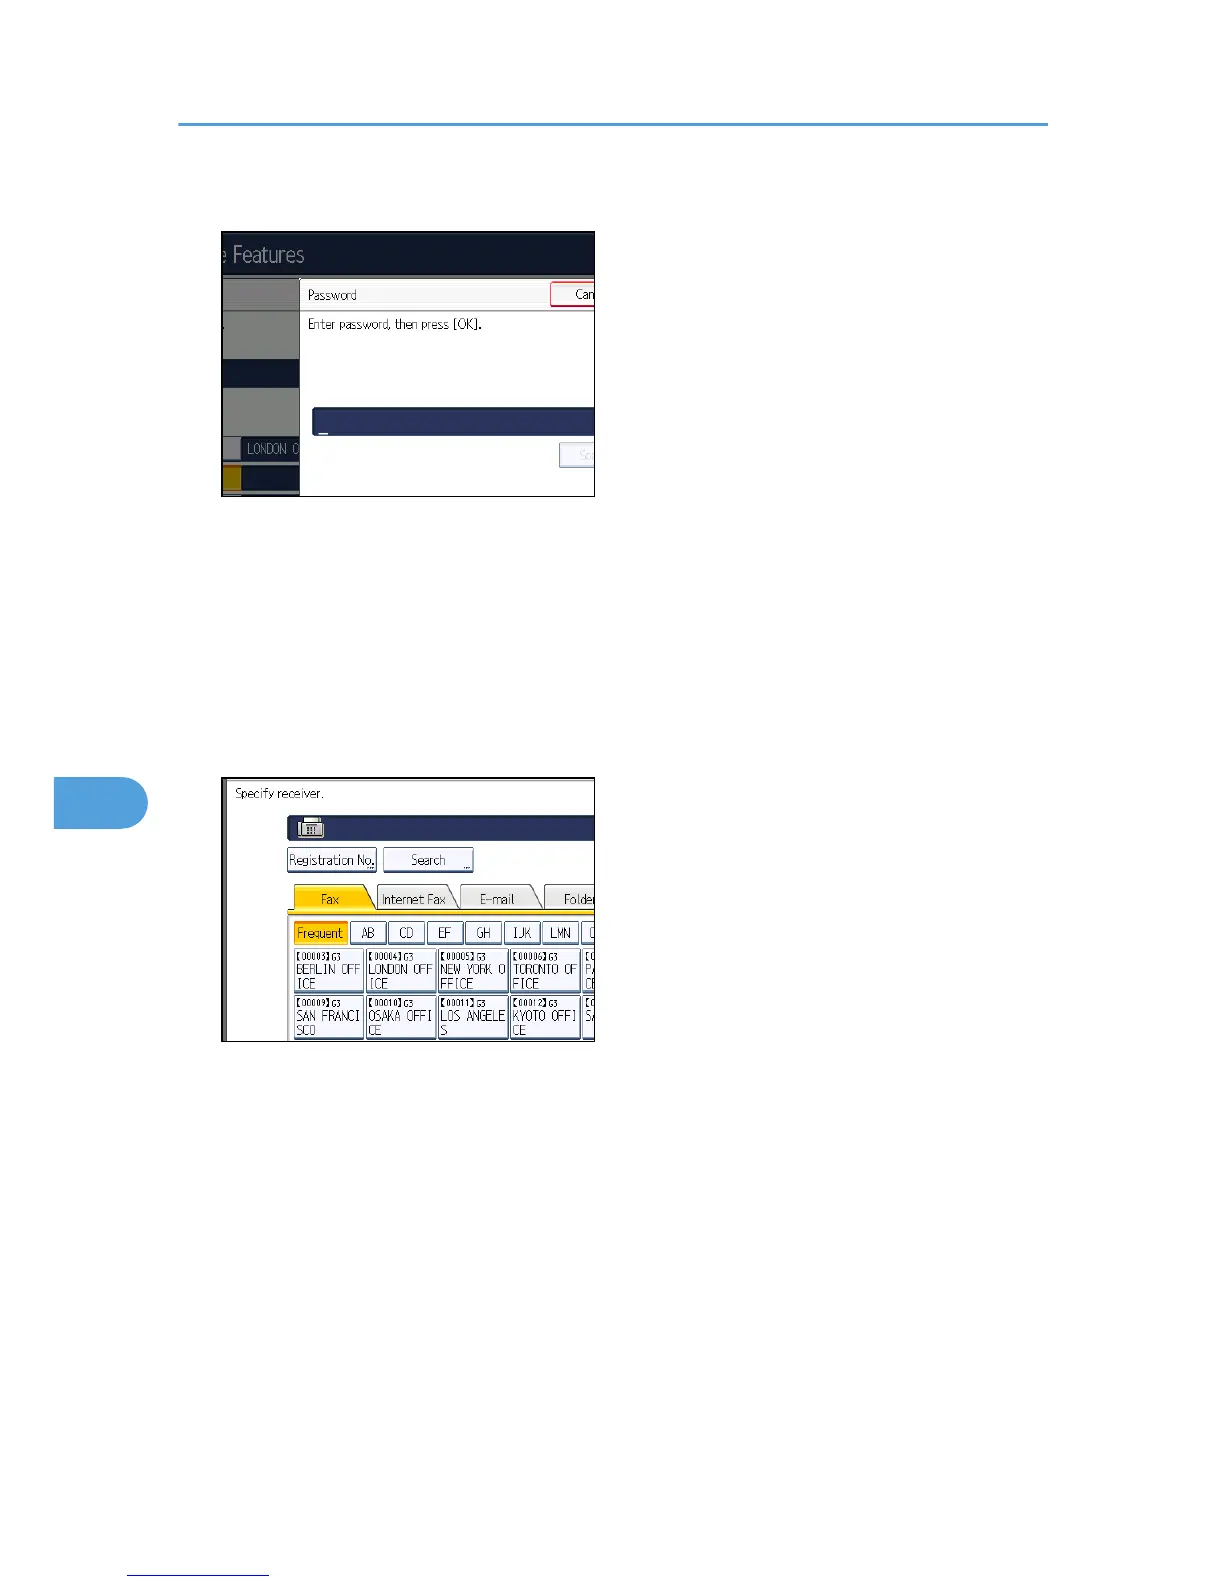
10. Enter a password, and then press [OK].
If you make a mistake, press [Clear] before pressing [OK], and then try again.
11. Re-enter the password, and then press [OK].
If you make a mistake, press [Clear] before pressing [OK], and then try again.
To change the password after pressing [OK], press [Password] and repeat steps 10 and 11, or
press [Cancel] and repeat from step 9.
12. Press [Receiver].
13. Select a destination using the destination list, and then press [OK].
Press the transmission type tab to switch the destination between fax number, Internet Fax
destination, e-mail address, and folder destination.
IP-Fax destination appears in the fax destination list.
14. Press [Security].
If not specifying the security function, proceed to step 17.
Security is set to use S/MIME authentication. For details about the security settings, consult your
administrator.
7. Facsimile Features
400

 Loading...


