7. Specify the next destination.
To add another destination, repeat steps 6 and 7.
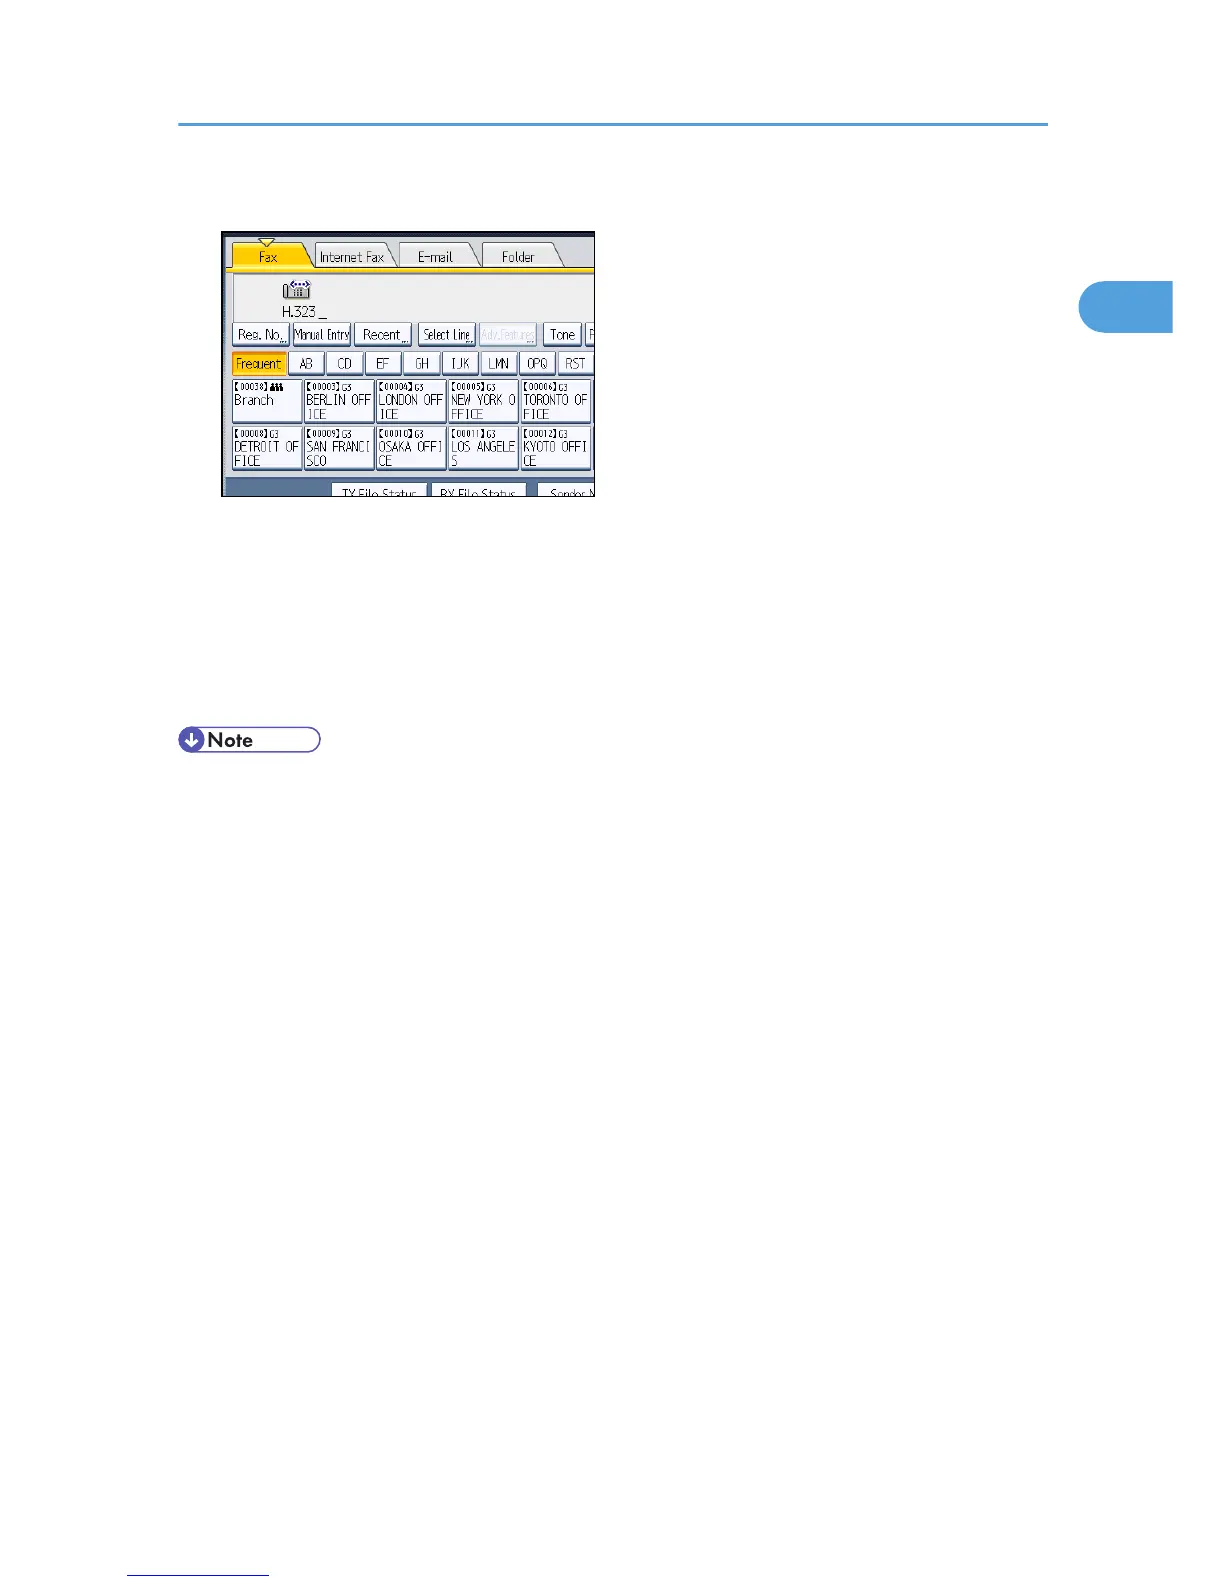
Press the transmission type tab to switch the transmission type between fax/IP-Fax, Internet Fax, e-
mail, and folder.
8. Press the [Start] key.
The machine starts to scan the original and stores it in memory. When scanning ends, the
Communicating indicator lights and transmission starts.
• You can specify H.323 or SIP as the default setting. See “Changing the Default Functions of the
Fax's Initial Display”.
• Depending on the security settings, [Manual Entry] might not appear and you might not be able to
enter the IP-Fax destination.
• To select a destination from the Address Book, see “Using the Address Book to Specify
Destinations”.
• IP-Fax will be available only if the gateway (T.38-compliant), gatekeeper, and SIP server are
compatible with this machine. For a list of certified compatible gateways, gatekeepers, and SIP
servers, contact your local retail or service representative.
• Methods of entering a destination vary depending on the network settings made by the
administrator. Ask the machine administrator for details. For details about entering the IP-Fax
destination, see “When using a gatekeeper server or SIP server”.
• For details about text entry, see “Entering Text”, About This Machine.
• The Facsimile Features menu includes a user parameter setting (switch 17, bit 2) that enables you
to configure the machine to force the user to press [Add] whenever s/he specifies a destination
using a destination key. This prevents users accidentally sending documents to the wrong
destination. See “Parameter Settings”.
• If you press [Prg. Dest.], you can register an entered destination in the destination list. For details
about storing a destination you entered, see “Registering Entered Destinations to the Address
Book”.
• For the maximum number of digits that can be included in a destination, see “Maximum Values”.
Specifying a Destination
83

 Loading...


