7.6
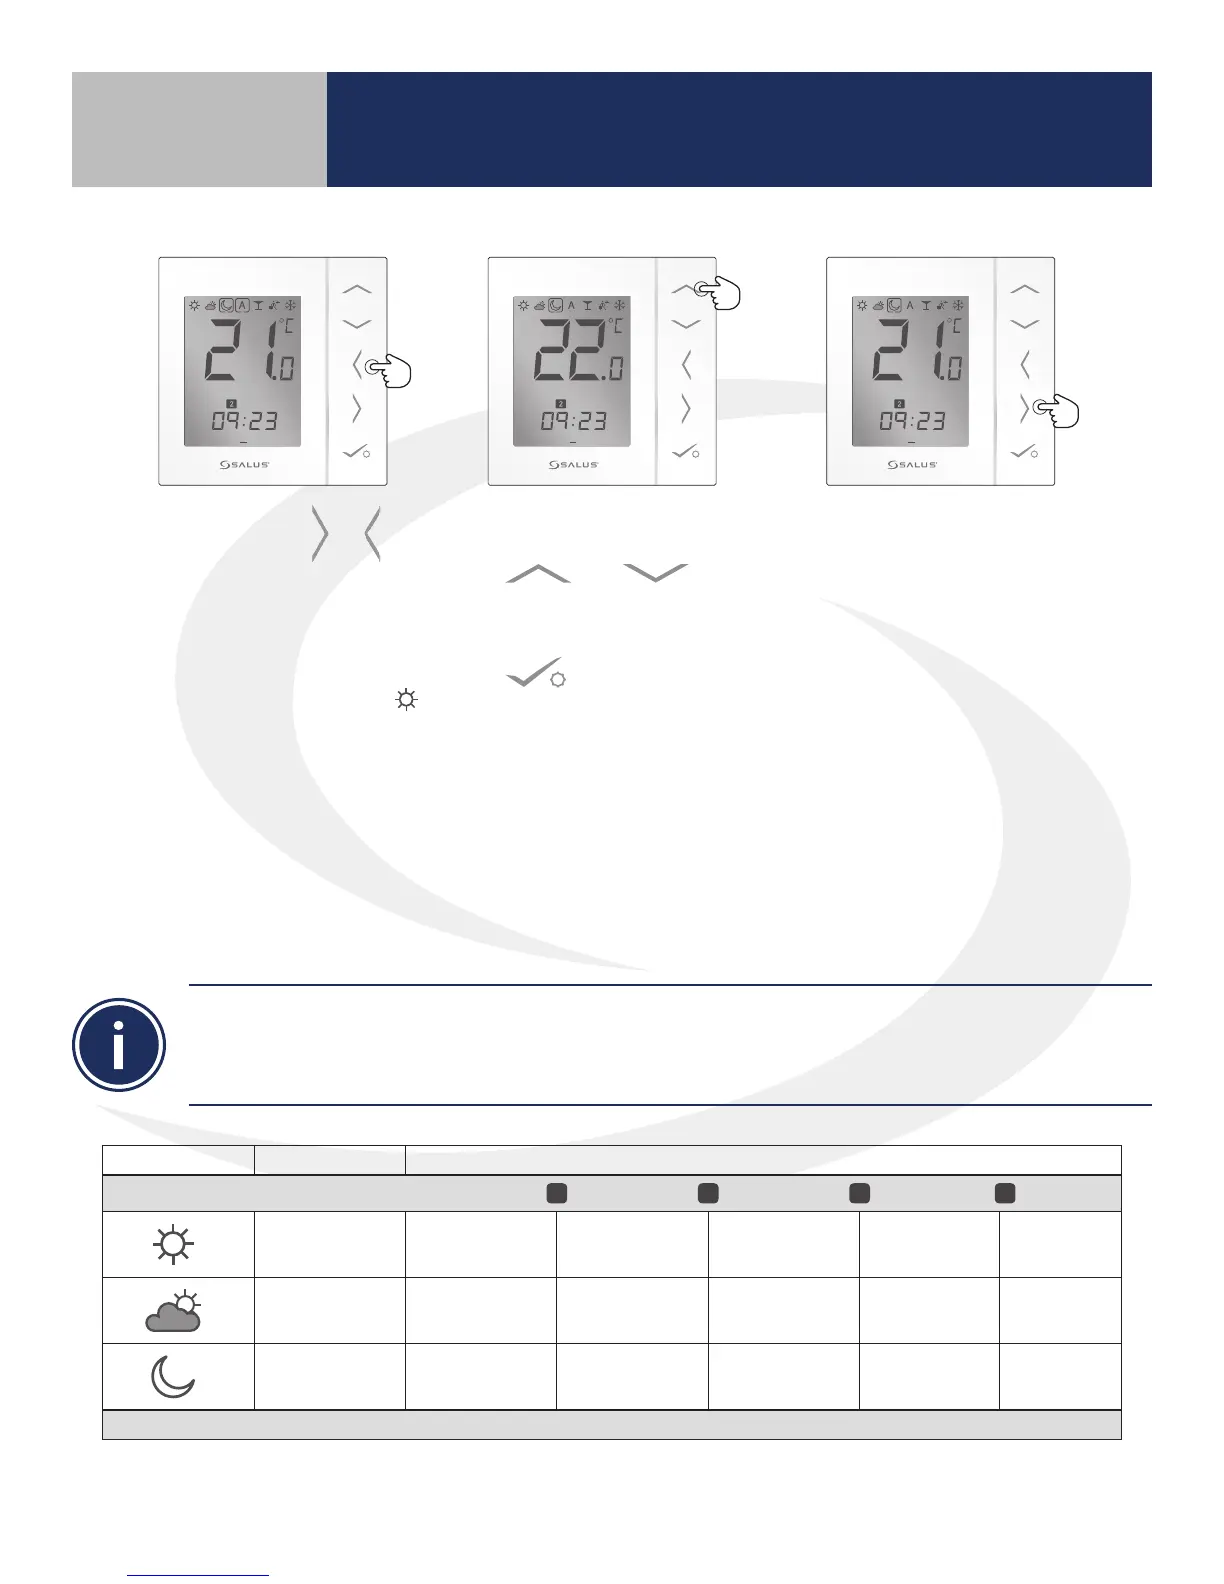
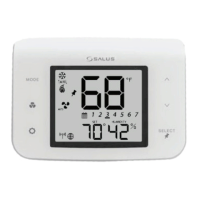
1. Use the right/left &
arrows to select the mode that
corresponds to the intended
temperature. For example,
to set the high temperature,
move box to the sun icon.
2. Use the Up/Down Arrows
& to set
the temperature for this
period, then press conrm
.
3. Repeat this process for the
middle temperature and the
low temperature.
4. When all temperatures are
set, move the box to the
letter “A” to run the current
program. Note that a box
remains around the icon for
the current period.
1 2 3 4 5 6 7
PM
1 2 3 4 5 6 7
PM
1 2 3 4 5 6 7
PM
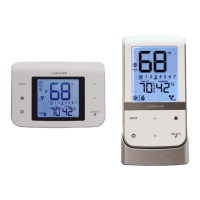
AS20WRF/BRF Thermostat – Schedule Set Up
Changing the default schedule for the AS20WRF/BRF Thermostat can be done directly from the User
Interface or from the SALUS Smart Home mobile application, if an SG888ZB Gateway is used and connected
to the internet. Graphical representations of the default schedules are on the previous page. Use the
following graphs to plan schedule updates.
Heating Mode Default Temp. Active Heating Mode
Schedule Block
1 2 3 4
_ _° F / C
_ _° F / C
_ _° F / C
Time _ _ : _ _ _ _ : _ _ _ _ : _ _ _ _ : _ _ _ _ : _ _
Section 7
Setting Device Parameters