5.5
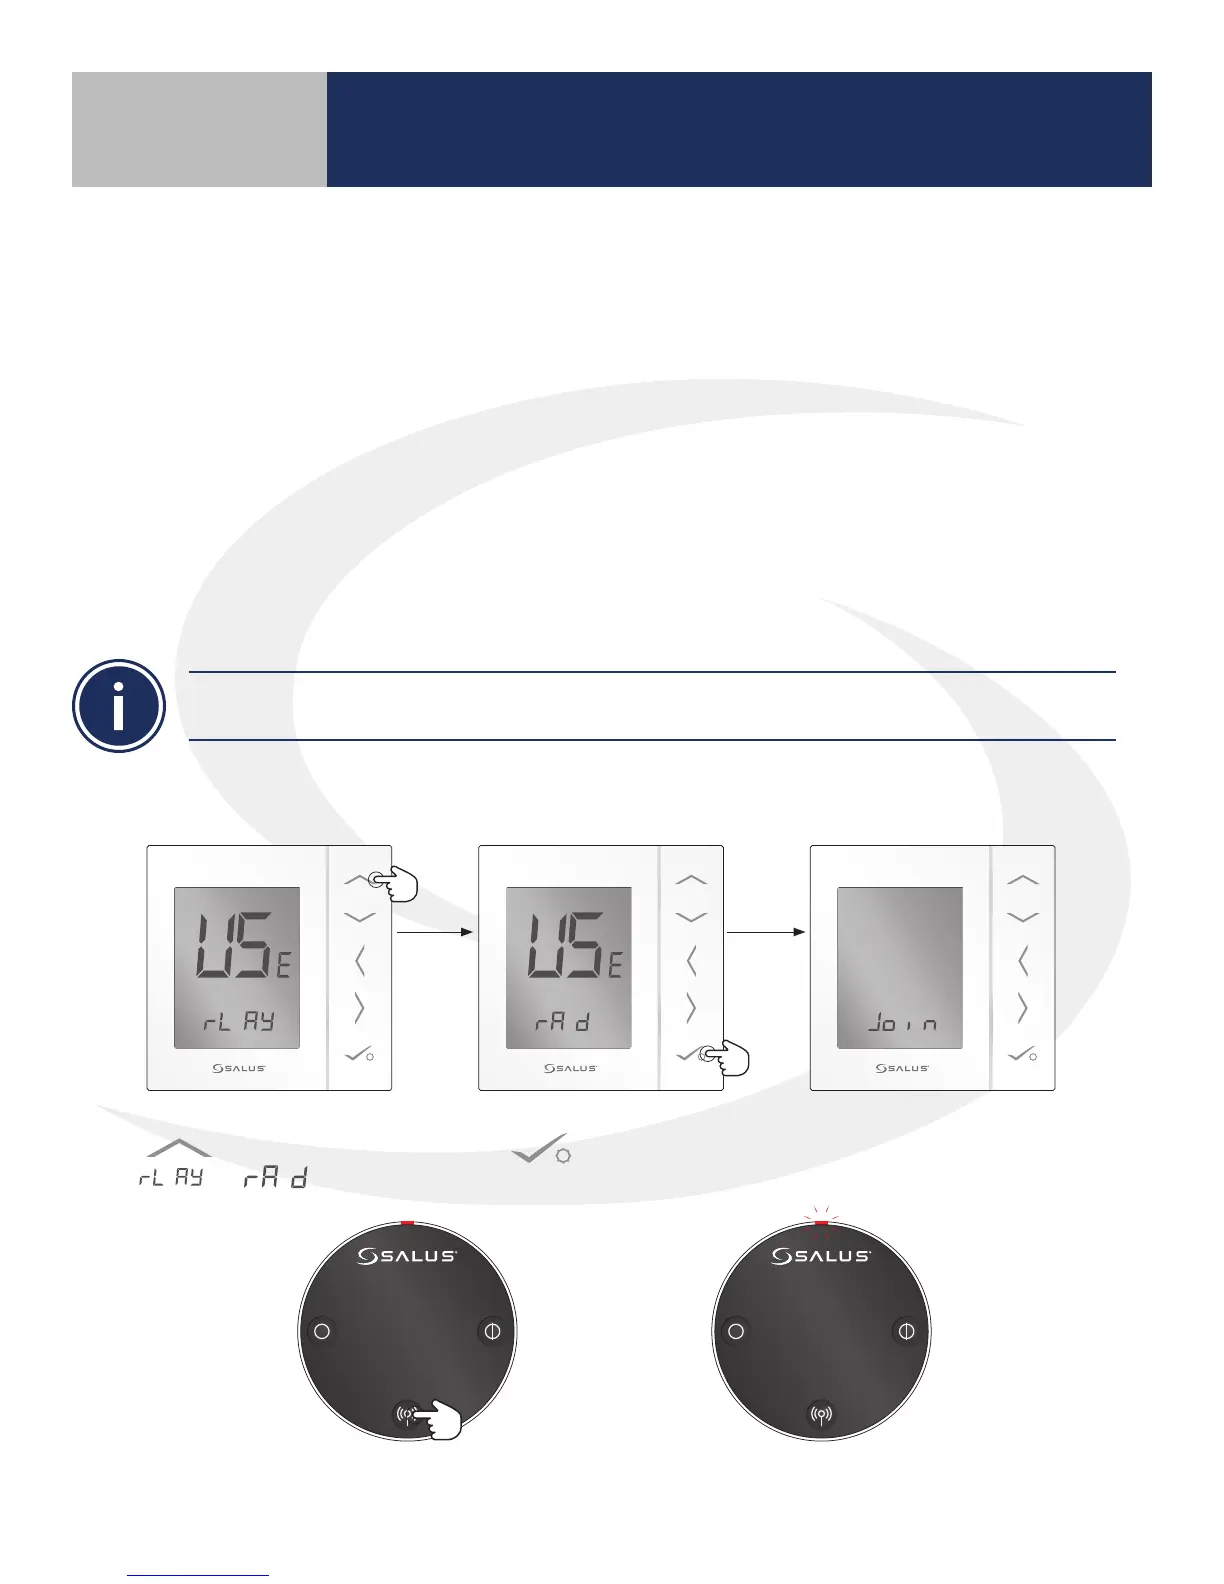
10 seconds The LED indicator will ash red.
6. Press and hold the pair button for 10 seconds to enter pairing mode.
4. Use the Up arrow
to change to from
to .
5. Then press conrm
.
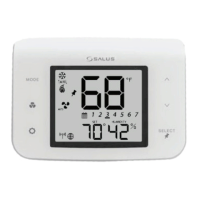
The AS20WRF/BRF Thermostat
will join the wireless network and
begin the pairing sequence.
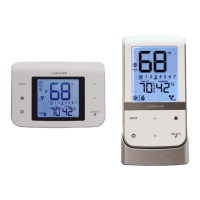
AS20WRF/BRF Thermostat with ARV10RFM
Radiator Valve Actuator
Before beginning the pairing process, it is important to be sure that the ARV10RFM Radiator Valve
Actuator was installed and adapted correctly as detailed in Section 3.
1. The batteries are to be inserted and the LED is to be solid red before installing the actuator on
the radiator valve. Remember the actuator should be only nger tight on the valve. Using pliers
or other tools can damage the assembly.
2. After attaching the actuator to the valve, press any of the buttons to initialize the actuator. This
process may take several minutes and the valve may continue to initialize after the light is no
longer illuminated.
3. Press and hold the lighted red button on the AC10RF Coordinator for 5 seconds, until the LED
begins ashing, to begin pairing.
Section 5
Device Pairing & Setup without Internet
DO NOT BEGIN pairing with the ARV10RFM Radiator Valve Actuator unless the light is out and there is
no motor activity. Listen closely to the Valve Actuator to be sure it is not operating before proceeding.