4.3
Section 4
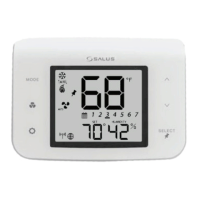
AS20WRF/BRF Thermostat Configuration
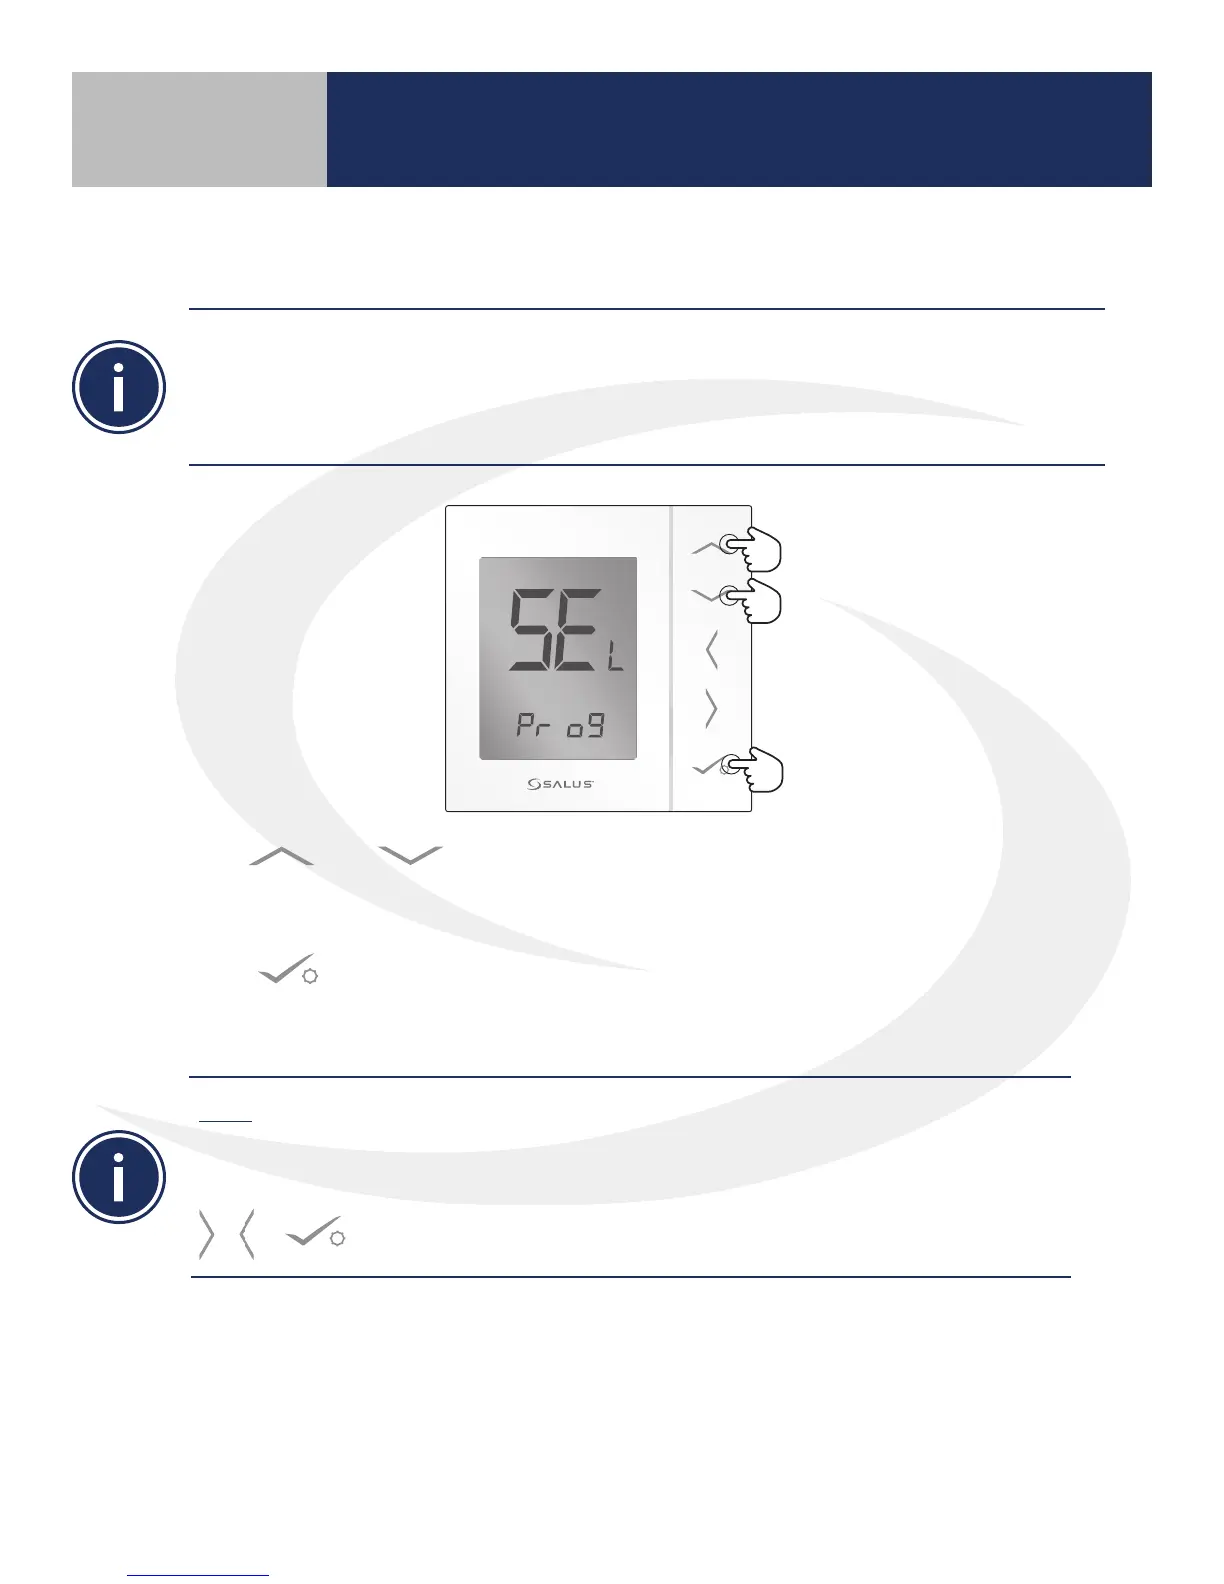
1. Use or keys to select between Pr o9 (programmable) and nP r9 (non-
programmable) thermostat congurations. (Note: Skip the uu tr selection as this is not
applicable)
2. Press to conrm selection.
Once the AS20WRF Thermostat is properly congured, pairing with other devices may proceed.
Note: The uu tr conguration is not used and should not be selected. The AS20WRF/BRF
Thermostat conguration cannot be changed after pairing is completed without resetting it to
factory defaults and starting over. DO NOT PROCEED with pairing until the thermostat is in the
desired conguration. If the wrong conguration is chosen prior to pairing, press & hold the
, & buttons to re-enter the Pr o9 mode.
Device Pairing & Setup
with Internet Connection
Prior to pairing, the AS20WRF/BRF Thermostat should be set to the desired conguration. The
default conguration for the thermostat is programmable (Pr o9) but it can also be congured as
non-programmable (nP r9). Note that earlier rmware may display (dI 9t) for the non-programmable
conguration. The non-programmable option is used for thermostats intended to be a member of a
thermostat group, part of an internet connected system, or a system where a schedule is not desired.