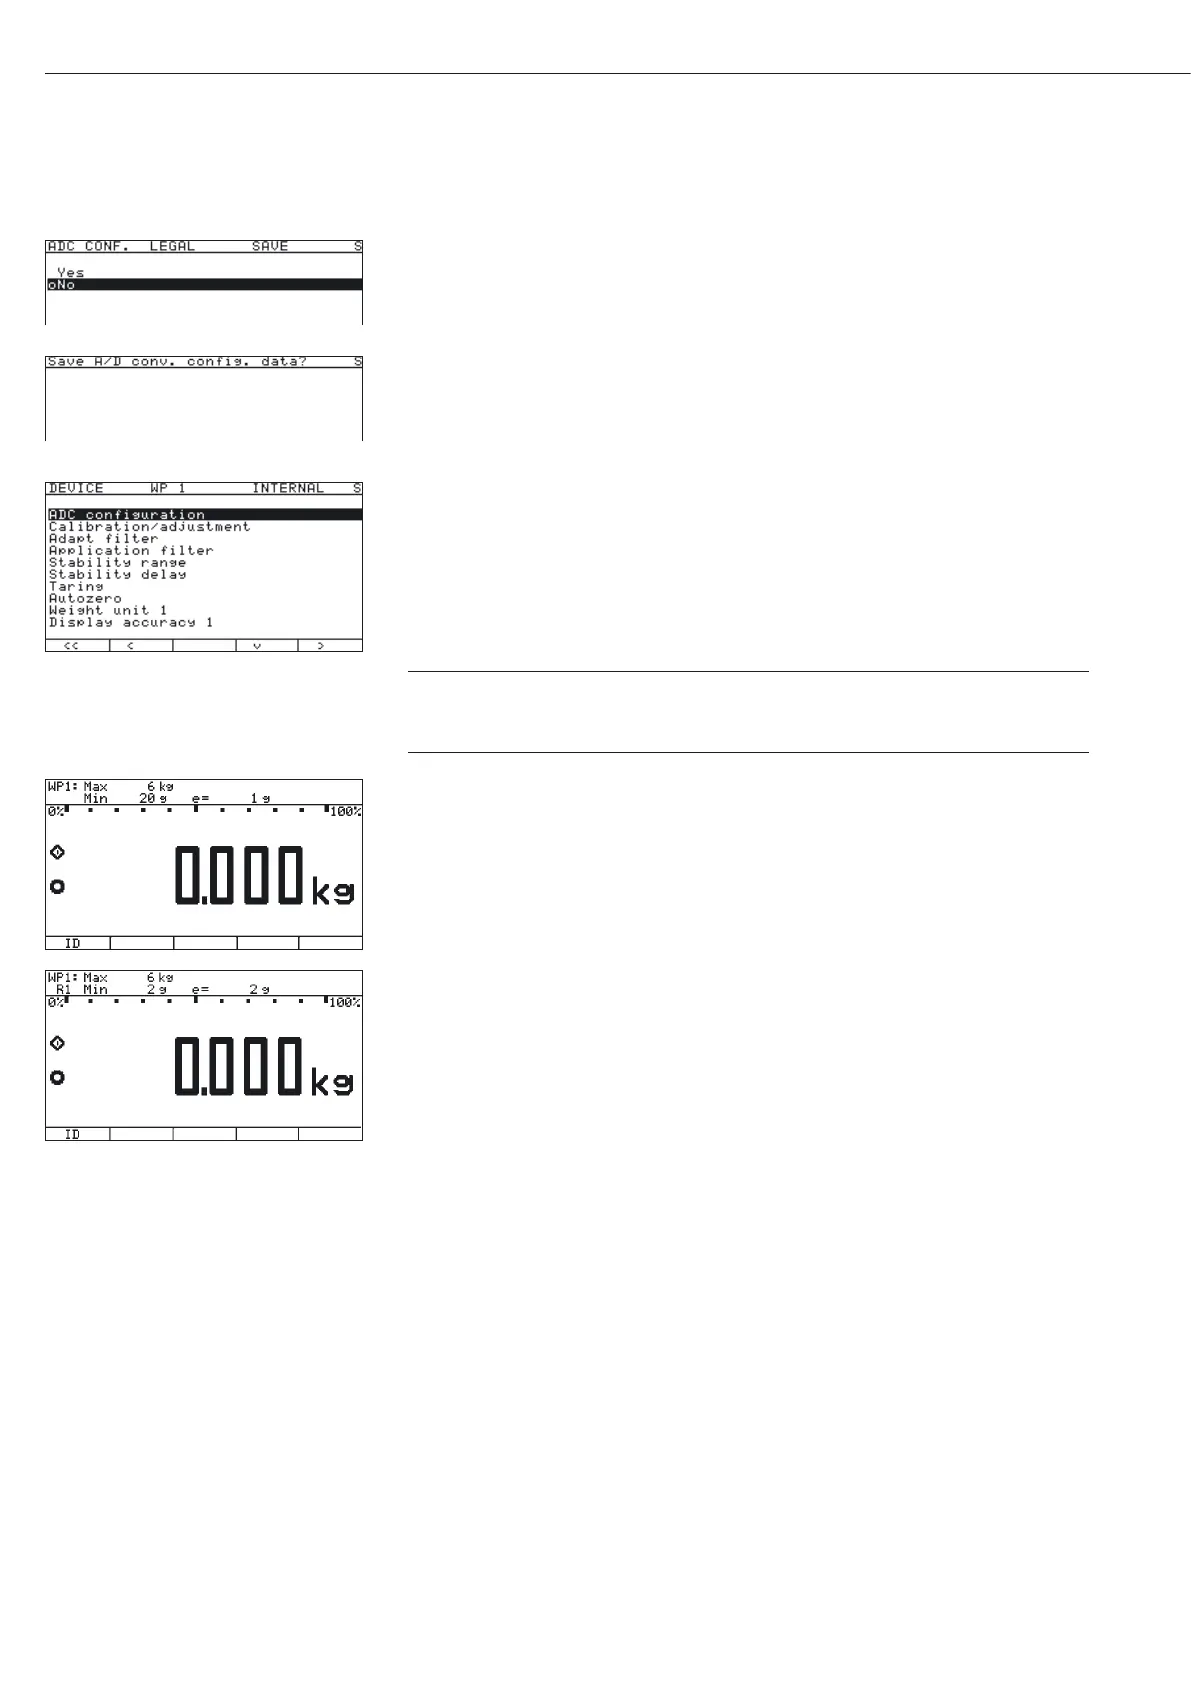
t To save the configuration, use the “Q" soft key to select “Yes" and confirm using the
“l" soft key.
y The message “Function activated" appears briefly. The program then
returns automatically to the regular weighing mode.
To not save the configuration:
t Press the “o" soft key to exit the menu.
y The program returns to the next higher menu level.
To not save data: Press the “
o" soft key. The program returns to the
WP1:Internal.
t Slide the menu access switch to the right (= “closed" position) and reattach the cap.
y The device is now in normal weighing mode.
h
Once ADC configuration has been completed, an adjustment of the weighing
platform (calibration/adjustment and linearization) must be carried out (see
“Calibration/Adjustment without Weights" and “External Linearization").
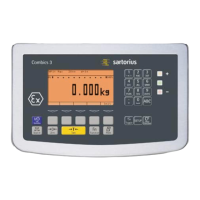
The displays depicted in the next two illustrations on the left show data from a multi-
interval scale configured as described above, or a similarly configured multiple-range
scale.
If the A/D converter was configured with a “Verifiable” data record, the lines for display
of metrological data (lines 1 and 2) show the data valid for use in legal metrology.
The current range (e.g. R1) is displayed top left under the weighing point for multiple-
range scales.
ADC Configuration with Load Cell(s) Connected
Procedure:
1. Open the menu access switch, see “Analog/Digital Converter (ADC) Configuration."
2. Activate the Service mode, see “Service Mode."
3. Configure WP 1, see “Analog/Digital Converter (ADC) Configuration."
4. Set single-range mode, for example, see “Analog/Digital Converter (ADC) Configuration."
5. Select the units, see “Analog/Digital Converter (ADC) Configuration."
6. Adjust without weights, see “Adjust without weights."
7. Set/Delete the preload, see “Setting the Preload" and “Deleting the Preload."
26
Configuring Weighing Platforms

 Loading...