29
Configuring Weighing Platforms
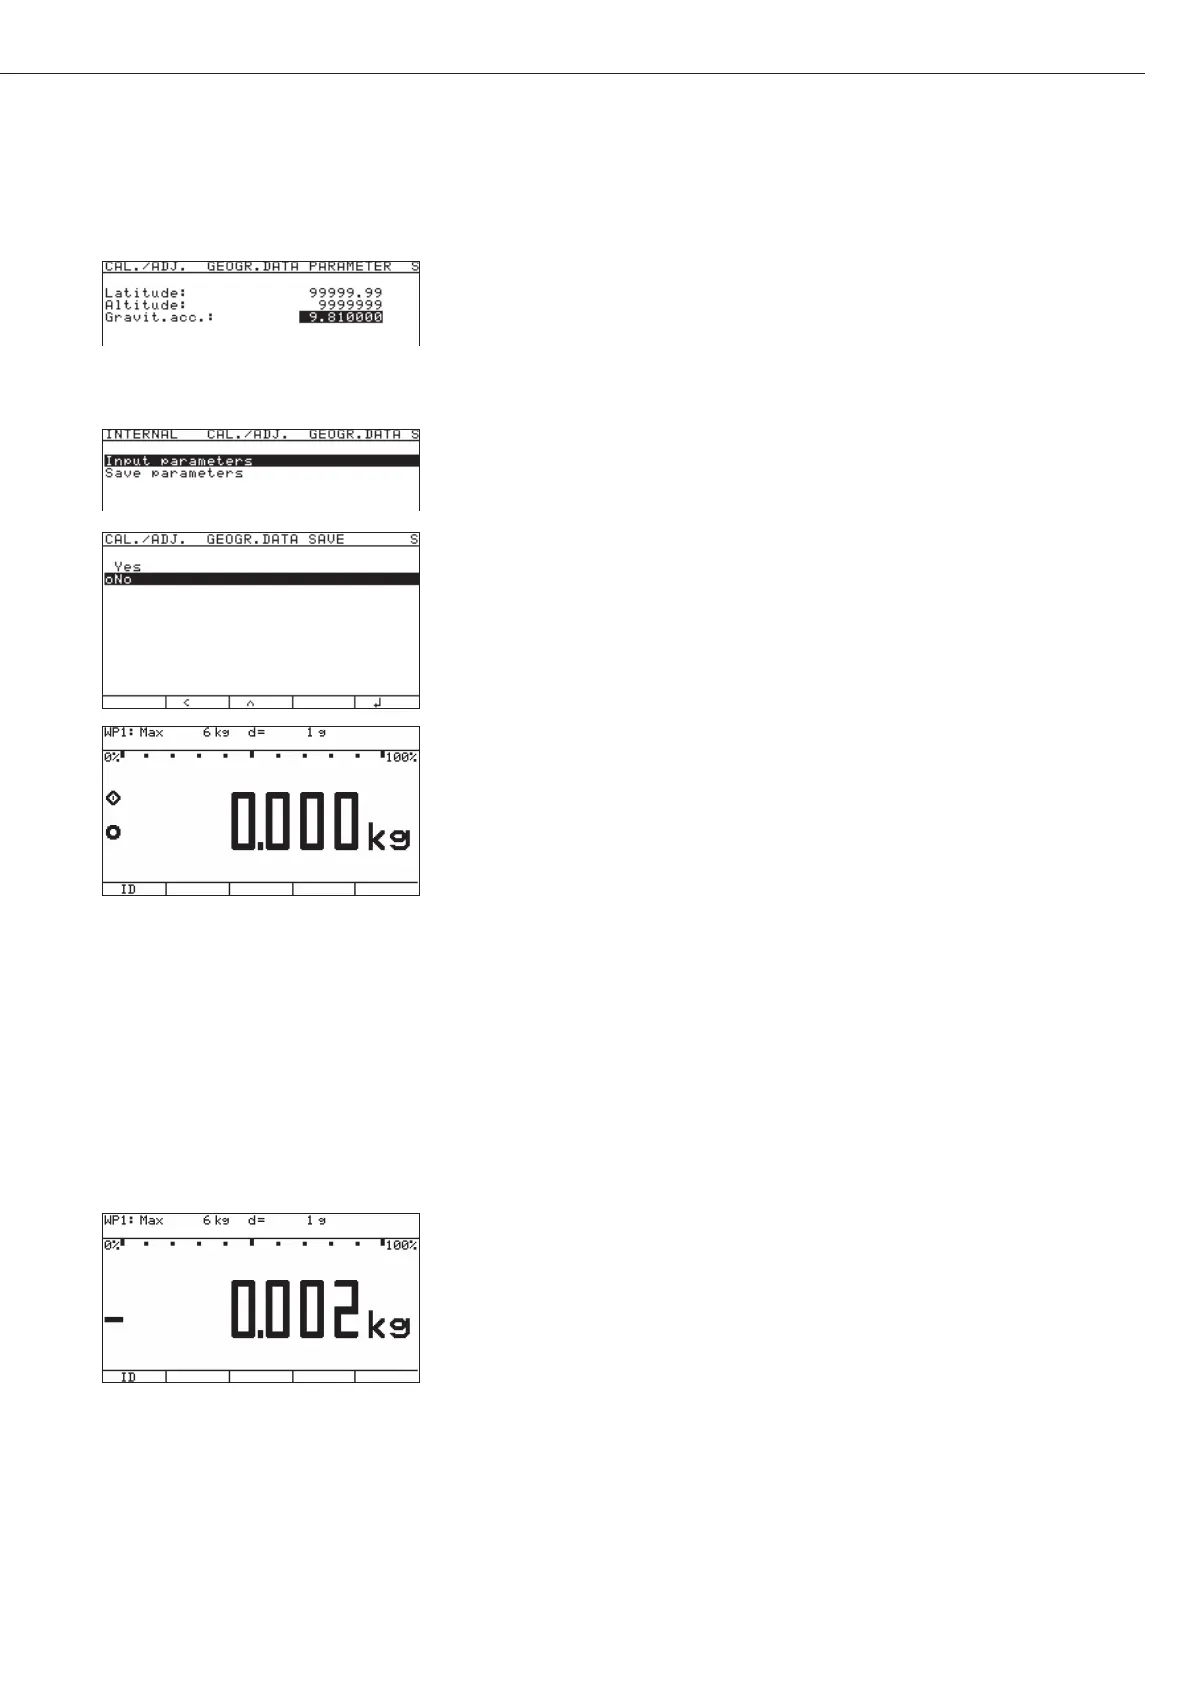
Entering Gravity
t Use the “Q" or “q" soft key to select the corresponding input field.
t Enter gravity in m/s
2
via the keypad and confirm using the “l" soft key.
Permissible value range:
9.700000 d < gravity 2 d < 9.900000
In the example shown here, the value for gravity has been changed.
The new value,
9.810000 m/s2 applies to the setting “Germany (Zone D).”
t Press the “o" soft key to exit the Input menu.
t Use the “Q" soft key to select the “Save parameters" menu item.
t Use the “Q" soft key to select “Yes" and use the “l" soft key to confirm.
y The message “Data stored" appears briefly.
The program then returns to the “
No" display status.
t Press M or “oo" to exit the Setup menu.
t Slide the menu access switch to the right (= “closed" position) and reattach the cap.
y The display goes out and the device restarts. Then weighing mode is active.
Adjusting Scales in Operating Mode
See also “Calibration and Adjustment" in the chapter called “Operation"
t Open the Device parameters menu for the respective weighing platform,
(e.g. “
WP 1:INTERNAL").
– Open the “
Calibration/adjustment" submenu.
–"
CAL key function" menu item:
Setting “
Ext. cal./adj.: factory-def. wt."
(factory setting).
–"
Cal/adj. sequence" menu item:
Setting “
Cal. then manual adj." (factory setting).
–"
Activate ext. adj." menu item
(not for a verifiable configuration):
Setting “
Activated" (factory setting).
To display geographical data in the Device parameters menu, open the
“
Operating parameters" submenu.
Menu item “
Display geogr. data > On".
t Press ( to unload the scale.
 Loading...