Operating instructions for actuators type AB with SMARTCON control unit
OM-ENGLISH-CSC-V2.08-2019.11.07 4 Installation Instructions
• Store actuators in well-ventilated, dry premises
• Protect against floor dampness by storing actuators on wooden grating, pallets, mesh boxes or shelves
• Protect the actuators against dust and dirt with plastic foil
• Actuators must be protected against mechanical damage. It is not necessary to open the controller of
the actuator for servicing batteries or similar operations.
• The storage temperature must be between -20
◦
C to +40
◦
C
It is not necessary to open the controller of the actuator for servicing batteries or similar operations.
3.3 Long-term storage
CAUTION: If you intend to store the actuator for over 6 months, follow additionally the instruc-
tions below:
• CAUTION: The silica gel in the connection compartment must be replaced after 6 months of storage
(from date of delivery from SCHIEBEL’s factory in Vienna)
• After replacing the silica gel, brush with glycerine the connection cover seal. Then, carefully close again
the connection compartment
• Coat screw heads and bare spots with neutral grease or long-term corrosion protection
• Renovate damaged paintwork arising from transport, improper storage, or mechanical influences.
• Wrap the motor (especially the brake motor) with oiled paper.
• Every 6 months. all measures and precautions for long term storage must be checked for effectiveness
and corrosion protection and silica gel renewed.
• Failure to follow the above instructions may lead to condensation which can damage to the
actuator.
4 Installation Instructions
Installation work of any kind of actuator may only be performed by qualified personnel.
4.1 Mechanical Connection
Make sure that the fitting flanges and the actuator flanges match each other, and that the borehole matches
the shaft or, in the case of actuator model “A“(threaded bushing), that the actuator and fitting threads match
each other.
• Grease the spindle.
• Clean all exposed parts which have been coated with anti-corrosive.
• Thoroughly clean the bolting surfaces of the fittings.
• Lightly grease the connecting joints between the actuator and the fittings.
• Place the actuator on the fittings or the gear.
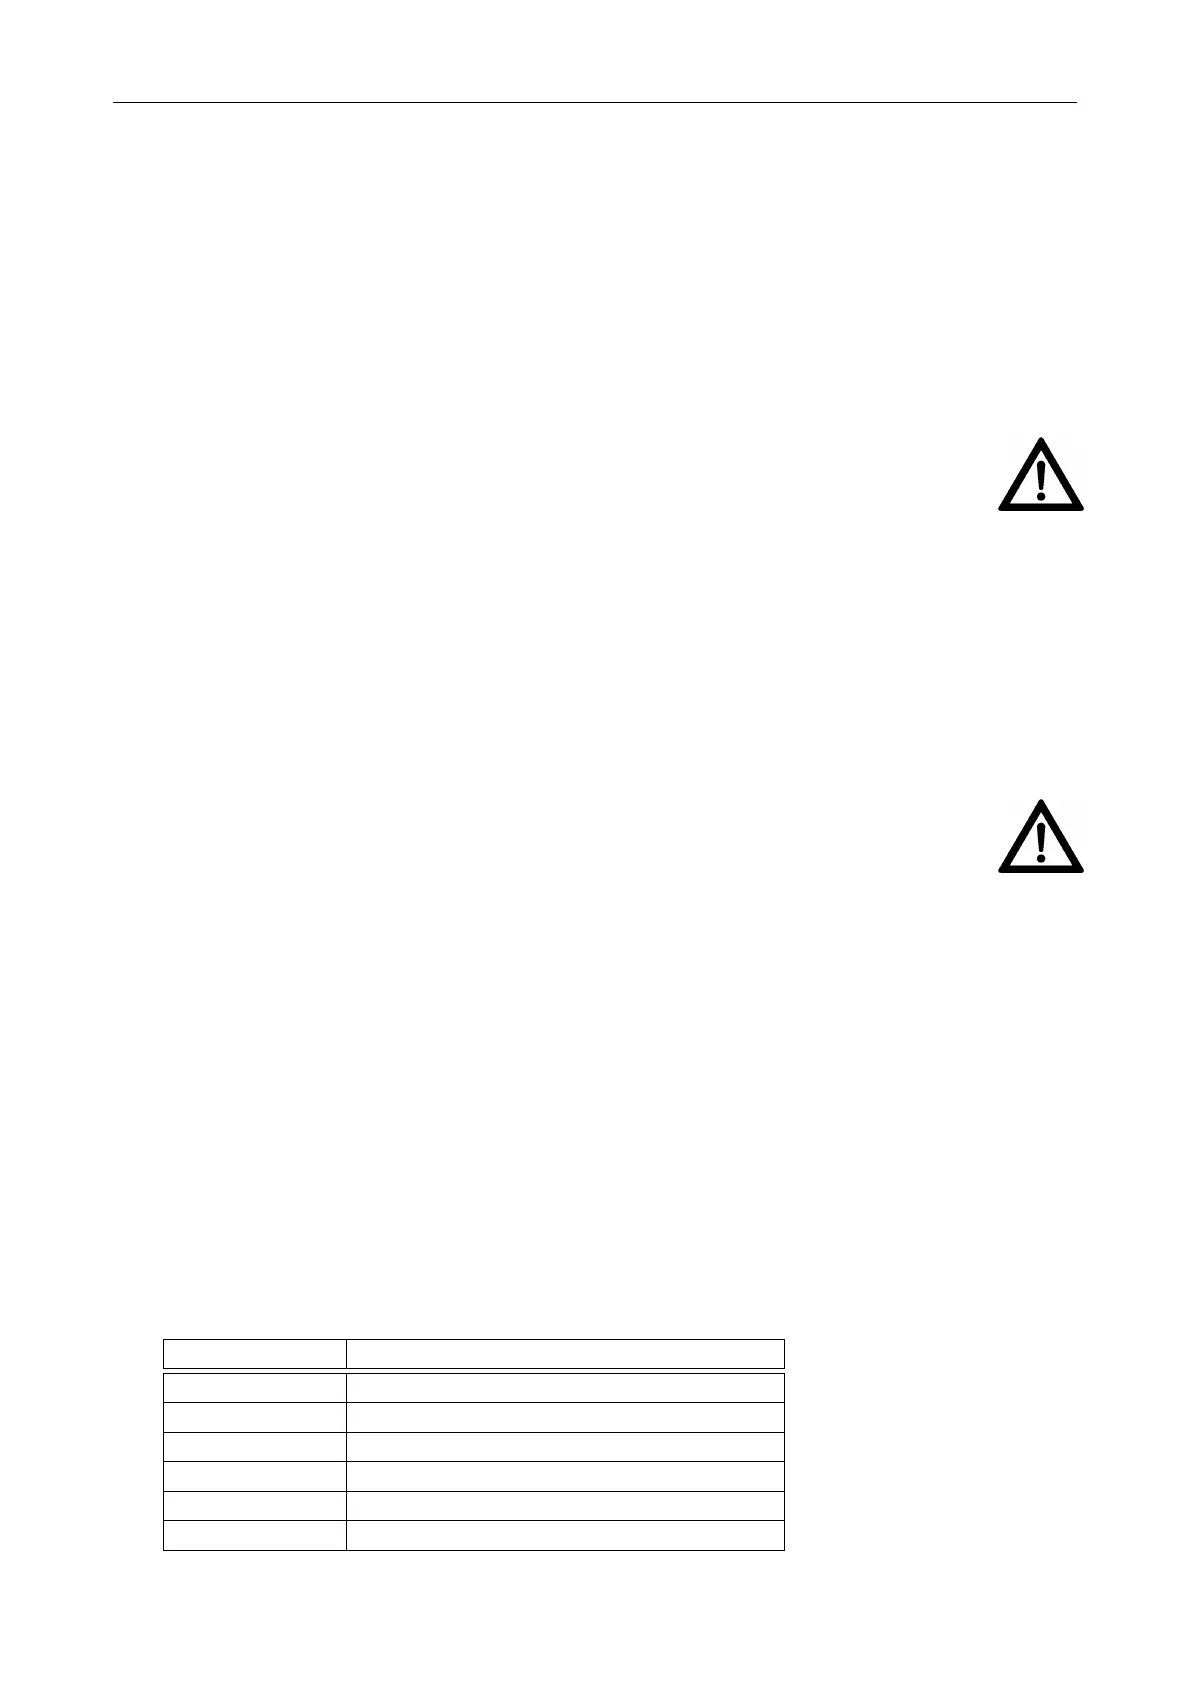
• Tighten the fastening screws crosswise (torque acc. below table).
size torque [Nm] for screws 8.8
M6 10
M8 25
M10 48
M12 84
M16 206
M20 415
9
 Loading...