Assembly and settings
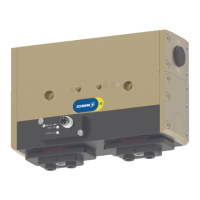
6. Slidesensor1 (1) into the groove(2) slowly in the direction of
the housing middle(3), until the sensor1(1) flashes rapidly.
✓ The optimum position is displayed.
7. Secure the sensor1(1) using the set-screw(4).
Tightening torque: 10Ncm
8. Hold teaching tool to the sensor2(1) to confirm the position.
✓ Sensor1(1) has been taught in.
9. Bring the product into position "Gripper open" or "Part gripped
(I.D. gripping)" and test the function.
Position "Gripper closed" or "Part gripped (O.D. gripping)"
1. Put product in the position in which it is to be set.
2. If necessary remove T-nut(3).
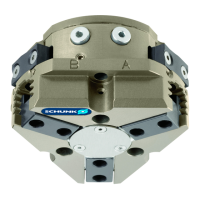
3. Turn sensor2(1) into the groove(2).
OR: Slide sensor2(1) into the groove(2) until sensor2(1)
stops at groove end "A".
4. Hold teaching tool to the sensor2(1) until the sensor flashes.
5. Pull sensor2(1) back again slowly until it flashes rapidly.
✓ The optimal position is displayed.
6. Secure sensor2(1) using the set-screw(4).
Tightening torque: 10Ncm
7. Hold teaching tool to the sensor2(1) to confirm the position.
✓ Sensor2(1) has been taught in.
8. Bring the product into position "Gripper closed" or "Part
gripped (O.D. gripping)" and test the function.
Setting the sensor in "Standard mode":
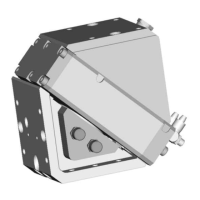
1. Turn the sensor 1 (1) into the groove (2).
OR: Slide the sensor 1 (1) into the groove (2) until the sensor 1
(1) stops at the T-nut (3).
2. Secure the sensor 1 (1) using the set-screw (4).
Tightening torque: 10Ncm
3. Adjust sensor 1 (1), see sensor assembly and operating
manual.
4. Repeat steps for sensor 2.
3902.00 | PGL-plus-P | Assembly- and Operating Manual | en | 1508050