Page 184
STAT
IM
2000/2000S Service Guide
96-106775 Rev 5.0
8. Water Pumps, Reservoir, and Compressor
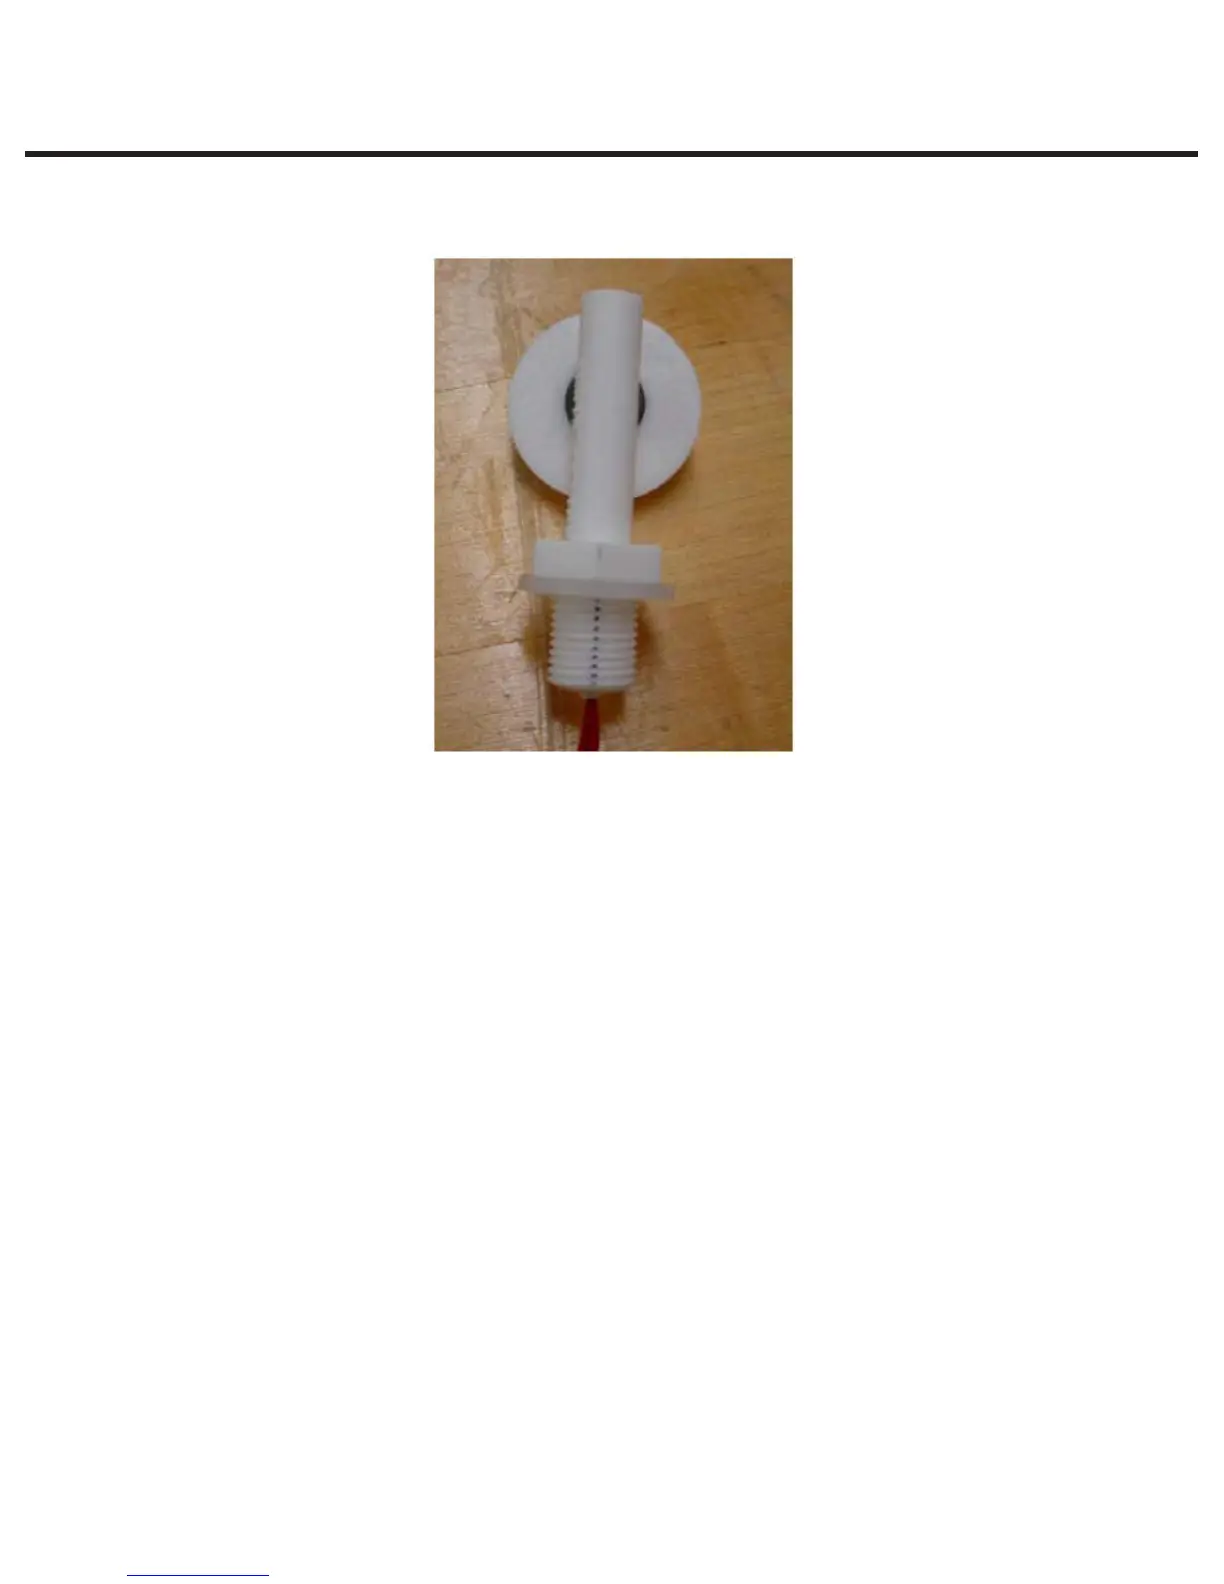
3. Position the new float sensor on a flat surface and mark sensor threads as shown in the
picture below. The mark indicates the top of the sensor.
4. From inside the reservoir, pull the old sensor complete with its wires from the reservoir.
5. Insert new sensor (reverse removal instructions).
6. Ensuring the mark on the sensor thread is facing up, install the nut that was removed in step 1.
Using a torque wrench tighten the nut to 7 in-lb. Inspect and confirm the mark on the threads
is still facing up.
7. Re-route the float sensor wires in the appropriate position in the wiring harness and reconnect
the float sensor. Ensure the wire is run behind the PCB and make the smallest loop possible
without causing the wires to kink or bend sharply.
8. Cable tie the float sensor wires to the wiring harness.
STATIM 5000/5000S/5000 G4 Service Guide
Figure 24
 Loading...


