5.37
5.3.6.2 Replacement of Display Board.
(The Display Board is not fitted to an interface unit.)
1. Remove the front cover of the Control Unit.
2. Unplug the two ‘IDC’ connectors, one from the base of the display board (13), the other
from microprocessor board (PCB 1).
3. Unscrew and remove slot head screws holding the printed circuit board to the front cover
4. If required, the display elements (14) can be replaced as necessary.
5. Reassembly is the reverse of this process.
5.3.6.3 Replacement of Front Panel with Keypad
1. Remove display board (13) by following steps 1 to 3 of Section 5.3.6.2.
2. Remove hinge pin by prising off one retaining ring (22) and sliding out the hinge pin (23).
3. Reassembly is the reverse of this process. The hinge pin must be fitted with the new
retaining ring supplied with the front panel assembly.
5.3.6.4 Replacement of Microprocessor Board
The part number for a replacement microprocessor pcb including firmware, depends on the
software fitted, which is dependent on the architectural configuration of the analyser system
and the board location as follows:
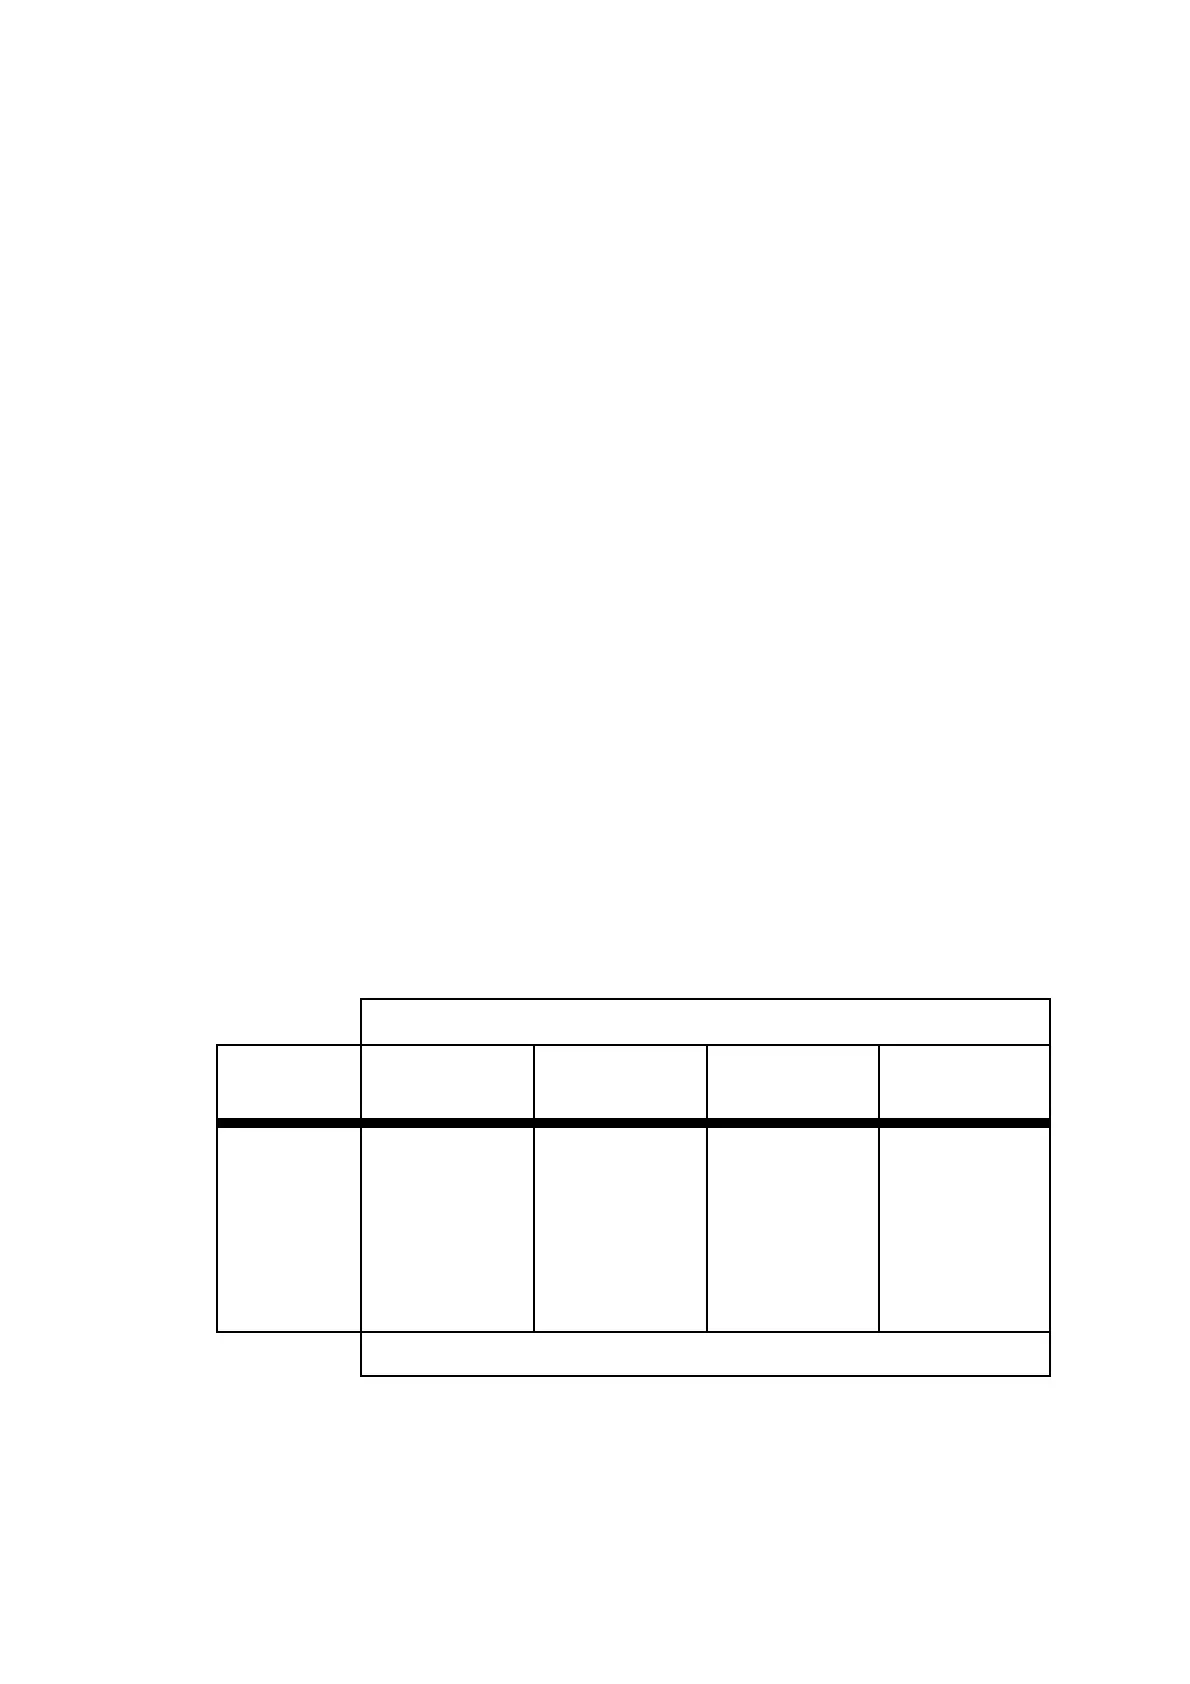
Microprocessor PCB and Software Part Numbers
Feature 1
Code
PCB 01100971
S/W 01100680
PCB 01100971
S/W 01100681
PCB 01100972
S/W 01100682
PCB 01100973
S/W 01100683
01 & 21
02 & 22
03 & 23
04,14,24
04 (1100H)
06,16,26
06 (1100H)
-
-
Control Unit
-
-
Control Unit
Control Unit
Control Unit
Control Unit
Interface Unit
-
-
-
-
-
-
-
-
Control Unit
-
Interface Unit
-
-
-
Control Unit
-
Interface Unit
-
Microprocessor PCB and Software Locations
1. Disconnect the two wires from TB-H.
2. Unplug IDC Connector on front of board.