Installation and Commissioning
257
7SS52 V4 Manual
C53000-G1176-C182-3
Pull out the module using the handle provided. Make sure to loosen the module
safety locks at the upper and lower rail.
For the EAZ module proceed as follows:
a. Loosen the ribbon cable
b. Push aside alternately upper and lower PCB safety locks and
c. Pull out module carefully by hand.
If you put the module down, place it on a surface suitable for electrostatically sen-
sitive devices (ESD).
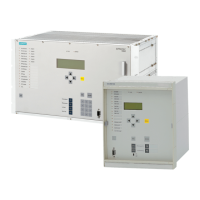
7.1.2 Bay Unit
Panel flush mount-
ing or cubicle
mounting
Swing the two labeling strips at the housing cover open. That exposes the 4 elon-
gated holes in the mounting bracket.
Insert the bay unit into the panel cutout or the cubicle frame and secure it with four
mounting screws (see mechanical dimensions in Chapter 9.3.2, page 331 to 333).
Connect a solid low-ohmic and low-inductive operational earthing on the lateral
earthing surface with at least a M4 screw. For this earthing strips DIN 72333 Form A
are suitable. Connect the strip to the protective earth of the panel.
Connect the electric lines via the double-leaf-spring crimp contacts or the screw ter-
minals of the modular terminal blocks on the back of the bay unit. Pay attention to
the identification of the modular terminal blocks.
(Figure 2-8, page 24).
Connect the bay units to the central unit by optical fibres. For this, use optical fibres
with prefabricated ST plugs. Provide a suitable strain relief.
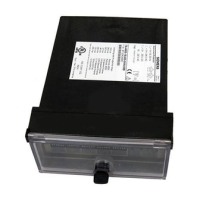
Panel surface
mounting
Mount the bay unit 7SS523 with 4 screws each to the panel (for mechanical dimen-
sions see Chapter 9.3.2, page 331).
Connect a solid low-ohmic and low-inductive operational earthing on the lateral
earthing surface with at least a M4 screw. For this earthing strips DIN72333 Form
A are suitable. Connect the strip to the protective earth of the panel.
Connect the electric lines via the screw terminals. You can use solid conductors or
stranded conductors with end sleeves.
Connect the bay units to the central unit by fiber-optic cables. For this, use fiber-
optic cables with prefabricated ST plugs. Provide a suitable strain relief.
Removal of Mod-
ules
To adjust the pickup voltage of the binary inputs of the EFE or EFE_10 modules
proceed once as follows:
Loosen the five screws of the front panel and swing the panel carefully to the side.
Loosen the ribbon cable, push aside alternately the upper and lower PCB safety
locks and pull out the module carefully by hand.
If you put the module down, place it on a surface suitable for electrostatically
sensitive devices (ESD).
www . ElectricalPartManuals . com
 Loading...