Installation
22
Building Technologies A6V10257473_b_en_--.doc
Fire Safety & Security Products 01.2010
6 Installation
Generally, the XC10 must be easily accessible and installed:
- outside the protected area
- protected from mechanical shocks and bad weather
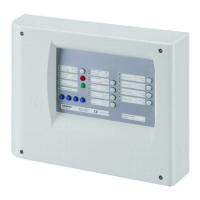
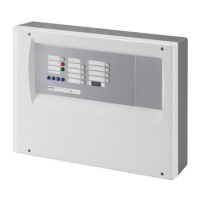
6.1 XC1001-A / XC1005-A
The XC10 must be installed on a fixed and stable support, with a height ranging
between 1.60 m and 1.70 m (eliminate the irregularities from the mounting surface
≥ 5 mm).
1. Remove front cover
2. Mark and drill the mounting holes using the drilling template provided (start with
the hole for the top central screw)
3. Fix the chassis using 3 screws Ø 4 x 50 mm (not provided)
4. Cut out the cable entries
5. Cut out the plastic housing according to the cable inputs (XC1001-A)
6. Mount the cable glands is necessary (required for protection rating IP30)
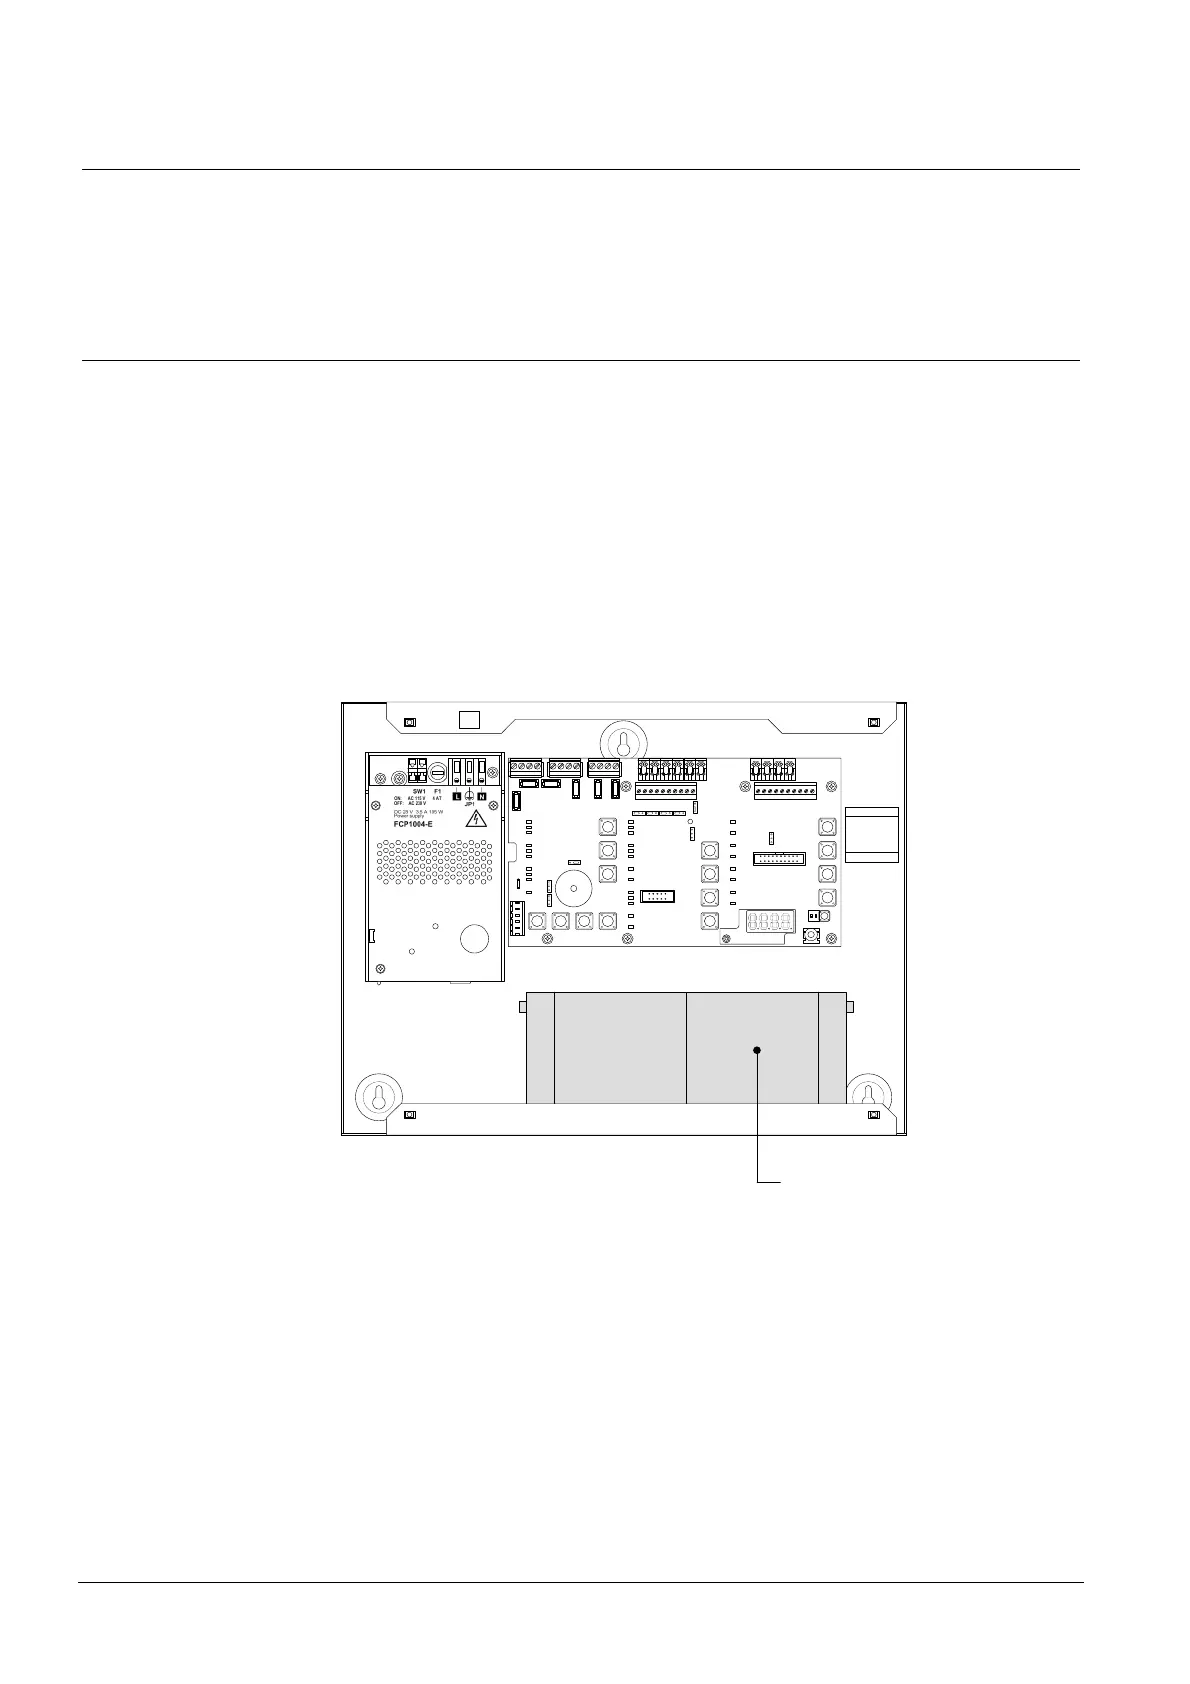
7. Install the batteries and fix the battery holders
ON
1 2
1
1 12 V – 4.5 Ah batteries
Fig. 7 XC1001-A, battery installation
 Loading...