SIGLENT
SDS1000CML/CNL/DL Service Manual 9
Probe Compensation
It is better for you to compensate the probe at first use so as to match it to the
probe ratio of current input channel. Non-compensated or poorly compensated
probe may cause measurement inaccuracy or error. The probe compensation
steps are as follows:
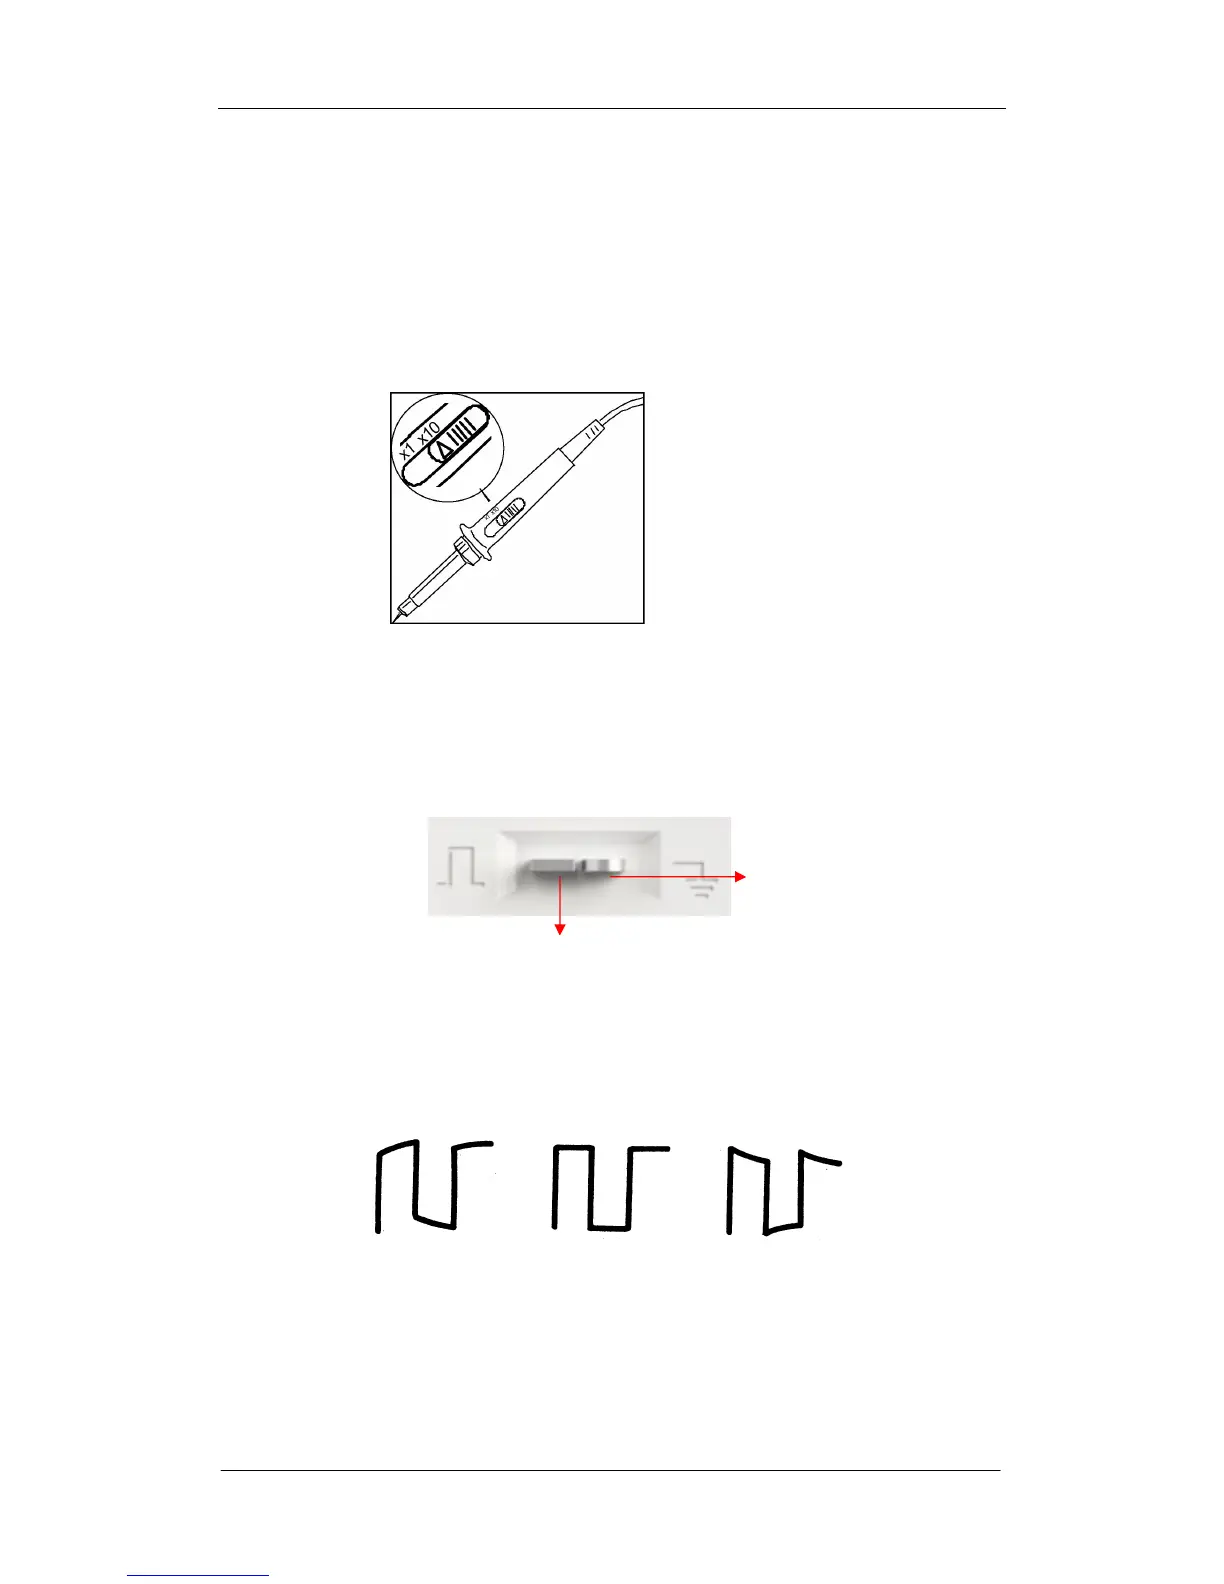
1. Set the attenuation switch to 10X on the probe.
Figure 2-2 Set probe attenuation switch
2. Connect the alligator clip of the probe to the Ground Terminal on the front
panel firstly, and then use the probe to connect CH1 BNC connector and the
Compensation Signal Output Terminal.
3. Press AUTO.
4. Observe waveform on the screen. The display should be a square waveform
as shown in the figure below in normal condition:
Under compensated over
Compensated correctly compensated
5. If the waveform does not show as “compensated correctly”, you should use
a nonmetallic driver to adjust the low-frequency compensation adjustment
hole on the probe until the waveform displays correctly.
Ground Terminal
Compensation Terminal