19-13 Installation: Setup and test
Setup and test
Put a blanking cap on any unused connector on the •
back of the display unit. Ensure all connectors are
plugged in and the display unit is in place.
If the display unit is bracket mounted, adjust tilt •
and rotation for best viewing and hand tighten the
knob.
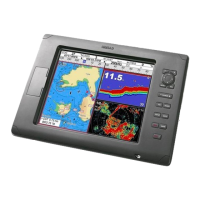
Insert any required C-MAP chart card.•
Turn the instrument on. When the unit is turned on •
for the rst time, it displays an installation menu:
i Select the language to use.•
ii Change the data if necessary.•
iii When the setup data is correct, press •
.
This data can be changed later.•
Enter setup data to set up the unit to your •
requirements and to set up any optional sensors or
instruments.
At the satellite window, check that it picks up GPS •
satellites. Wait for the GPS receiver to start up and
the x type to change from ‘Acquiring’ to ‘GPS x’.
This should take less than two minutes.
Go on a test run to check that the navigation •
equipment works correctly, particularly when a radio
trans mitter or radar is used.