Scanner Demo OBD-II/EOBD Demonstration
17
OBD-II/EOBD Demonstration
The OBD-II/EOBD training program allows you to navigate through many functions
of OBD-II/EOBD, and displays vehicle data (PIDs) and trouble codes (captured
from actual vehicle) to simulate what you might see on an actual vehicle.
The OBD-II/EOBD function allows you to access “generic” OBD-II/EOBD data
(data limited to emission related diagnostics only). The Scanner function
allows you to access vehicle specific systems, parameters and enhanced
diagnostics.
The following OBD-II/EOBD demonstrations are intended to be completed in
sequence:
1 - Start Communication / Vehicle Identification
2 - Check Monitors Complete This Cycle
3 - Display Current Data
4 - Display Trouble Codes
5 - Find Trouble Code and Drive Cycle Information
6 - Display and Save Freeze Frame Data
z OBD-II/EOBD Demo 1 - Start Communication / Vehicle Identification
This demonstration starts the OBD-II/EOBD training demonstration, simulating
typical vehicle connection and identification.
1. From the Home screen, select OBD-II/EOBD .
2. The main menu displays, select OBD Direct.
Do not connect a vehicle to the diagnostic tool while using the
Demonstration program.
3. Select OBD Training Mode.
4. Select Start Communication.
5. The demonstration vehicle data is loaded and a confirmation screen displays,
select Continue.
6. The OBD-II/EOBD Service menu displays.
7. Proceed to OBD-II/EOBD Demo 2.
z OBD-II/EOBD Demo 2 - Check Monitors Complete This Cycle
This demonstration simulates a typical check of OBD monitors that have run during
the current drive cycle.
1. From the OBD-II/EOBD Service menu, select Readiness Monitors.
2. Select Monitors Complete This Cycle.
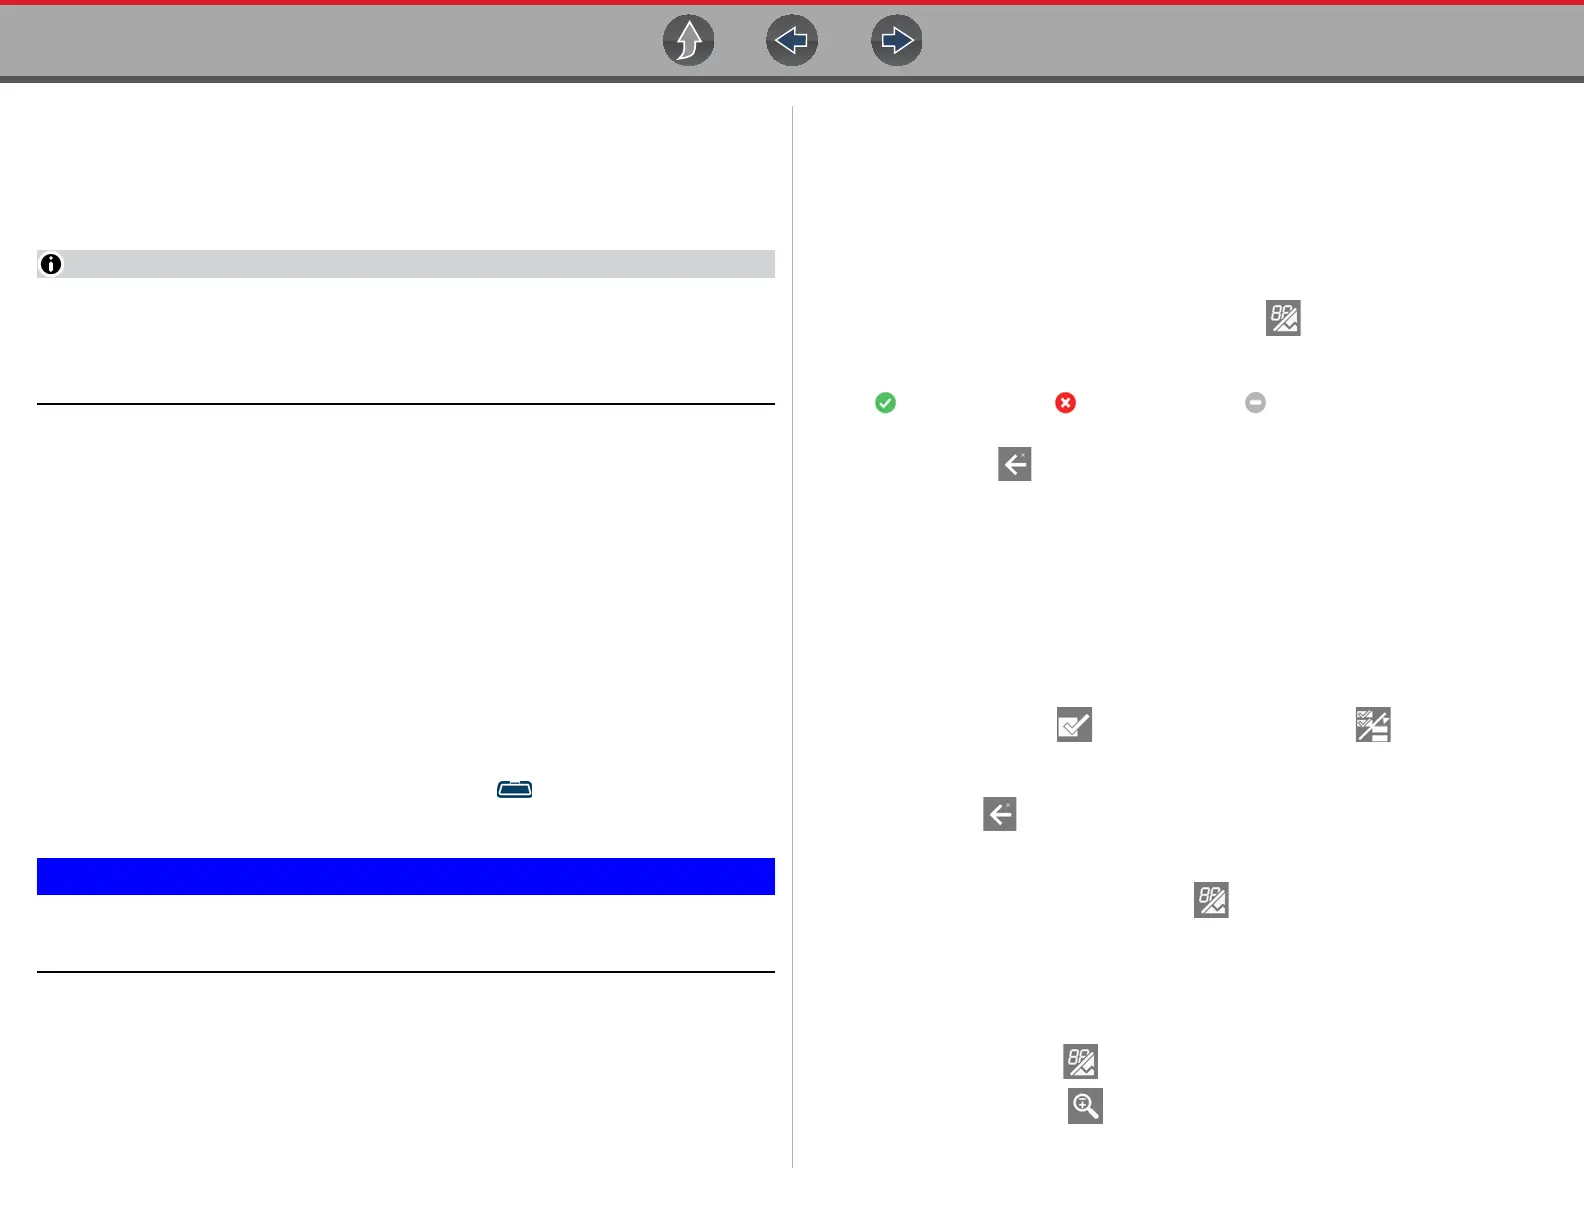
3. With the monitor data displayed, select View and then select PID list (to
display as a list).
4. A list of monitors is displayed showing status indication (e.g. Test Complete
, Not Supported or Not Complete ).
Note: Use the scroll bar to view all the data.
– Select Back two (2) times to return the OBD-II/EOBD Service menu.
5. Proceed to OBD-II/EOBD Demo 3.
z OBD-II/EOBD Demo 3 - Display Current Data
This demonstration simulates a typical check of current OBD data, viewing OBD
data (PIDs) in list and graph views, and creating a custom data list.
1. From the OBD-II/EOBD Service menu select ($01) Display Current Data.
The Engine Data list is displayed. This list shows all supported PIDs, use the
scroll bar to view all the data.
2. Select Custom Data , then select the Deselect All .
3. Select Short Term Fuel Trim Bank 1(%) and Short Term Fuel Trim Bank
2(%).
4. Select Back .
You have just created a custom PID list. To change your list, select the Custom
Data icon again and modify your selection.
5. With the data displayed, select View and then select PID list (to display
PIDs in a list) or 2 graphs (to display each PID as a graph).
Notes:
• Use the scroll bar to view all the data in the file, if needed.
• Use the navigation controls to navigate through the data.
• Select the View icon to view the data as a list or graphs.
• Select the Zoom icon and choose a zoom in option (e.g. +2) to view data
detail in the graph.