14
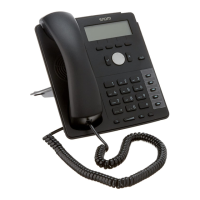
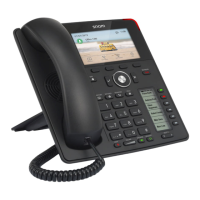
D712/710 User Manual Setting up the Phone
• Account (usually the phone number). On Snom phones, an account is called an "identity".
• Registrar
• Password
User name, authentication name, outbound proxy may also be required. These are settings that can
only be configured on the web interface of the phone after it has been successfully registered. If
your provider or your network provides a mailbox account, that setting is also configured on the web
interface. For more information, see ""Identities/accounts" on page 68.
Initialization and registration
Snom phones are plug-and-play. Once the phone is connected to your network, it will begin to
initialize.
Note: Normally the initialization is completely automatic, using DHCP. If the phone
cannot discover a DHCP server in the subnet, you will be asked: Are you using DHCP?
If your network does not support DHCP, press
and enter the IP address, netmask, IP
gateway, and DNS server manually. Ask your Internet service provider or your network
administrator for them.
You will then be asked on the display to make some basic settings.
1. You will be prompted in English to select a language. Use
on the navigation key to
select another language, if applicable, and press
to save the language preceded by .
2. Next, you will be prompted in the language of your choice to select a time zone. The time zone
determines the time shown on your display.
◦ Press the function key underneath
Jump
to move to the beginning of the next time zone.
◦ Press the function key underneath
Reduc
to show only those time zones where the selected
phone language is spoken.
◦ Press the function key underneath
More
to show all time zones.
◦ Press
to move up or down the list one item at a time.
◦ Press
to save the time zone preceded by .
3. Next, you will be prompted to select the tone scheme of a country. This aects the dial tone you
hear when you pick up the receiver. Dierent countries use dierent dial tones.
◦ Press
to move up or down the list one item at a time.
◦ Press
to save the tone scheme of the country preceded by .
4. The display shows the "Welcome" screen. Press any key to start registering the first account.
5. Enter the account number. Save with
.
Note: See "Entering numerals, letters, special characters, and symbols" on page 21
on how to enter numbers and letters.
6. Enter the registrar. Press
.