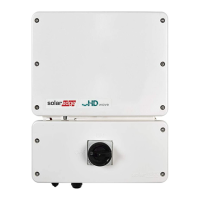
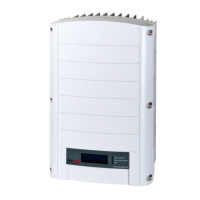
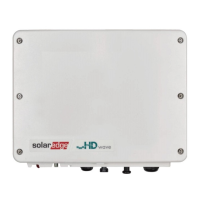
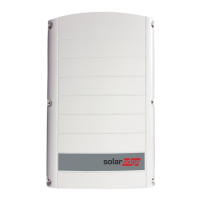
Installing the Inverter
SolarEdge Installation Guide – MAN-01-00002-1.6
31
4 Let the chassis lay flat against the wall or pole. Then, screw one screw into
the right side and one screw into the left side of the bottom of the bracket.
The screws go through the outer heat sink fin on either side into the bracket,
as shown below:
Figure 10: Inserting the Screws into the Bottom Heat Sink Fins
Connecting the Inverter
Inverter Connection Overview
The SolarEdge inverter can be configured in the field for an AC grid, including
AC voltage and frequency. If the inverter’s default settings are not suited to the
country of the installation site, then please refer to page 95 for a description of
how to configure the inverter for the required country.
With the SolarEdge Configuration Tool, you can configure the inverter’s AC
settings to different settings than those provided by default for the country of the
installation site, or perform other modifications. A full description of the
Configuration Tool is provided in the SolarEdge Configuration Tool Software
Guide.
 Loading...


