The ALIGNMENT menu is used for adjusting
geometry and convergence.
Note
Adjust the beam landing ([C8]) after the geometry and
convergence adjustments have been completed.
The following adjustments can be performed with the
three pages of the ALIGNMENT menu.
Structure of the ALIGNMENT Menu
Overview
Setting Lists of the ALIGNMENT Menu
This section explains the setting lists displayed in the
menu.
How to read the setting lists
•For purposes of explanation, each setting list is
preceded by a menu number. These numbers are not
displayed on the screen.
For more information about the menu number, see “About
menu numbers” on page 23.
[C6]
Adjusting Geometry and Convergence
(SET UP 6) — ALIGNMENT Menu
•Adjusting the position and size of the picture
(ALIGNMENT menu (1/3))
•Adjusting the geometry of the picture
(ALIGNMENT menu (2/3))
•Adjusting the convergence (ALIGNMENT menu
(3/3))
Level 1 Level 2 Level 3 Level 4
•The arrow mark (÷) refers you to another setting
list that appears after you make the setting, or to an
operation that is carried out as a result of the setting.
When there is no arrow mark, the menu does not
have any sub-list.
1) BVM-D32E1WU/D32E1WE/D32E1WA only
1) 1)
49
Chapter 2 Menu
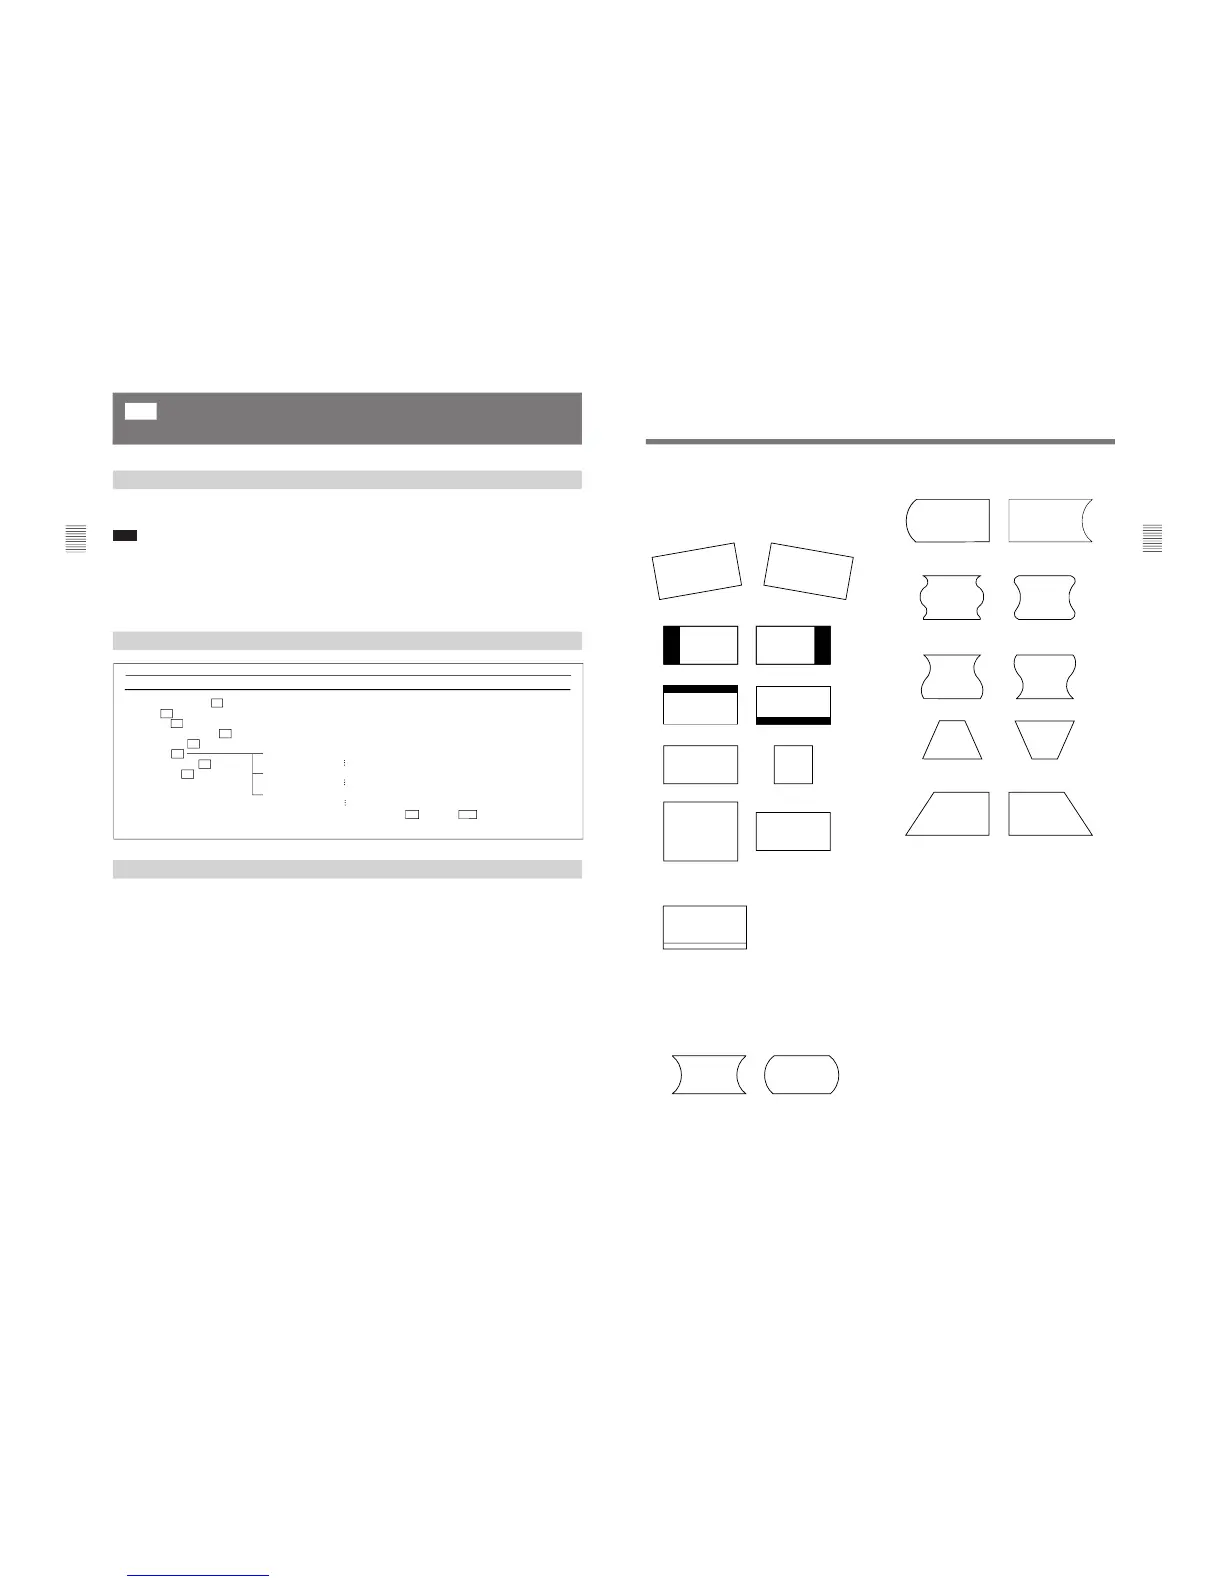
[C6] ALIGNMENT menu (1/3)
Adjust the position or size of the picture with the UP
and DOWN buttons or PHASE knob.
ROTATION: Compensates for the screen rotation
which occurs when the monitor is installed facing
north or south.
H PHASE: Adjust the horizontal picture position.
V CENTER: Adjust the vertical picture position.
H SIZE: Adjust the width of the picture.
V SIZE: Adjust the height of the picture.
VITS BLK: Adjust vertical blanking so that VITS
signals are not visible in the upper part of the
screen.
SUB CONTRAST: Adjust the center value of the
contrast when the image size or signal format is
changed.
[C6] ALIGNMENT menu (2/3)
Adjust the geometry of the picture with the UP and
DOWN buttons or PHASE knob.
H PIN: Correct side pincushion distortion.
H PIN BAL: Correct the balance of side pincushion
distortion.
H CORNER PIN: Correct pincushion distortion at the
sides of the picture.
H CORNER S: Correct S pincushion distortion at the
sides of the picture.
H KEY: Correct trapezoid distortion.
H KEY BAL: Correct the balance of trapezoid
distortion.
[C6] ALIGNMENT menu (3/3)
Adjust the convergence with the UP and DOWN
buttons or PHASE knob.
V STATIC CONV: Adjust vertical static convergence
on the whole screen.
V CONV TOP: Adjust vertical convergence at the top
of the screen. (BVM-D20F1U/D20F1E/D20F1A/
D24E1WU/D24E1WE/D24E1WA only)
V CONV BOT: Adjust vertical convergence at the
bottom of the screen. (BVM-D20F1U/D20F1E/
D20F1A/D24E1WU/D24E1WE/D24E1WA only)
H STATIC CONV: Adjust horizontal static
convergence on the whole screen.
CONV FINE ADJUST... : Adjust the convergence
finely at each adjustment point on the screen.
÷[C61] (BVM-D32E1WU/D32E1WE/
D32E1WA only)