1-1. DSR-2000
Chapter 3 Recording and Playback
48
Chapter 3 Recording and Playback
Recording Operation
To record, use the following procedure.
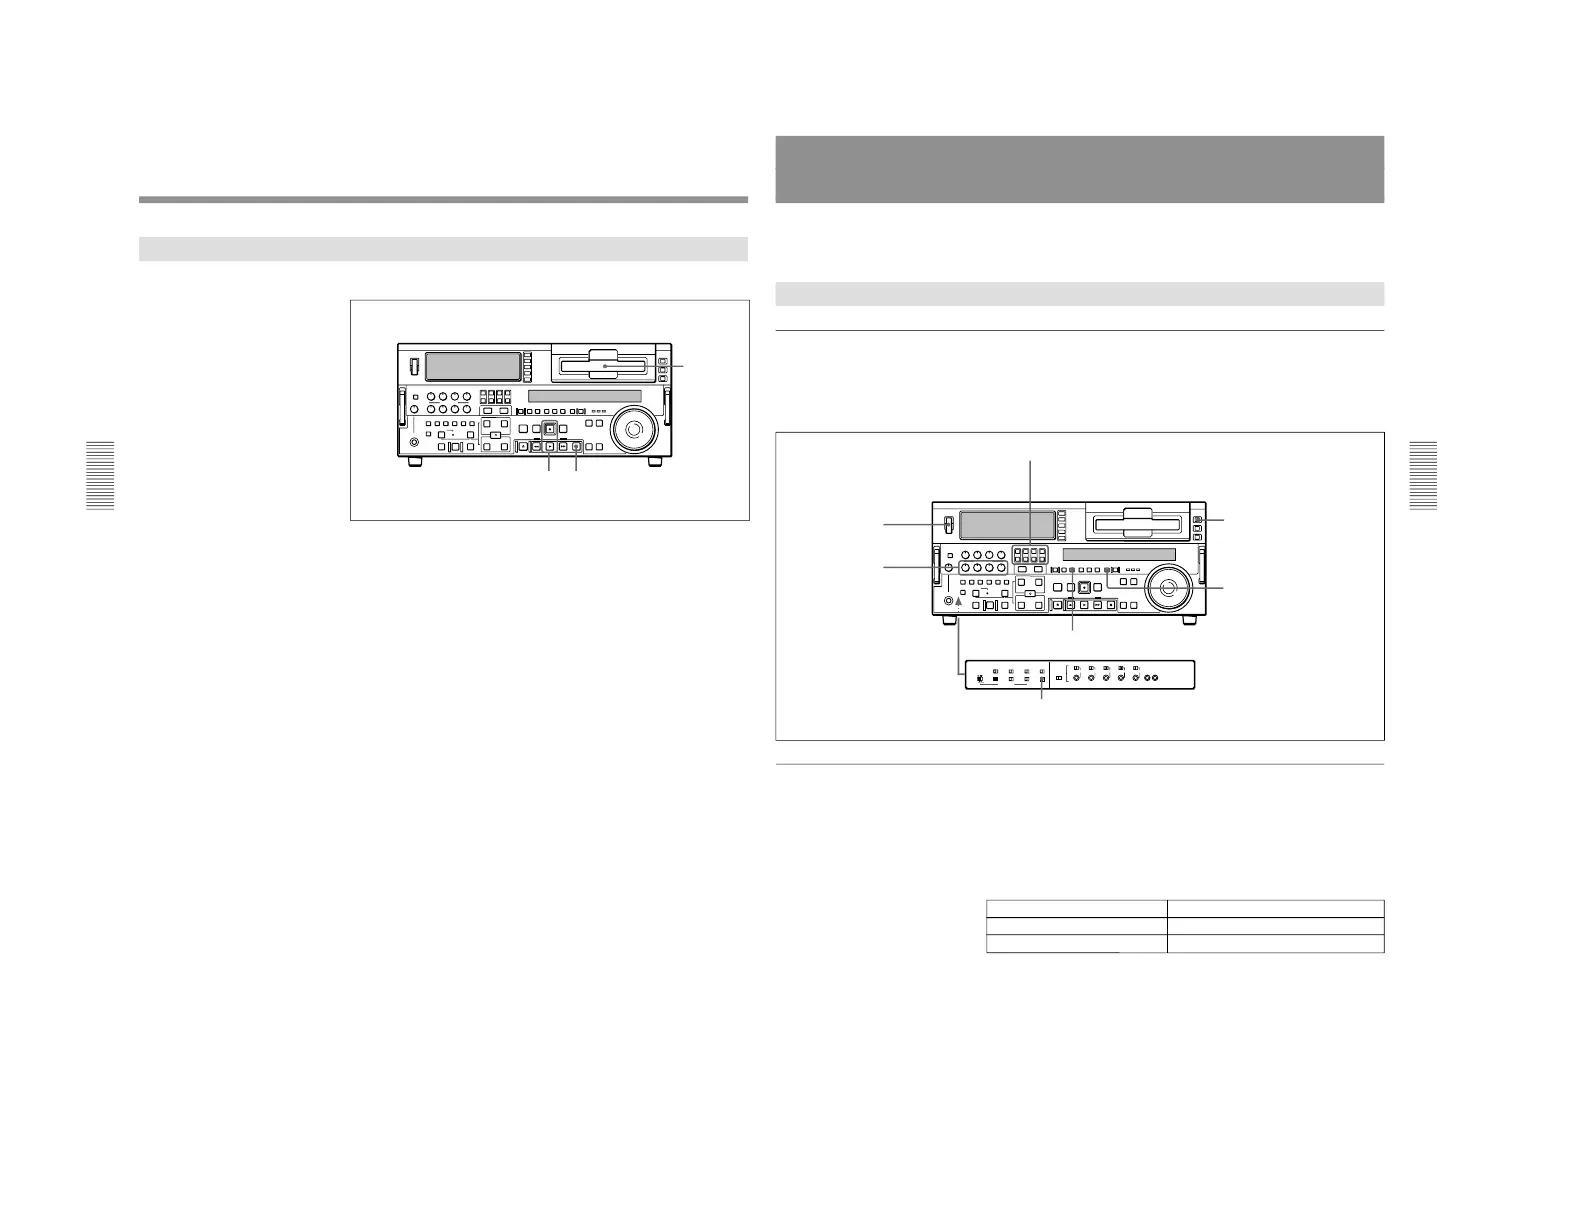
1
Insert a cassette.
For details, see the section “Inserting a cassette” (page 34).
2
Hold down the REC button, and press the PLAY button.
Recording starts, the servo locks, and the SERVO indicator in the
display section lights.
3
To stop recording, press the STOP button.
If you record to the end of the tape
The tape is automatically rewound, and stops.
You can change the setting of extended menu item 125 so that the tape just
stops without being automatically rewound when it is recorded to the end.
Chapter 3 Recording and Playback
Chapter 3 Recording and Playback
49
Playback
This section describes playback of video and audio.
Preparations for Playback
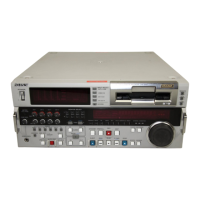
Button/switch settings
Before beginning playback, make any necessary button/switch settings.
For details of the settings of each of the buttons/switches, see the pages indicated
in parenthesis.
Time data selection
Displayed time data
Use the COUNTER SEL button to select one of counter
’s count
(COUNTER), time code (TC), and user bit values (U-BIT). When you
select time code, the data displayed is determined by the setting (TC/
VITC) of the TC SELECT switch on the subsidiary control panel as
follows.
MONITOR SELECT buttons
(page 17)
: select the audio channels to be monitored.
POWER switch: 1 side
PB controls
(page 17)
:
adjust the audio
playback levels.
REMOTE button
(page 15)
: unlit
COUNTER SEL button
(page 18)
:
select the data to be displayed
(see the section
“Displayed time
data” on this page).
PB button
(page 18)
: lit
TC SELECT switch
(page 26)
: TC or VITC (when displaying time
code)(see the section
“Displayed time data
” on this page)
TC SELECT switch setting Displayed data
TC TC recorded on tape
VITC VITC recorded on tape