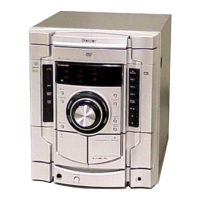
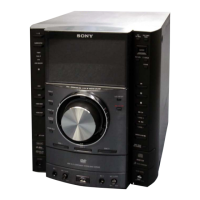
HCD-GT3D
6
Playing music from a
Bluetooth
device
For a Bluetooth device
1. Press the [
\/1] button to turn the power on.
2. Press BLUETOOTH on the unit to select Bluetooth function.
“BT AUDIO” appears in the display panel.
3. Establish connection with the Bluetooth device.
Press BLUETOOTH on the unit to connect to the last
connected Bluetooth device.
Perform the Bluetooth connection from the Bluetooth device if
the device is not connected.
Once the connection is established, the Bluetooth device name
appears in the display panel.
4. Press N.
Depending on the Bluetooth device,
– you may have to press N twice.
– you may need to start playback of an audio source on the
Bluetooth device.
For an NFC-compatible smartphone
1. Press the [\/1] button to turn the power on.
Touch the smartphone to the N-Mark on the system to establish
the Bluetooth connection.
Start playback of an audio source on the smartphone. For
details on playback, refer to the operating instructions of your
smartphone.
To disconnect the Bluetooth device
For a Bluetooth device
Press BLUETOOTH on the unit.
“BT AUDIO” appears in the display panel.
For an NFC-compatible smartphone
Touch the smartphone to the N-Mark on the system again.
To erase all the pairing registration information perform
COLD RESET test mode (Refer to page 21).
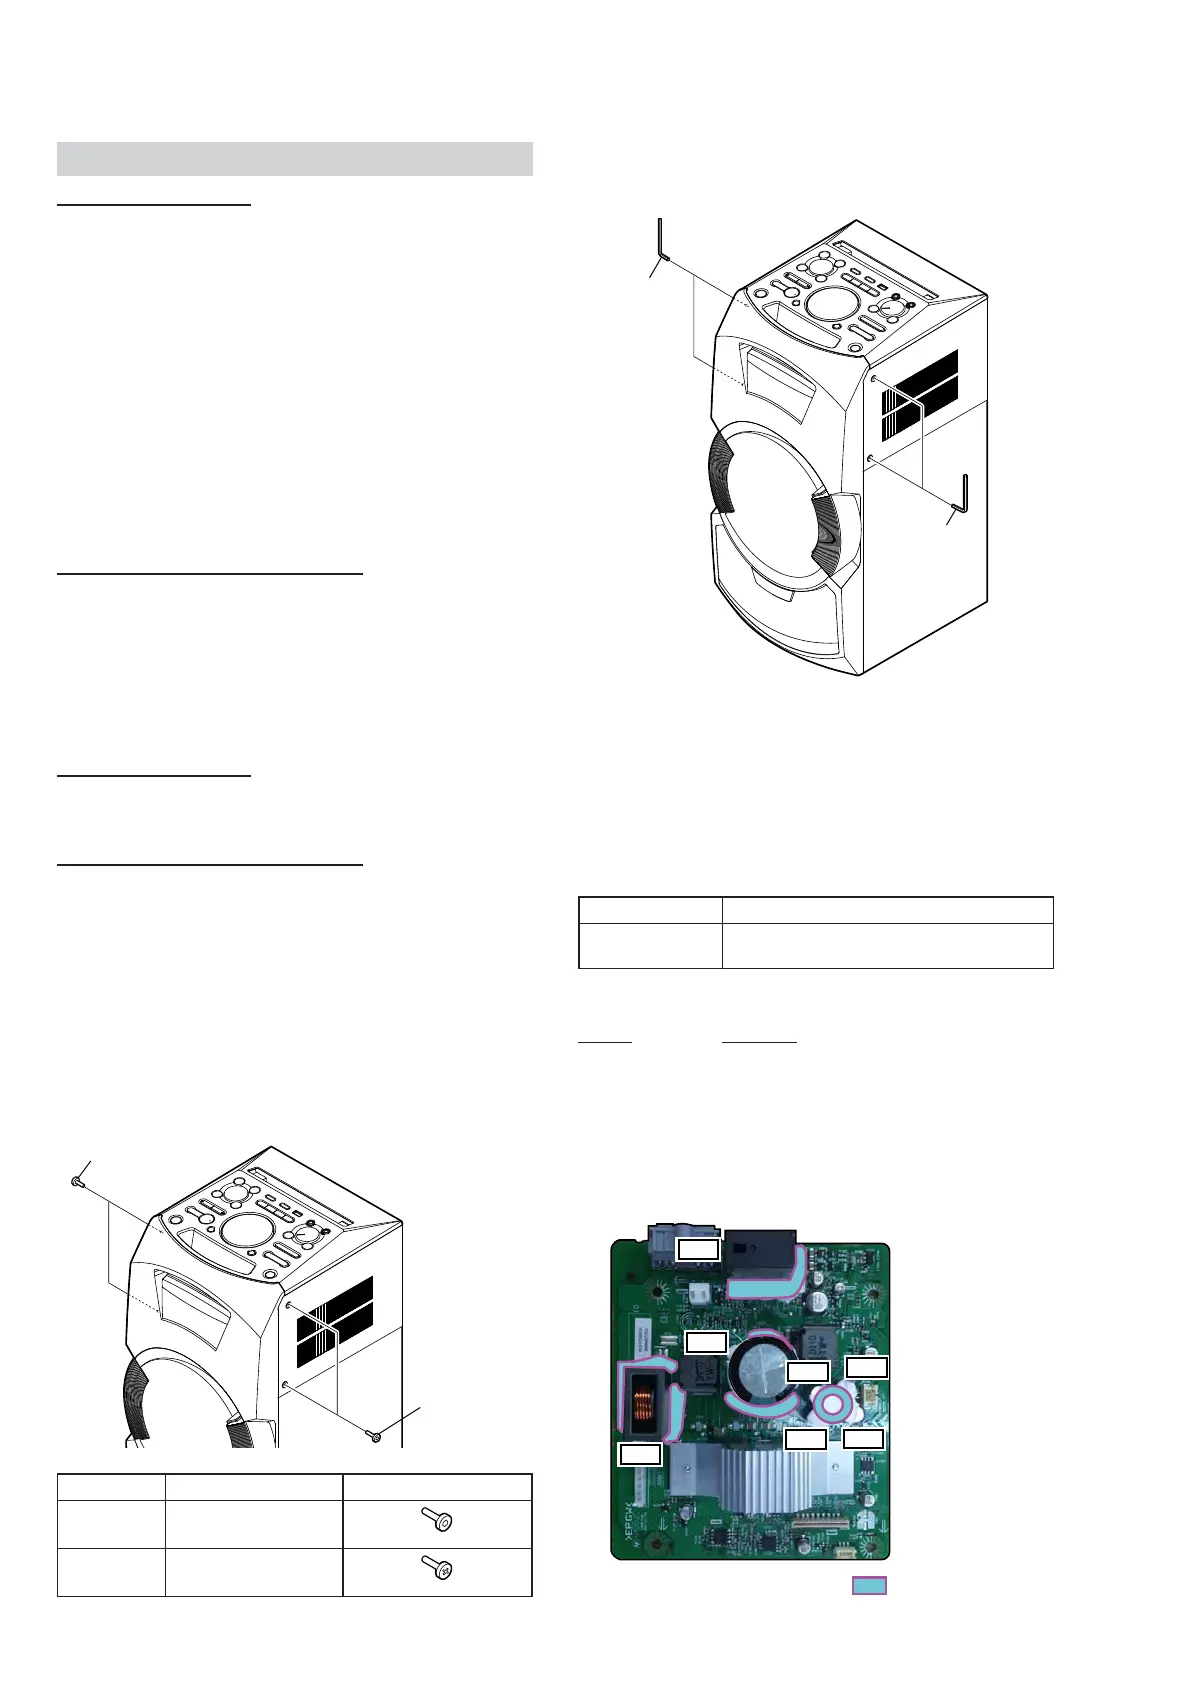
SCREW TYPE DISCRIMINATION BEFORE DISASSEM-
BLE THE PANEL, SIDE
In this set, the screw type which screw between “PANEL, SIDE
and PANEL, TOP” and “PANEL, SIDE and CHASSIS” have been
changed in the midway of production.
Repair after distinguishing the screw type referring to the
following.
Type A or Type B
Type A or Type B
Type Screw P/N Screw Shape
A 4-546-397-01
B 4-162-271-01
NOTE OF DISASSEMBLE THE PANEL, SIDE
To disassemble the PANEL, SIDE, hexagon key is required to
unscrew the SCREW, TAPPING (HEX) (Type A).
hexagon key
hexagon key
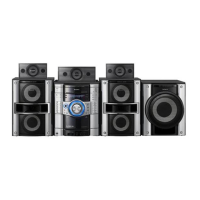
BOND FIXATION OF ELECTRIC PARTS
When DAMP board is replaced or the following object parts are
replaced, it is necessary to fi x parts to the boards by using a speci-
fi ed bond without fail.
• Object boards
Complete DAMP board
• Object parts
Board Ref. No.
DAMP
C1126, C1127, C1128, C1129, C1142,
L1010, RY001
• Use bond
Part No. Description
7-600-020-70 ADHESIVE (SC608Z2) 180ML
• Parts position
Complete DAMP board (page 6)
DAMP board
– DAMP Board (Component Side) –
The portion which applies bond:
L1010
C1126
C1129
C1127
C1128
C1142
RY001
Ver. 1.2