15
1-7. PLD
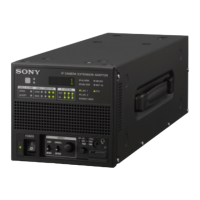
This unit uses the PLD (Programmable Logic Device) that supports USB drive to write and rewrite the internal data.
If the part listed below needs to be replaced or to be upgraded, contact your local Sony Sales Office/Service Center.
Note
The part number of PLD (or ROM for PLD) in which data is not written yet, is shown in “Spare Parts”.
Therefore, if part replacement is required, write the data by the following procedure.
In the case of the PLD type that runs on the program stored in external ROM, data needs not to be written only by replacing the part
if the specific PLD only is defective.
Tip
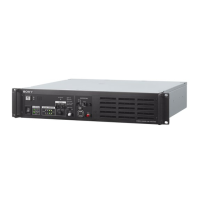
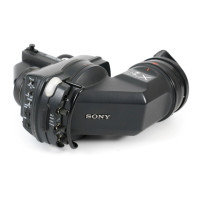
The USB connector for connection to a USB drive is located to the lower right of the front panel. Detach the USB connector lid to
connect the USB drive.
1-7-1. Corresponding PLDs
1-7-2. Upgrading PLD Data
Equipment Required
• USB drive (commercially available)
Tip
For recommended USB drive, contact your local Sony Sales Office/Service Center.
Preparation
Copy the PLD update data to the USB drive using the following procedure.
Note
For how to obtain the data files for update, contact your local Sony Sales Office/Service Center.
1. Create the following directory in the USB drive.
\MSSONY\PRO\CAMERA\HDCETX50
2. Copy the data files for PLD update to be updated to the directory created.
Procedure
1. Connect the USB drive that contains the program for update to the USB connector of this unit.
2. Turn on the power of the unit.
3. Display the PLD PACKAGE page of the SERVICE menu.
Tip
For the SERVICE menu, refer to “4-2. SERVICE Menu”.
4. Select the PLD to be upgraded and then press the control knob.
5. A message “UPDATE OK?” appears. Select “YES.”
The unit restarts automatically and the version update starts.
Upon completion of the version update, a message “UPDATE SUCCEEDED” appears.