HYDRAULICS
8G-27
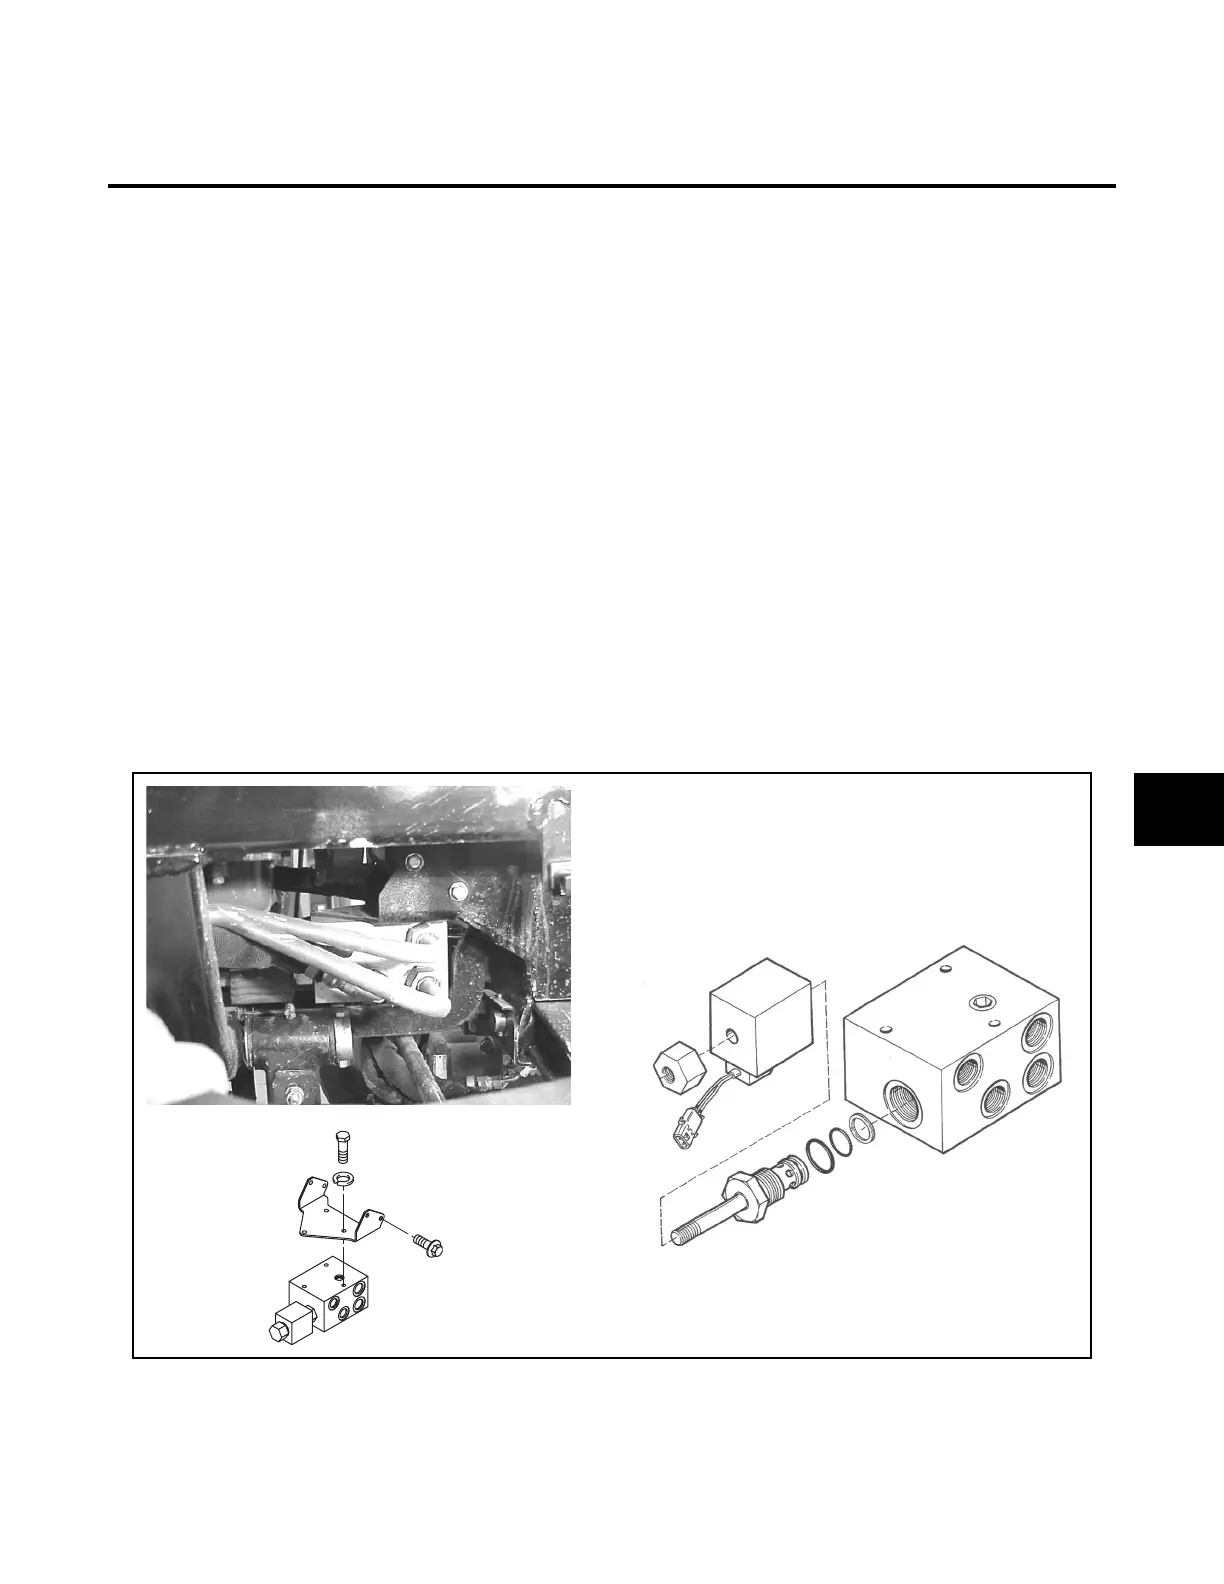
SECTION 8G. 4 WHEEL DRIVE CONTROL VALVE
GENERAL
The 4 wheel drive control valve is mounted on the
frame below the engine.
REMOVAL
1. Shut down the engine and remove the ignition
key.
2. Thoroughly clean the valve especially the area
surrounding the hoses and fittings.
3. Tag and disconnect the hydraulics hoses and
tubes. Immediately plug the hoses, tubes, and
valve to prevent contamination of the hydraulic
system.
4. Tag and disconnect the valve wiring harness.
5. Remove two-frame mounting bolts from each side
of the valve-mounting bracket.
6. Remove three bolts and lock washers securing
the bracket to the valve.
7. Remove the valve.
REPAIR
The 4 wheel valve repairs are limited to changing o-
rings, backup rings, and coil. The valve can be
replaced as an assembly, see Figure 8G-1.
INSTALLATION
1. Position the valve and bracket in the frame for
mounting.
2. Install three bracket mounting screws and lock
washers.
3. Position the mounting bracket on the frame and
secure with two mounting screws on each side.
4. Remove plugs and using the tags created during
removal, connect the hydraulic hoses and tubes to
the valve.
5. Using tag created during removal, connect the wir-
ing harness to the valve.
6. Replace the hydraulic oil filter.
7. Start the engine and check valve operation for
leaks. Repair as necessary.
Figure 8G-1. Wheel Drive Valve Repair
Cartridge
Body
Coil
Nut
8G
 Loading...


