1.9 Connecting components
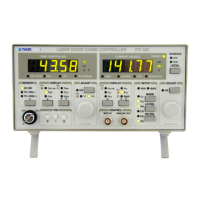
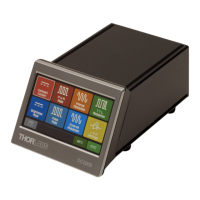
ITC500 / page 27
If T
ACT
is settling up and down evenly around the value T
SET
the TEC element is
connected correctly however the values for the P-, I- and D-share of the control
loop are still incorrect.
(Refer to chapter 2.15.4, "PID adjustment" starting on page 45)
If T
ACT
is settling properly to the value T
SET
the TEC element is connected correctly
but the values for the P-, I- and D-share of the control loop might still be improved.
1.9.7 Connecting the status indicator
To indicate the operating status a standard LED may be switched between pin 1 and
pin 8. The LED will light up if the output for the TEC current has been switched on.
1
8
Figure 9 TEC status display
Poling and value of the TEC current is insignificant here.
1.9.8 Connecting laser- and monitor diode
Connect laser and monitor diode to the connector jack of the ITC5xx.
(Refer to chapter 1.9.1, "Pin assignment for the laser diode output" on page 20)
When measuring the voltage of the laser diode the wires for voltage measurement
(pin 6 and pin 9) have to be connected as close as possible to the laser diode to
avoid measurement errors.
The ground pin for the monitor diode (pin 2) may be connected to the ground pin of
the laser diode (pin 3). If this should be necessary (e.g. with laser diodes with