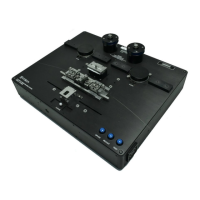
FFS2000 Series Chapter 4: Setup
Page 16 TTN047338-D02
Chapter 4 Setup
4.1. Initialize
The FFS2000 Series workstations accept an AC input range of 85 to 265 VAC, 47-63 Hz. Internally, the power
supply senses the AC voltage being supplied and adjusts automatically.
Connect the power cord (wall cord), four-pin external DC power cable between the power supply and the
workstation, the Argon gas line, external vacuum line, and both the serial and camera PC interface cables to the
back panel.
Turn on the computer.
Start the FFS2000 Series software by selecting the FFS3 icon on the desktop.
Open argon valves at the regulator and set at 10 psi before starting the unit.
Turn on the external power supply.
Turn on the workstation power using the ON/OFF switch located on the back panel.
The cooling fans should activate. If not, check to make sure:
the power cord is connected securely,
the power applied meets the voltage/frequency requirement listed above,
the power supply fuses are not blown.
Initialize the communication (comms) by selecting the initialize button on the user interface.
The gas system will be purged. Check that the background argon flow is displayed in the ARGON window.
If the user interface buttons do not become active following initialization, then either the splicer has not been
connected to a serial port on the PC, or it has been connected to the wrong port. Ensure the serial cable in the
splicer is connected to either COM1 or COM2 on the PC. If the cable is correctly connected, then, select COM2
from the configuration menu if COM1 is currently selected, or vice-versa. The user interface should activate.
The system always starts with the last used splice file in memory. The interface can be set to display this file
name and path by selecting this feature in the FILE menu.

 Loading...