6: BASIC OPERATIONS
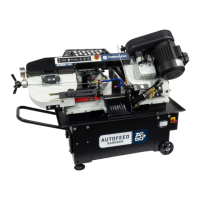
4. Remove the cotter clip (on the end of the quick-release
pin).
Figure 6-2: Quick-release pin on the air cylinder.
5. Pull the quick-release pin out of the air cylinder, and set
it aside.
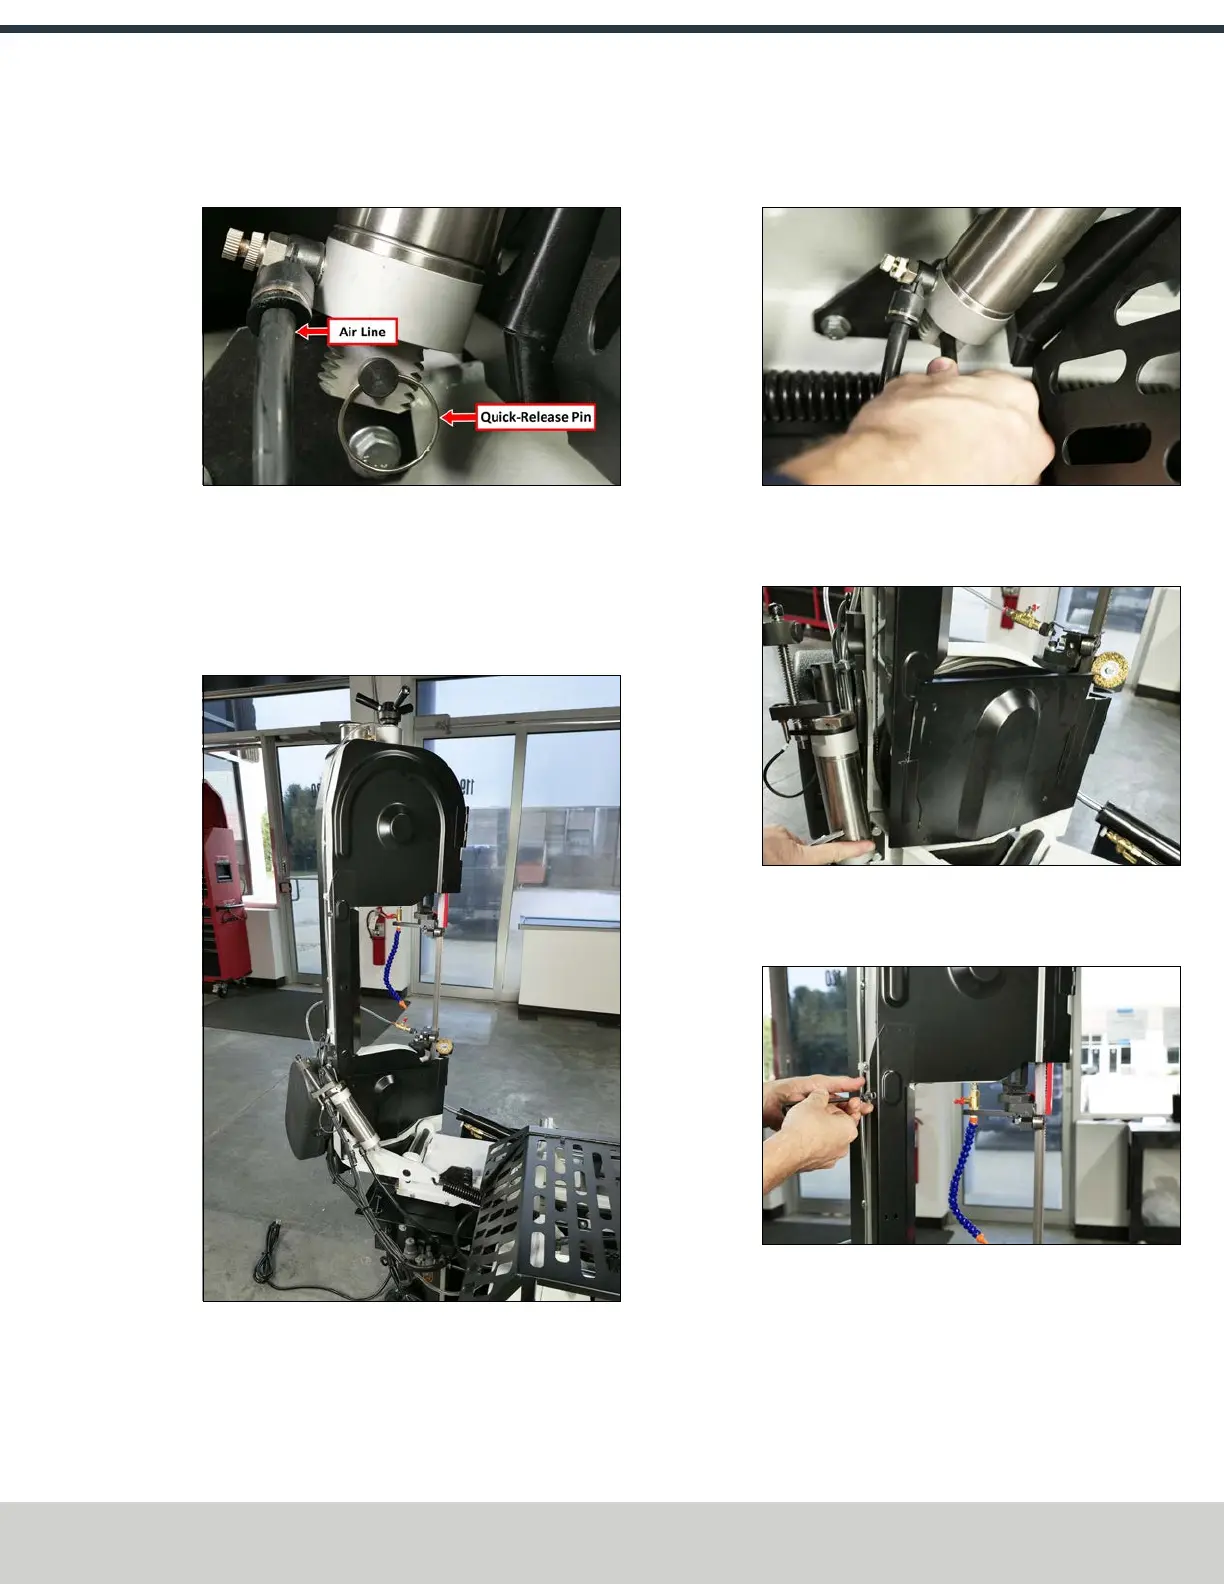
The air cylinder hangs from the saw head.
6. Lift the saw head to the upright position, as shown in the
following image.
Figure 6-3: Bandsaw head lifted upright.
7. Loosen the bolt securing the air cylinder to the bandsaw
with an 8 mm hex wrench until the door can open. Make
sure the bolt is still secure enough to hold the air
cylinder in place — letting the air cylinder hang adds
extra strain to the wires.
Figure 6-4: Bolt on the air cylinder.
8. Slide up the bottom of the blade cover, and then slide
the blade cover up until it clears the base casting.
Figure 6-5: Blade cover.
9. Remove the two screws from the side of the blade cover
with a 5 mm hex wrench, and then set aside the screws.
Figure 6-6: Removing the screws securing the blade
cover to the bandsaw.
©Tormach® 2024
Specifications subject to change without notice.
Page 31 UM10825: AF50+ Autofeed Bandsaw Operator's Manual (Version
0324A)
For the most recent version, see tormach.com/support