6: BASIC OPERATIONS
13. Loosen the tensioner to remove the tension on the blade.
CAUTION! Cut Hazard: Bandsaw blades can cut
you, causing serious injury. Before handling any
bandsaw blades, you must put on work gloves,
eye protection, and any other appropriate
personal protective equipment (like a long-
sleeved shirt and long pants).
14. Carefully remove the blade from the wheels.
15. Put the new blade into the blade guides so that its teeth
are pointing away from the blade guide's rollers, and so
that its tooth direction is pointing toward the motor
(from the blade guides).
16. Use one hand to hold the blade in between the blade
guides, and use the other hand to put the blade around
the wheels.
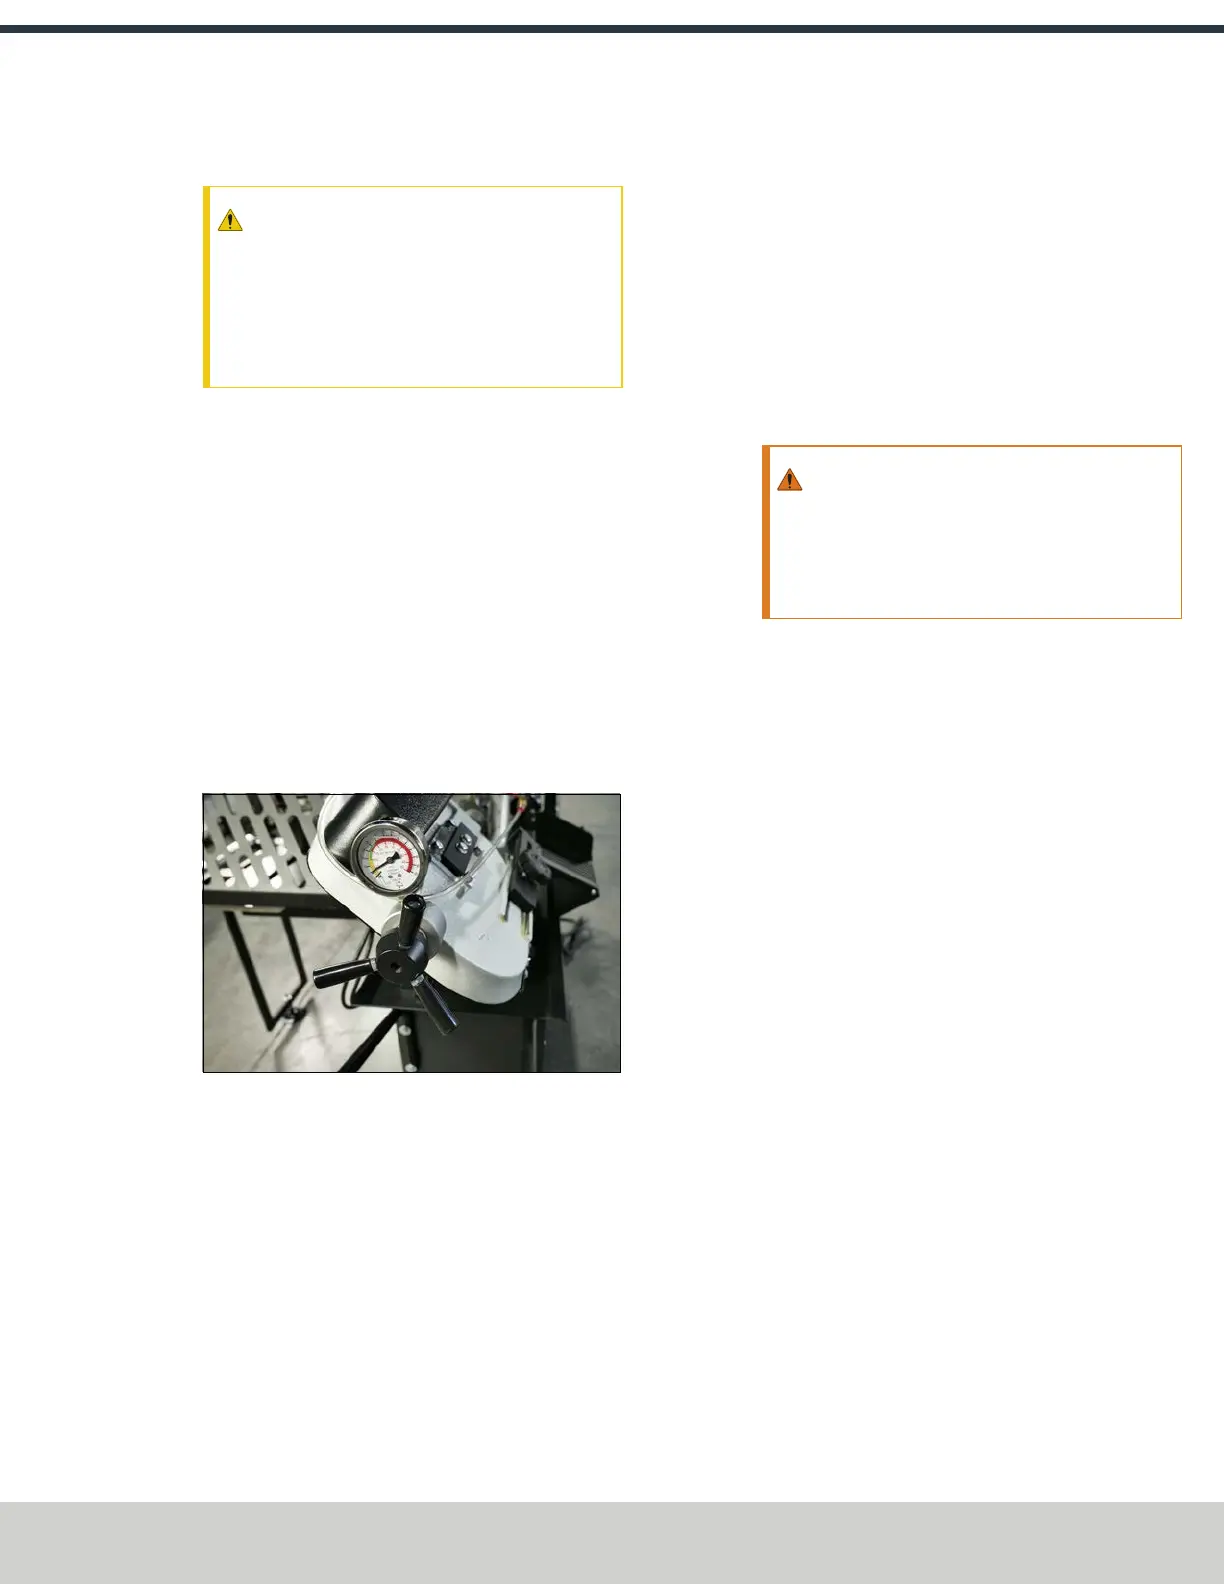
17. Keep one hand on the blade to hold it in between the
blade guides, and use the other hand to tighten the
tensioner. Continue tightening until the needle on the
blade tensioning gauge is aligned with the tip of the
arrow.
Figure 6-10: Tensioner dial aligned with the tip of the
arrow.
18. Re-install the blade guard with its two screws that you
set aside earlier.
19. Close the blade cover, and then secure it using the two
screws you set aside earlier.
20. Move the bottom of the blade cover down.
Before you put the saw head down, you must verify that
the blade is seated.
21. Re-install the air cylinder and the air line.
22. Carefully set the saw head down.
6.2.2 Verify the Blade Installation
1. Power on the bandsaw.
a. Rotate the Emergency Stop button on the operator
panel one-quarter turn clockwise to release it.
b. Turn the Main Disconnect switch to ON.
Mains power is connected to the machine.
2. Set the bandsaw to manual mode: from the control
panel, push the Down Arrow and Up Arrow buttons at
the same time. The control board displays ---.
WARNING! Crush Hazard:Moving parts can
entangle, pinch, or cut you, causing death or
serious injury. While operating the machine in
vertical position, you must keep your hands
away from the blade.
3. From the operator panel, push the Cycle Start button.
The blade moves through the blade guides and around
the blade wheels.
4. Let the blade move for three seconds. Then, on the
operator panel, press the Emergency Stop button.
5. Examine the position of the blade on the wheels, and do
one of the following:
l
Blade Correctly Positioned on the Wheels
You've verified that the blade is correctly installed. Go
to the next section.
l
Blade Moved off the Wheels Power off the
machine and disconnect it from the power supply.
Then, adjust the blade until it's correctly positioned
on the wheels, and repeat Steps 1 through 5.
6.2.3 Break in the Blade
All new bandsaw blades are manufactured with extremely
sharp teeth, which need to be worn down slightly so that they
don’t fracture under the high cutting pressure used in
bandsawing. Your blade will cut more consistently and last
much longer if you hone the teeth to create a small radius on
the tip.
To break in a new blade:
l Use the band speed recommended for the material you
are cutting.
©Tormach® 2024
Specifications subject to change without notice.
Page 33 UM10825: AF50+ Autofeed Bandsaw Operator's Manual (Version
0324A)
For the most recent version, see tormach.com/support