TEW-821DAP
42
© Copyright 2015 TRENDnet. All Rights Reserved.
3 Congure or view any of the following parameters:
• SNMP: Choose to enable or disable the SNMP feature.
• Contact: Specify the contact details of the TEW-821DAP.
• Locaon: Specify the locaon of the TEW-821DAP.
• Community Name (Read Only): Specify the password for access the SNMP
community for read only access.
• Community Name (Read/Write): Specify the password for access to the SNMP
community with read/write access.
• Trap Desnaon Address: Specify the IP address for the SNMP trap community.
• Trap Desnaon Community Name: Specify the name of SNMP trap community.
• SNMP v3: Select enable or disable SNMP v3 protocol.
• User Name: SNMP v3 manager user name.
• Auth Protocol: Choose the authencaon method to verify the source of
informaon: MD5, SHA, or None.
• Auth Key (8-32 Characters): Specify the authencaon key between 8 to 32
leers.
• Priv Protocol: Choose the privacy key to encrypt SNMP messages: DES or None.
• Priv Key (8-32 Characters): Specify the privacy key between 8 to 32 leers.
• Engine ID: SNMPv3 engine ID.
4 Click Apply to save the changes or Cancel to discard the changes.
Congure Schedule Sengs
Management > Schedule
For addional security control, your access point allows you to create schedules to
specify a me period when a feature on your access point should be acvated and
deacvated. Before you use the scheduling feature on your access point, ensure that your
system me is congured correctly.
Í Note: You can apply a predened schedule to the following features:
9 Wireless (2.4GHz and 5GHz)
9 Wireless Mulple SSID (2.4GHz and 5GHz)
9 MAC Filters
Create a Schedule
To create a schedule, do the following:
1 Log into your access point management page (refer to “Log in to Management Page”
on page 10).
2 Click Management > Schedule.
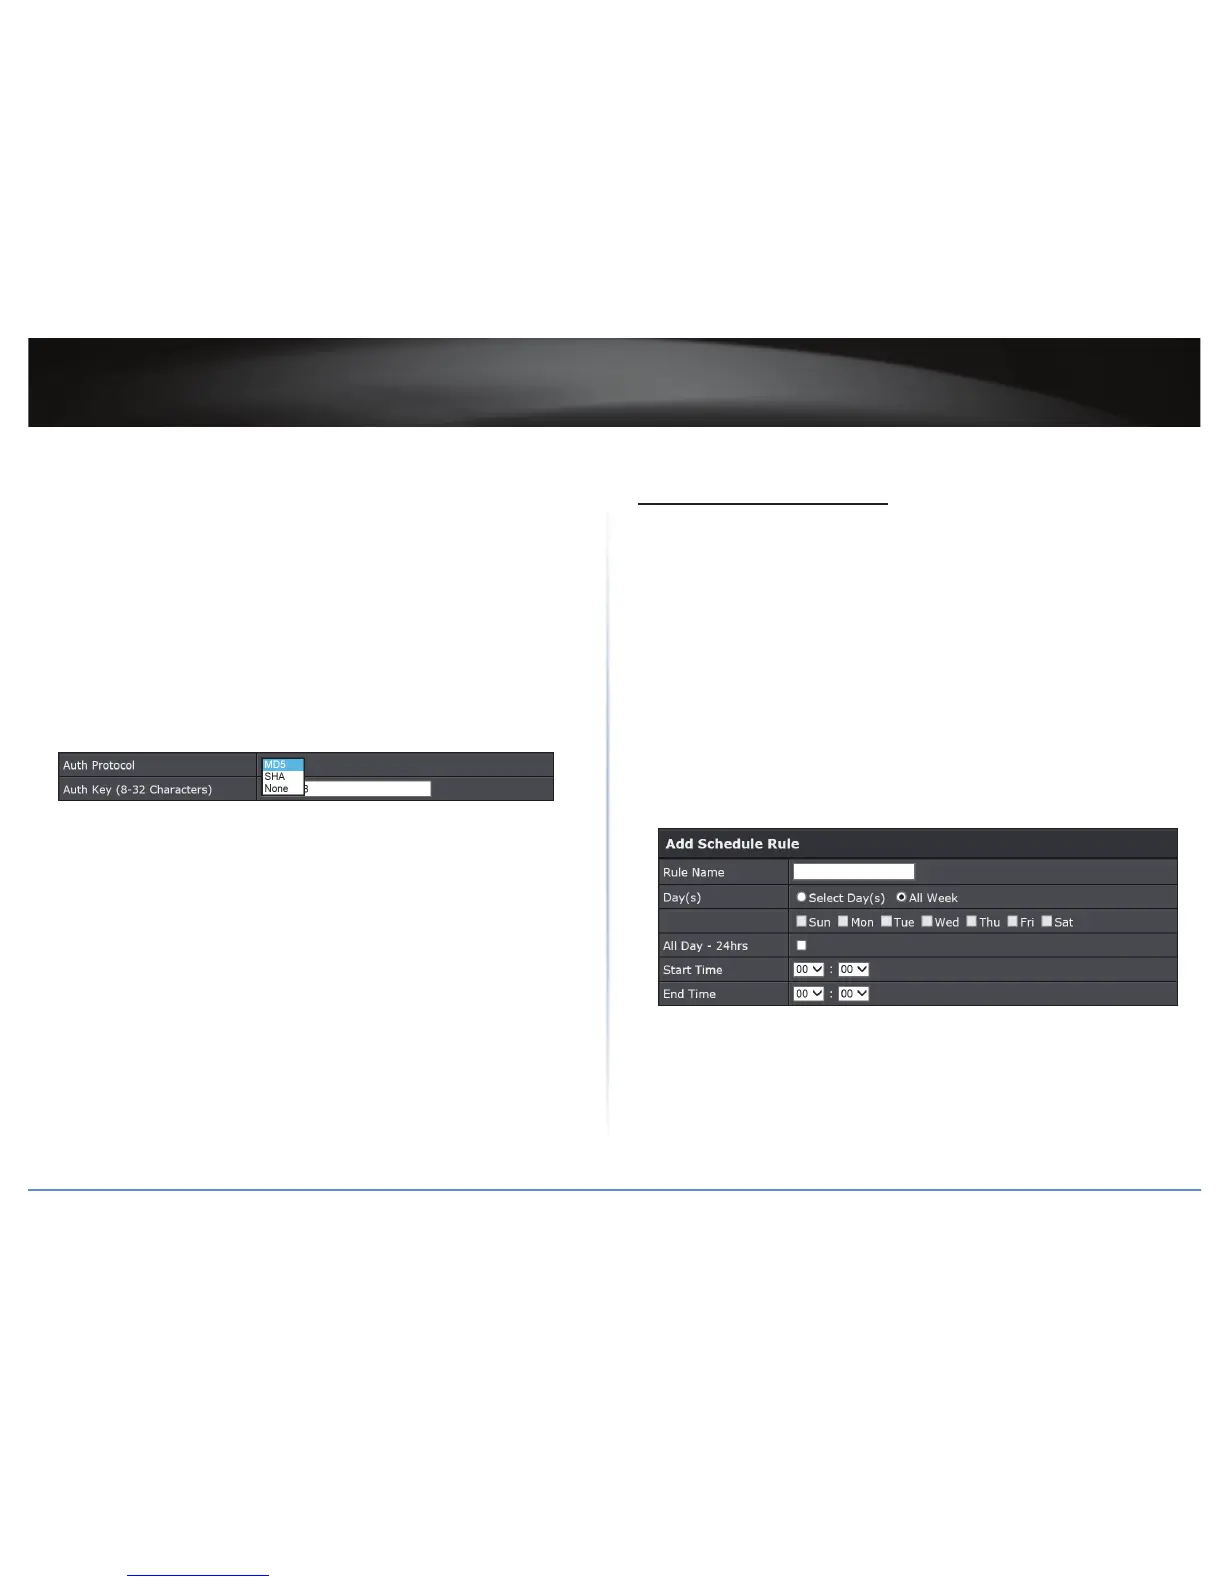
3 Congure the following sengs:
• Rule Name: Enter a name for the schedule you would like to apply.
• Day(s): Check Select Day(s) to select the days in the Select Day(s) secon or select
All Week to set the schedule for all days.
• All Day – 24 hrs: Check this box to have the schedule acve the enre 24 hours on
the days specied.
• Start Time: Select the acvaon me of the schedule.

 Loading...