TEW-821DAP
46
© Copyright 2015 TRENDnet. All Rights Reserved.
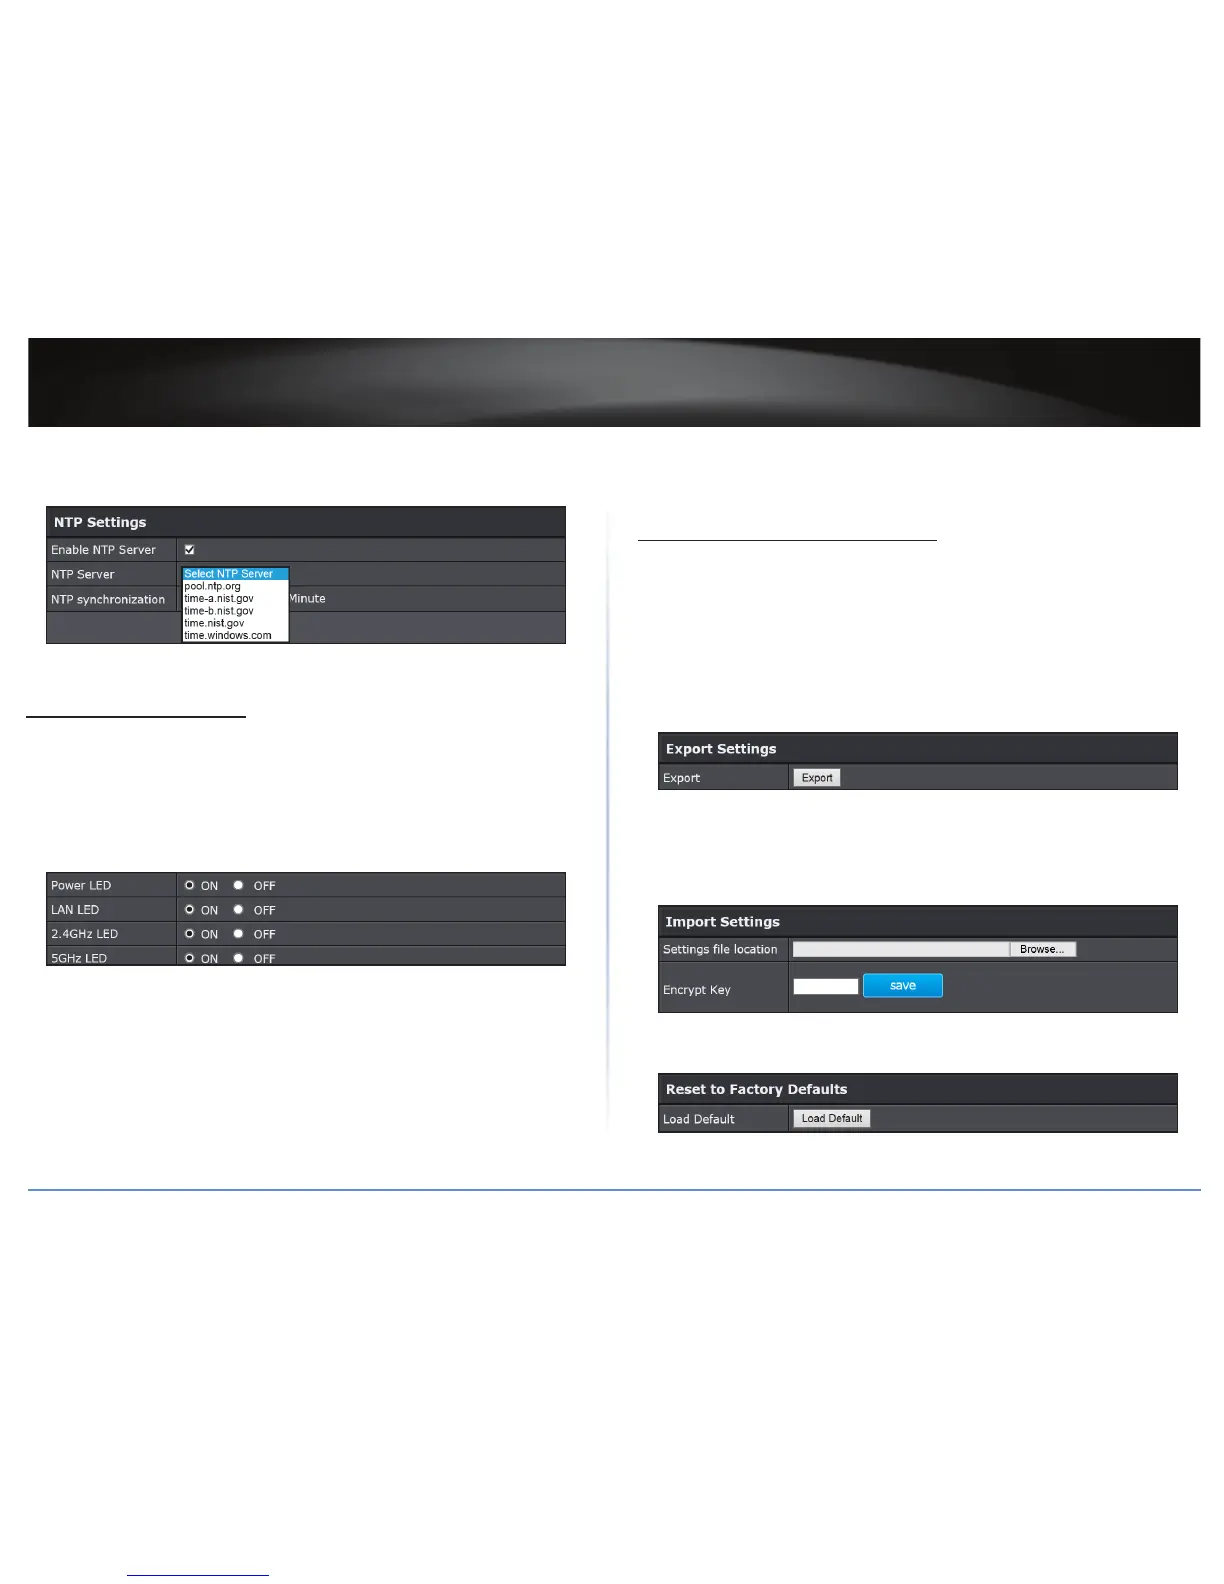
5 If you have a preferred NTP server, check the Enable NTP Server and enter the NTP
server IP address. Otherwise, leave it unchecked to use the TEW-821DAP’s default NTP
server.
6 Click Apply to save the changes or Cancel to discard the changes.
Congure LED Indicators
Management > LED Control
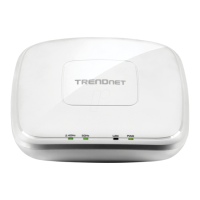
All LED indicators are turned on by default. You can turn any one of them or all of them
on or o.
1 Log into your access point management page (refer to “Log in to Management Page”
on page 10).
2 Click Management > LED Control.
3 Click the following LED to turn it on or o:
• Power LED:
OFF: Powered o.
Solid Orange: System is under Power-ON boong process.
Solid Green: System is ON. (Boong process is done.)
• Network LED (Orange: 10/100; Green: Giga bit):
OFF: No link.
Solid green: The device’s Ethernet port is connected to an acve router or
switch.
Blinking green: Data transmission.
• Wireless LED (Orange: 2.4GHz; Green: 5GHz):
OFF: No link.
Blinking green: Data transmission.
Backup / Restore System Sengs
Management > Backup/Restore Sengs
This page allows you to save the current conguraons, load previously saved
conguraons, and reset TEW-821DAP’s conguraons back to factory defaults.
1 Log into your access point management page (refer to “Log in to Management Page”
on page 10).
2 Click Management > Backup/Restore Sengs.
3 Do any of the following:
• Click Export to save the current conguraon of the AP.
• To load a conguraon le, do the following:
a) Click Browse to load the conguraon le.
b) Enter the encrypon key.
c) Click Import.
The new conguraon le will be saved and encrypted with this new key.
• Click Load Default if you want to reset TEW-821DAP’s conguraons back to
factory defaults.



 To Next Page