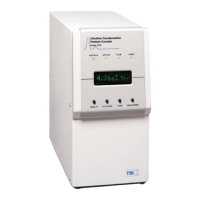
2-4 Model 3022A Condensation Particle Counter
6. Insert the voltage-selector card into the housing, making sure
the edge containing the desired voltage is inserted first and the
printed side of the card faces the IEC (power cord) connector.
7. Replace the cover, making sure that the indicator pin shows the
desired voltage.
Changing the Fuse
1. Disconnect the power from the Model 3022A and remove the
line cord.
2. Lift off the power-entry module on the back panel of the
Model 3022A using a small-blade screwdriver or similar tool
(Figure 2-1).
3. Replace the fuses. Make sure the Fuse(s) are the proper size
and rating for the line voltage you are using. The Fusing label is
located just above the power entry module on the back panel of
the Model 3022A.
Note: Two European-style 5 × 20 mm fuses are required in the
European-Fusing arrangement (Figure 2-4).
4. Replace the power-entry module cover.
Changing Between European and American-Style Fuses
Before installing the Model 3022A, make sure the fuse is
compatible with your site. The Model 3022A works with both North
American and European-style fuses. The 100/120-volt model
comes with the North American-style fuse and the 230/240-volt
model is equipped with the European-style fuse. If you need to
change the fuse from North American (Figure 2-3) to the European
style (Figure 2-4),or vice versa, follow these steps:
1. Disconnect the power from the Model 3022A and remove the
line cord.
2. Lift off the power-entry module on the back panel of the
Model 3022A cover using a small-blade screwdriver or similar
tool.