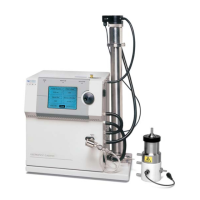
6–8 Series 3080 Electrostatic Classifiers
7. Loosen the two screws in the white plastic base of the DMA
and support the parts so they don’t fall apart.
8. Place the DMA back on its base and separate the sections
between the stainless steel body and white plastic base
(between the Bypass and Excess Flow fittings).
9. Lift up on the stainless steel housing being careful not to make
contact between the outer case and the center rod.
Caution
Be careful to avoid scratching the rod and the inside of the tube as you
remove it. A small scratch, nick, or burr can completely disrupt the
electric field inside the mobility analyzer, severely affecting its
performance.
10. Visually inspect the center rod for contamination. If the rod is
visually quite dirty, clean it and the inside of the DMA’s outer
tube. Continue with steps 11 through 13.
11. To remove the DMA outer electrode:
a. Place your fingers inside the outer tube or use a soft rubber
sheet, to grip the polished surface (do not scratch the inner
finish).
b. Pull the outer tube from the outside case.
12. Wash the collector rod and the inside of the outer tube with a
soft cloth soaked in alcohol or a mild solvent.
Caution
Avoid scratching or otherwise damaging the critical collector-rod surface
and the inside of the outer tube.
Also, take care not to dent the cone edge near the top of the
collector rod or the Dacron screen inside the cone. If you dent,
scratch, or otherwise damage the mobility analyzer assembly,
contact TSI to discuss repairs.
13. Carefully reassemble the center rod and outer tube and leak-
test the unit (see “Testing for Leaks
” in Chapter 7).
 Loading...

